Template:Dangerous minigame
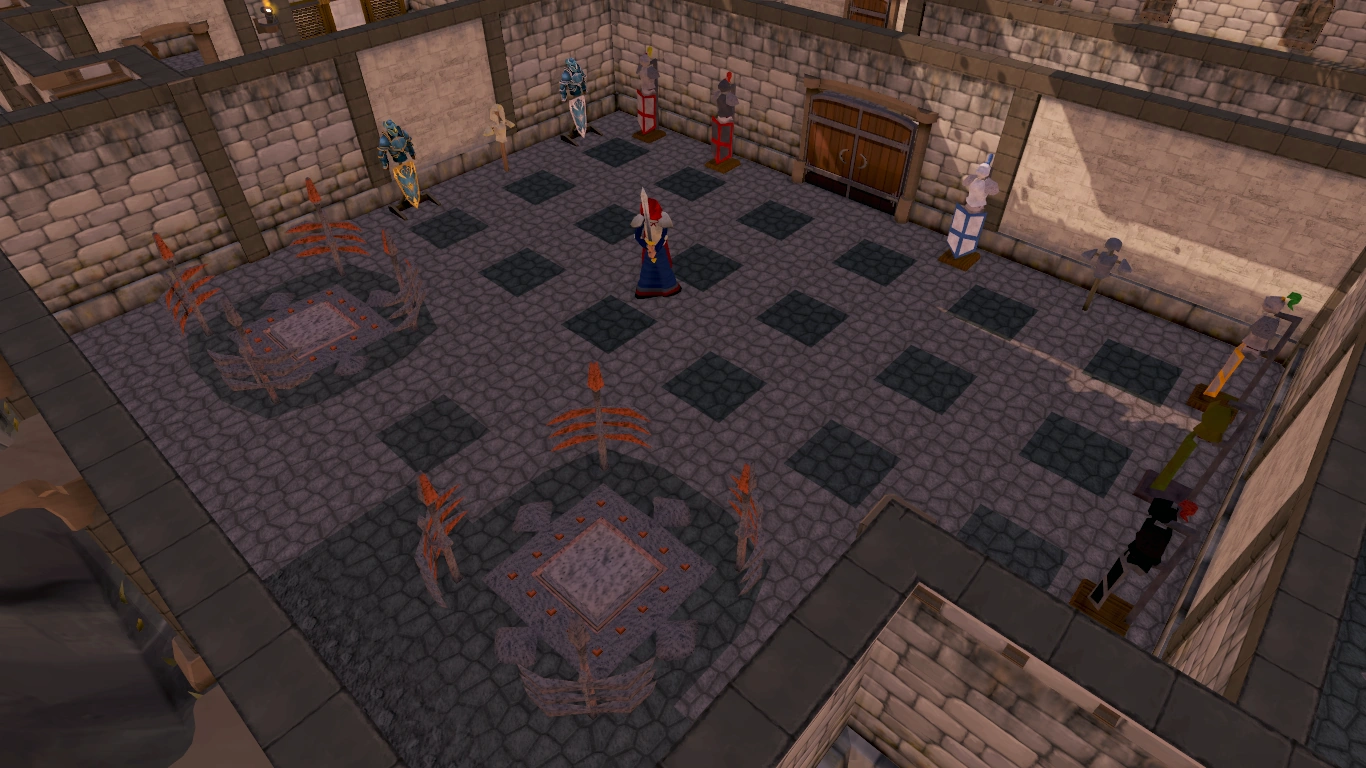
Warriors' Guild Template:Relative location The Warriors' Guild was released on 12 June 2006 in an update. To enter, a player must either have Attack and Strength levels that add up to at least 130, or have an Attack or Strength level of 99. Currently the minimum XP one must have to enter the guild is 898,856, or two times 449,428 XP (in both Strength and Attack, to reach Level 65 in both). Strength potions or Attack potions cannot be used to reach the level requirement.
The guild is owned by Harrallak Menarous and is located just west of Burthorpe. Inside the Warriors' Guild, players have the option of participating in various activities related to melee combat. As players complete these activities, they are rewarded with Warrior Guild Points. These are used to gain entry to the top floor of the guild, where players can fight a number of Cyclopes or even Cyclossus. These Cyclopes will sometimes drop Defenders. The unofficial world for the Warriors Guild is world 9.
Travel
The Warriors' Guild is located in Burthorpe and can be accessed in a number of ways:
- Burthorpe Lodestone, which will teleport players directly east of the guild.
- Combat Bracelet, which will teleport players to a location directly outside the guild.
- Games necklace, which will teleport players to Burthope Troll Invasion, just north of the guild.
- Falador Teleport and Camelot Teleport, after which a player can walk to the guild.
- House teleport, if a player's house is in Taverley (Or if Quest "Love Story" is complete, players can use a chisel on a House Tablet and turn it into a Taverley Tab)
- Balloon transport system, which goes to Taverley (at least partial completion of the Enlightened Journey quest is required)
The floors
Template:Floor
Ground Floor
Ground floor
The ground floor contains:
- The animation room activity.
- The dummy room activity.
- The bank (with Jade).
- Lidio's food shop.
- Lilly's potion shop.
- Ajjat (Attack Master)
First Floor
The first floor contains:
- The catapult room activity.
- The shot put room activity (with Sloane, the strength master).
- Jimmy's challenge (keg balance) activity.
- The armoury (with Anton).
Second Floor
- Warning: The prayers of the Ancient Curses cannot be used in the Cyclopes' room. Attempting to use one causes a message to appear that Harrallak frowns on using curses, and the prayer will not activate. The standard Prayers can be used. Ancient-curse users who normally would use Deflect Melee must change to the standard prayers and use Protect from Melee instead.
Cyclopes on second floor of Warriors' Guild
The second floor contains Kamfreena and a large room of Cyclopes. Players can kill the monsters in this room in order to obtain different types of defenders. The large room contains around fifteen Cyclopes, levels 56 and 76. Players may also encounter a Cyclossus, a level 156, which appears randomly and can only be hurt with a Rune or Dragon Defender.
When entering the Cyclopes' room, players have the option of using all the tokens from a single skill, or using all type of tokens. They must have earned at least 200 Warriors' Guild Tokens of any one type, or 30 Tokens of all five types. Every minute a player spends in the Cyclopes' room results in the loss of 20 Tokens if using a single type of token, or 3 tokens of all 5 types. Once a player has entered the room, they may kill as many cyclopes as time allows. Players may not set up a Dwarf multicannon or use Ancient Curses while in the Cyclopes' room. The benefits of multi token mode:
• Use fewer tokens per minute
• Small damage Bonus
• Some drops noted
• Increased chance of Defender drop
• Increased chance of confronting a Cyclossus
Players who kill the Cyclopes will eventually receive a Bronze defender as a drop. After receiving a bronze defender, players can earn subsequently stronger defenders up to a Dragon defender. Other than dragon, the first time a player receives a defender of a given type, they must exit the room and let Kamfreena know that they have acquired a certain type of defender in order to receive the next type of defender. If the player does not leave and re-enter they can only receive the same defender drop again. Players do not have to have a defender equipped to receive a drop of the next type.
If the player remains in the room after they have run out of tokens Kamfreena will teleport the player to the door after an additional minute and tell them that next time they run out of tokens they should leave immediately. It is possible to obtain a defender after you have run out of tokens.
Activities
Players can participate in a number of activities while inside the Warriors' Guild in order to collect Warrior guild tokens. All of these activities are somewhat combat oriented, so players should prepare themselves appropriately. Ancient curses can not be used inside the Warriors' Guild.
Before the Dragon defender update, most players acquired their tokens solely through the animation room, because they yielded the fastest rate of tokens. To encourage players to participate in other activities, tokens are now unique to each activity, and the multi-token mode in the cyclops room drains tokens from every activity. It drains less total tokens than single-token mode, and comes with benefits relating to the player's drops. However, getting tokens in some activities is extremely slow and, for some players, may not be worth the time. Those players choose single-token mode (which lacks the benefits of multi-token) with animation room tokens.
Animation room
Shanomi pushing warriors to keep fighting.
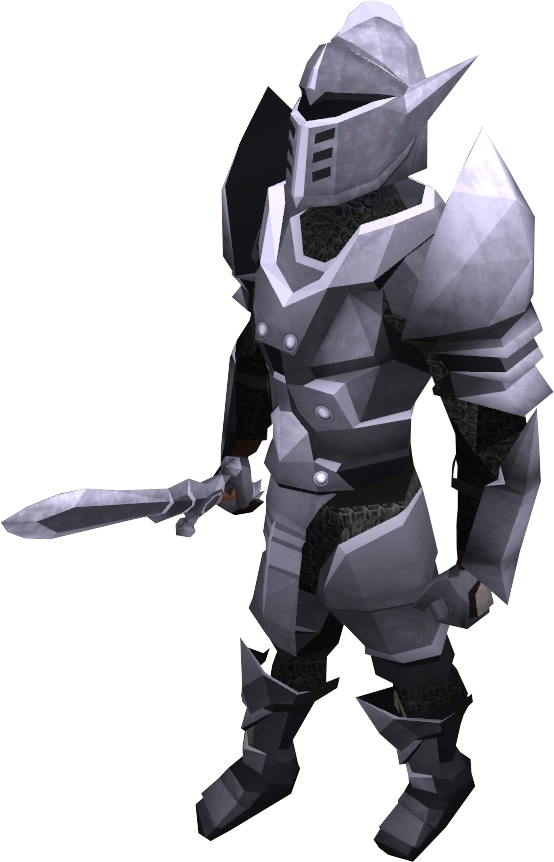
The animation room is located on the ground floor, west of the guild entrance. This room is one of the most commonly used rooms in the guild to gain tokens. Players will fight against an animated set of their own armour. To play this activity a player must bring a set of normal metal armour (bronze, iron, steel, black, mithril, adamant, or rune). This set should consist of a Full helm, Platebody, and Platelegs, and must be the same type of metal. Weapons, shields, plateskirts, and special armour (such as trimmed or heraldic) cannot be used with the animation machines. Enchanted Adamant or Rune Full helms (used to hold Summoning scrolls) also cannot be used; they must be disenchanted first.
Players should bring armour and weapons that are appropriate for the level armour that they will be fighting. To begin the activity, players must use one piece of the armour they have brought on one of the animation machines. The armour set will come to life and start attacking the owner of the armour. If a player defeats the animated armour they will be rewarded with Warriors' Guild Tokens for defeating the armour. The higher the armour type a player fights, the more tokens they will receive.The max amount of tokens you can have in animation room is 65535. There will also be a decreased chance that a piece of the armour is destroyed in the fight. If a player logs out after defeating their armour set and does not pick up the armour it will automatically disappear. Note that if you kill your armour on the square in the middle of the animator, the armour will not show up. You must right-click the square to retrieve your armour.
There is currently a glitch that prevents players from animating armour because they "already have a set animated", but actually none is currently animated. This could be fixed by logging out and back in.
Shanomi does not allow players to use anything other than ordinary plate armour on the animator as "bad things happen", and dragon armour is not allowed because it is too expensive.
| Image | Metal | Combat Level | LP | Tokens |
|---|---|---|---|---|
| File:Bronze Animated armour.png | Bronze | 16 | 400 | 5 |
| File:Animated iron warrior.png | Iron | 36 | 900 | 10 |

|
Steel | 56 | 1400 | 15 |
| File:Animatedblackarmour.png | Black | 66 | 1650 | 20 |
|
Mithril | 76 | 1900 | 50 |
| File:Addy Animated armour.png | Adamant | 96 | 2400 |
60 |
| File:Runite Animated armour.png | Rune | 116 | 2900 | 80 |
Tips
- All of the armour sets are weak to crush attacks, though any melee weapon will suffice at higher levels.
- Turning Auto retaliate on can help. Some of the better armour may be high enough level that a player cannot just click on it to attack it (instead, right clicking is necessary). Auto retaliate ensures that players will fight back when the armour hits them.
- Consider switching run on when fighting the armour. When the armour's life points are reduced to near zero, the armour sometimes runs away. With run on, players can hunt the armour down quicker. It also helps to stun the armour if it attempts to retreat.
- Hiding behind the fence enclosing the animating machine can be used to safe spot the armour. If the armour retreats when its health is low, try to stun it, as this will buy you at least enough time to deal the killing blow.
- A ring of recoil does work in this room.
The "Controlled dummy" can be attacked in the same style as the "Stab dummy" with a longsword
Dummy room
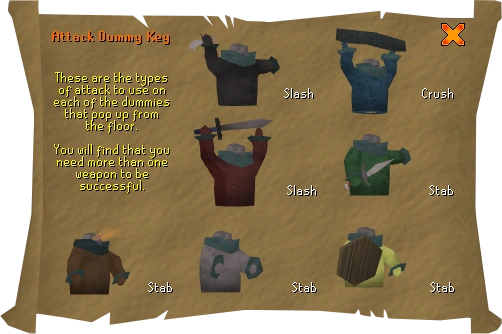
What attack styles to use on the dummies (click to enlarge)
The dummy room is located on the ground floor, west of the guild entrance. There are no requirements for this activity. This room will test players' abilities in attack styles with various dummies. To defeat these dummies players must choose the correct attack method to destroy them. Players may look at the poster in the dummy room for more information on what styles to use for each dummy. Each dummy correctly hit will award a player 15 Attack experience and 5 tokens.
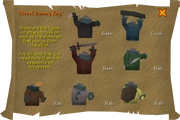
The dummy attack key (click to enlarge)
There are seven dummy types in the dummy room, covering all three melee attack styles, (slash, crush, and stab). As a result, choosing the right weapons for this activity is important. Players will need at least three weapons to be able to hit every dummy. The attack bonuses for the weapon do not help in this activity so a player will be just as effective with a bronze longsword as they will with a Drygore longsword. If a player does not have the ideal weaponry for this game, they can visit Anton on the first floor of the guild.
Tips for the Dummy room
- If a player wants to be able to hit all targets they will require three different types of weapons as no weapon exists in game to cover all styles and attack types. A player should have a crush, stab, and slash weapon when playing the minigame.
- There are a total of four stab dummies, two slash dummies, and one crush dummy. The slash dummies are located in the northeast corner, the crush dummy is in the southeast, and the rest of the dummies are stab, as shown on the figure to the right.
- Since the type of weapon doesn't matter (a bronze weapon works as good as a dragon), it is recommended to bring a Bronze Pickaxe, Bronze dagger and a Bronze scimitar so that you can hit most of the dummies.
- The dummies switch extremely fast and a player may find it too difficult to switch weapons. It is advantageous to assign the weapons to the action bar, so swapping can be done with a single press of a button.
- Your bare fists do count as a crush weapon, but due to the speed of the dummies switching, it is a better idea to simply bring a crush weapon.
- Always have run turned on in this game. Weight reducing equipment is not required as the distance between the dummies is small.
- Switching weapons, then clicking to move to the dummy is usually too slow. Move to the dummy, and use the action bar to swap weapons at the same time so that as soon as you arrive, you'll attack the dummy.
- Halberds don't give their extra range when hitting dummies.
- Each dummy always pops up in the same place, so it isn't necessary to look closely at them. Just look at where they are.
Catapult room
.gif)
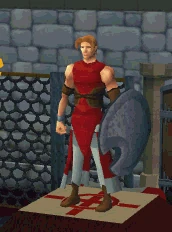
A player playing the Catapult room's activity.
The catapult room is located on the first floor, west of the Armoury. There are no requirements for this activity. To begin this activity a player must speak with Gamfred, the dwarf outside of the room, to obtain a two-

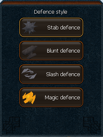
The interface for operating the shield
handed defensive shield. This shield can only be equipped while standing inside the Catapult room. Once a player has equipped the shield, they must pay careful attention to the ammunition that is being shot at them so they can select the appropriate defence style. When you see a spiky ball, use stab defence; an anvil, blunt defence; a spinning blade, slash defence; and finally a magic missile, magic defence. Each successful defence will award a player 10 Defence experience and 4 tokens. Each missed defence will inflict up to 40 damage. Although this game is arguably the easiest at which to be successful, its token pay-off is relatively slow, at approximately 50 tokens per minute. It could also be difficult for players dealing with considerable lag.
Tips for Catapult room
- It is recommended that players rotate the angle of the camera so that the catapult appears to be in the top-right/top-left corner of their screen so they can see what type of ammo is about to hit them more easily.
- The defence styles are kept after defending after an attack. For example, if you click stab defence, you would continue using it no matter how many projectiles have hit you.
Shot Put room
A player playing the Shot Put room's activity.
The shot put room is located on the first floor, in the north-east corner of the guild. There are no requirements for this activity. To begin players must pick up a shot and select one of the three throwing styles. To pick up a Shot you must have nothing equipped in the weapon slot, shield slot, or glove slot, however you may equip knives in the weapon slot. If a player fails, they will drop the ball on their toe, causing 10 damage in the process. Players may also occasionally throw the shot at the Ref, causing him to shout "Oi! (player's name), don't throw the ball outside the range!". To decrease the chance of failure, players can use a pestle and mortar with ashes to get ground ashes. They may then click on the ash to dust their hands. In a hidden update at an unknown time there was a delay factor put in place, it was to prevent players from speed clicking through the mini game; after a player throws a shot they must wait a second before picking up another. In the case that they attempt to quickly grab another shot the ref will say a variety of phrases ranging from, "Pace yourself" or "Sorry, I'm not ready yet" or "Just a moment, I dropped my hanky". If the player succeeds at a throw, they will gain Strength experience at a rate of 1 XP per yard thrown and tokens.
The number of tokens players will receive does not appear to have a set pattern, and is based on the distance and the impact. The stance used does not appear to affect the number of tokens, but the Spin and throw method generally achieves the most distance.
Using the 22lb shot, the results possible are:
Distance from player "...a sickening thud" "...with a thump" "...drops to the floor" "...gently, perfectly thrown" 1 square 1 3 4 7 2 squares 3 6 9 15 3 squares 4 9 13 22 4 squares 6 12 18 30 5 squares 7 15 22 37 6 squares 9 18 27 45 7 squares 10 21 31 52 8 squares 12 24 36 60 9 squares 13 27 40 67 10 squares 15 30 44 75 11 squares 16 33 49 82 12 squares 18 36 53 90 13 squares 19 39 58 97
Prior to 25 April 2011 this event would use a portion of the players energy. This was changed during an update and now no energy is used.
Jimmy's challenge (keg balance)


A player with 5 barrels
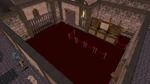
The 5 locations that can be tagged in the room.
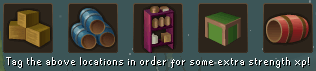
Jimmy's Challenge is located on the first floor, south of the Shot Put room. There are no requirements for this activity. To begin players must click on a keg in the room. They will need to balance the keg on their head, and then attempt to balance more kegs on top of this one, up to a maximum of five. To balance kegs players must have their head and hands free, meaning that no head, weapon, shield or glove slot items can be equipped. If a player does get 5 on their head, Jimmy will say, "Wow! That'sh bery impr....imp...impresh..... good _________! Equalsh my record!". If a player loses balance, the kegs will cause a small amount of damage to the player, the amount depending on their current lifepoints. The only safe way to get rid of the kegs is to walk out of the room. Players receive more tokens the more barrels are being balanced and the longer they are balanced. Players can also tag the coloured furniture in the order displayed at the top of the screen for a slight Strength XP reward.
The odds of successfully balancing all 5 barrels is controlled by the player's run energy level. Players can drink energy potions while they have kegs balanced on their head, and should do so to keep their energy level as close to 100% as possible. Players with an energy level between 90% and 100% have a low probability of dropping barrels and a high probability of being able to balance an additional barrel successfully. Using the Oo'glog salt water pool for 100% energy is highly recommended, as being at 100% run energy the entire time can yield over a hundred tokens per game. You can use the Explorer ring to raise your run energy when needed. If those options are unavailable, open an interface (Equipment interface, Price Checker, etc.) to raise your run energy or talk to Jimmy. It should be noted that the time in the interface does not add to your score. One may also rest to recover run energy between keg rounds.
Tips for the Keg Balance room
- If you have any white tree fruit left over from the Garden of Tranquility quest, this is a great place to use it.
- If you have the Surefooted Aura or the Greater variant, it will help immensely, as it ensures your run energy is always 100% during the activity.
Shops
The Warriors' Guild has many shops to aid players in playing the various activities within the guild or fighting Cyclopes.
Anton (Equipment)
Located on the south wall of the first floor, Anton buys and sells most weapons dropped by Cyclopes. Anton does not buy or sell black knives, which are a very common drop of Cyclopes, or defenders, which are not tradeable. Anton offers the same price as High Level Alchemy yields.
Lidio (Food)
Lidio is located in the north-west corner of the ground floor and sells medium-level foods. Specifically, Lidio sells cooked trout (68 coins), bass (270 coins), plain pizza (200 coins), potato with cheese (350 coins), and stew (100 coins). After the September 2009 shop update, the food vendor in the Warriors' Guild no longer has infinite stock. Thrifty players may want to keep some weapons from slaying cyclopes and sell them to Anton, then buy food.
Lilly (Potions)
Lilly's Warrior Guild Potion Shop is located in the room east of Lidio. Lilly sells 3-dose Strength potions (1,200 coins), Attack potions (560 coins), and Defence potions (880 coins).
Jade (Bank)
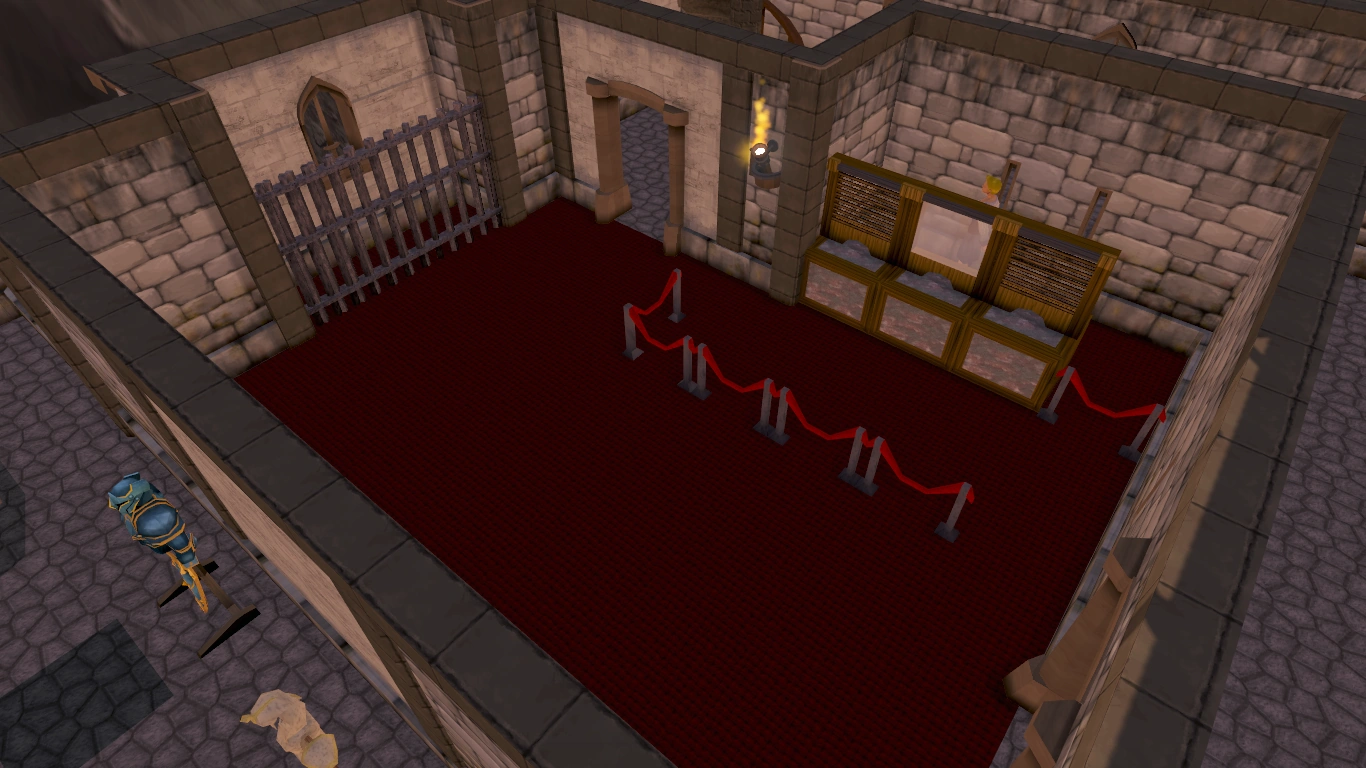
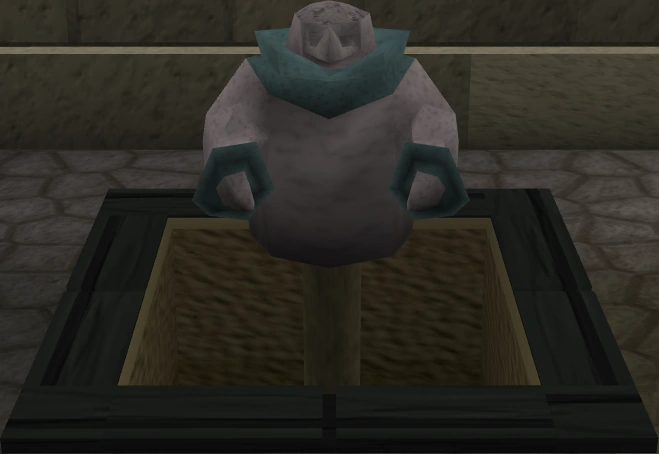
The Warriors' Guild Bank
Jade is a banker, located in the south-west corner of the ground floor of the guild. Jade gives players full access to their bank accounts.
Trivia
- When Jagex released the Warriors' guild, they were unable to put the guild in due to crowds of people standing where it should be. Jagex moved the guild further east than what was displayed in the original map so players were not crushed or stuck inside parts of the guild. Once everyone had moved, they placed the guild where it was originally supposed to be located.
- Players using the Korasi's Sword special attack will always hit zero on animated armour in the animated armour minigame, even though it is a single-combat area. This is because only melee can be used in the Warrior's Guild.
- In the room with the Cyclopes, on the map is a picture of an eye. Inside the floor pattern is a single stake on fire. This is a reference to the Greek epic poem, "The Odyssey", in which Odysseus blinds the cyclops Polyphemus by thrusting a hot stake into his eye.
- There was a visual glitch that caused projectiles from the catapult room to appear coming up through the floor in the north-west corner of the cyclops room. This has been recently patched.
- When players talk to Ajjat on the first floor of the Warriors Guild, after saying goodbye he will say "Farewell, and stay away from the dark side." This is of course a reference to the Star Wars film series.
- When Jagex changed the tokens from items to the current system, the number of tokens a player had in their bank would be applied to all of the activities. 1000 old tokens would give 1000 tokens in each activity.
- The name of the dwarf behind that catapult in the Catapult room is Nigall as shown in Postbag from the Hedge 16.
- It is important to never lose the defender preceding the defender you use, until you get a dragon defender. For example, if you lose a rune defender and have an adamant defender in your bank, you can use the adamant defender to get the rune defender again. If you lose your adamant defender however, there is no way to get your rune defender back if you lose it other than starting from bronze again. Dragon defenders can be used to gain more dragon defenders, however, making it wise to obtain several at a time.
- There used to be a glitch where there were two copies of Ghommal, this may have be a mistake from the graphical update to Taverley. This has been fixed.
- At the entrance, the right statue seems to have vanguard equipped, a set of the hybrid armour. Only the helm of the set is missing and replaced for another helm.
- The armour in the animator room has never been updated to the current armour.
- The shield from the catapult activity, is almost identical to the shield some suqahs are holding on lunar island. Only the bottom of the shield is different.
- The bank in the Warriors' Guild used to be the only bank in Runescape that you could go behind the counter, but since the Evolution of Combat update you can't anymore.
- When looking carefully at the entrance room in the guild, a shape of a large W can be seen. Likely due to the guilds name; However, arguably, this could be a "M" for "Menarous".
| Free |
|
| Members |
|