Template:Dangerous minigame
- This minigame has been significantly revamped. For the old version, see Temple Trekking (historical).
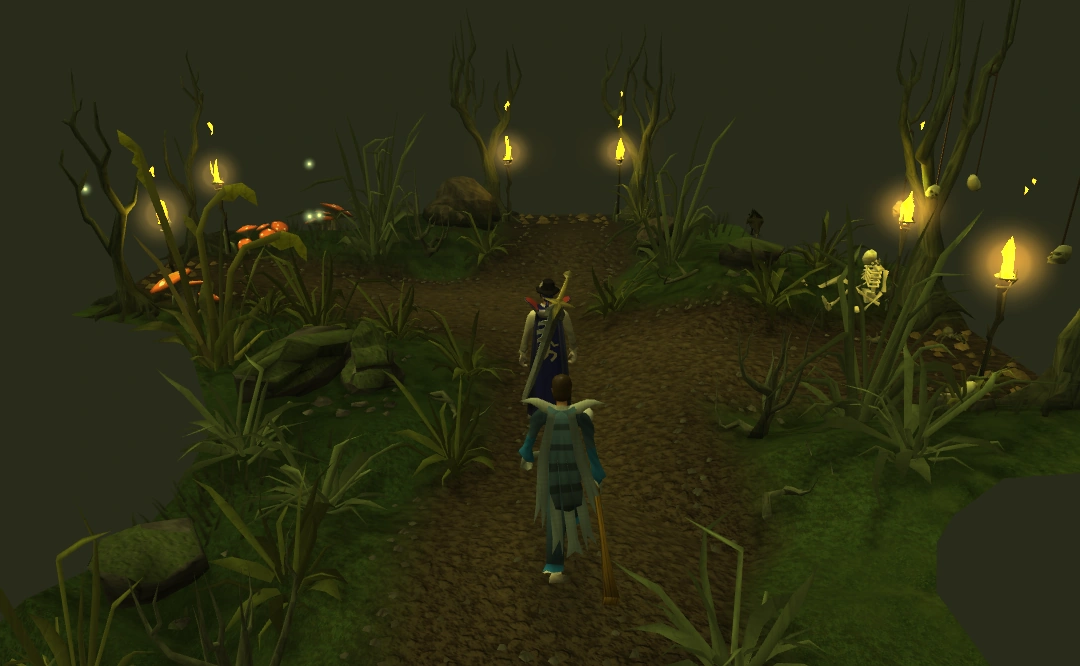
Beginning a trek.
Temple Trekking is a members-only minigame, introduced on 28 March 2006, in which players must escort victims of vampyre rule from Burgh de Rott through Morytania to Paterdomus. On the way, the player must pass through Morytania's many dangers and obstacles, protecting the accompanying traveler until they reach the temple. The player must find a way across bogs and rivers, and fight dangerous packs of monsters lurking in Morytania, some unique to this minigame. Should a player die, their gravestone will appear at the starting point of the trek. Temple Trekking requires completion of In Aid of the Myreque.
Burgh de Rott Ramble is the reverse route in which the player escorts potential Myreque recruits from Paterdomus to Burgh de Rott, leading them through the same obstacles and monsters. Burgh de Rott Ramble requires completion of Darkness of Hallowvale, and was introduced on 13 March 2007.
Difficulty
The difficulty of either minigame is determined by whether the player chooses weaker or stronger NPCs (called followers) to escort and whether the player chooses to take easier or harder paths through Morytania. Escorting weaker followers means more time and effort in healing and defending the follower when a monster attack event occurs. Taking harder paths means the monsters will have higher combat levels and come in greater numbers when a monster attack event occurs.
A journey succeeds if the player and follower reach the destination, whereupon the player receives a reward. A journey fails if the player or follower is killed. If the player teleports out of the minigame, enters the lobby or gets disconnected they can speak to their follower at the start point and choose whether to abandon or continue the journey where they left off.
During this minigame the player can train their companion to make them stronger in combat or to unlock their abilities. For each successful trip the player is given a reward token, which the player can exchange for an item reward of choice. Unique rewards are also unlocked when your companion reaches a certain level, or if the sum level of all your followers reach a certain number. In some events, some unique items are obtainable as well.
Several events are likely to occur on each journey. There are three types of events: friendly events in which the player and follower can be healed and have their defences raised; combat events in which monsters attempt to attack the player and follower; and puzzle events, which typically involve overcoming terrain obstacles, that the player must solve. All combat and some puzzle events are dangerous.
These two minigames provides opportunities to cross-train in most skills. Combat experience (including Prayer) is gained during battle events. Monster drops and minigame rewards provide some of the staple materials used in Crafting, Cooking, Farming, Fletching, Herblore, Runecrafting, and Smithing, while Tomes of experience can be awarded for Agility, Firemaking, Fishing, Mining, Slayer, Thieving, and Woodcutting. Players can also pick up pieces of Lumberjack clothes and earn the Constructor's outfit, which are found only in this minigame. Also, you gain the ability to gain two cosmetic items, the Rambler's backpack and the walking stick, and the ability to unlock two new shortcuts routes: An option to teleport once you reach the swamp gates straight to the Nature Grotto, and an option to travel from Hair of the Dog's trapdoor straight to Mort'ton.
Since the player loses if the follower is killed, one basic tactic in most combat events is for the player to shield the follower from the monsters. This means the player's body will typically be a meat-shield between fairly strong melee enemies and the follower. There are two practical strategies to achieve this:
- After the Evolution of Combat most monsters are now weak to magic, so equip yourself accordingly. Vyrewatch and Vampyre Juvinates need to be killed with a silver or Blisterwood weapon, so a Blisterwood staff with some runes should be the weapon of choice. With this they can be disposed of quite easily.
- Use protection Prayers. Most monsters attack with melee, so Protect from Melee or Deflect Melee can be used. Giant Snails attack with ranged, so Protect from Missiles or Deflect Missiles can be used. Snakes attack with magic.
Players are allowed to take Summoning familiars into the minigame. A beast of burden helps store food and items obtained in events, while a combat familiar could fight alongside the player.
Note: This is a dangerous minigame. If you die, you will need to return to the starting place to retrieve your items; if you played Temple Trekking, you must return to Burgh de Rott to retrieve your items; if you played Burgh de Rott Ramble, you will need to return to the Paterdomus Temple.
Requirements to start
The following Quests must be completed to play this minigame:
- The Darkness of Hallowvale for Burgh de Rott Ramble
- In Aid of the Myreque for Temple Trekking
Getting there
Temple Trekking starts at the town of Burgh de Rott, by the northern gate. Start the minigame by reading the noticeboard nearby.
Burgh de Rott Ramble starts on the east side of the River Salve just outside the temple. A player can start at either side.
There are several ways to reach Canifis or Burgh de Rott quickly, where the minigame may be started. Some of these include (roughly in the order of effectiveness):
- Drakan's medallion teleport to Burgh de Rott (Requires partial completion of The Branches of Darkmeyer)
- Games necklace teleport to Burgh de Rott (after unlocking the reward at Temple Trekking, requiring the total level of your companions to be at least 500)
- Kharyrll Teleport (Requires completion of Desert Treasure and 66 Magic)
- Fairy ring code CKS
- Teleporting to Canifis via the Lodestone Network.
- Using a Player Owned House with a Kharyrll Teleport
- Teleport to the Slayer Tower just north of Canifis using a slayer ring
- Ectophial and running west to Canifis
- Walking from Varrock/Dig Site Teleport
- Taking a boat ride from a charter ship to Port Phasmatys.
People to escort

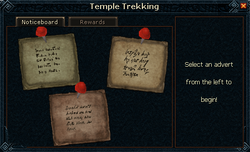
The Noticeboard
There are a total of six people that can be escorted - three people for the journey to the Temple and three for Burgh De Rott. You can choose who to escort by using the noticeboard at the start point at Paterdomus or in Burgh De Rott. Each of the three people on each journey has a different difficulty - easy, medium and hard. For Temple Trekking, two are villagers and one is an adventurer, and for Burgh De Rott Ramble two are adventurers and one is a villager.
By being escorted, the follower will gain experience and levels. As they do so, they will gain new abilities and become more adept in combat. Their examine information and appearance will also change after receiving some new abilities. It will also allow the player to unlock certain rewards - some rewards require all of the followers to have reached a certain level.
It is possible to let your companion do much, if not all, of the fighting leading to fast level ups. This is easier for the mages and ranger, but can still be done with the warrior provided you have food to sustain him. This tactic works well with the Easy and Medium NPCs at the easy and medium route difficulties for the Giant Snail, Ghast, Nail Beast, Giant Snake, and Shade events. All but the Ghast event, at the hard route difficulty, will be too much for any NPC to tank except Pazuzu and Dean, if they've reached their power up levels (Pazuzu 75, Dean 80).
| Temple Trekking | ||
|---|---|---|
| Name | Difficulty | Notes |
| Smiddi Ryak | Hard | Smiddi is hard to accompany, but can lead to the greatest reward. She will only attack monsters that attack her. Otherwise she will try to stick with you or walk around. Some food is necessary because she has a low Constitution level.
When enemies engage Smiddi it is sometimes possible to get them to switch focus to you by moving to the space the enemy occupies. This has a chance of making an enemy reposition itself. If you attack, when it moves, it will often switch its attention to your character. Because she will only attack monsters that attack her first and she does very little damage, Smiddi will gain very little xp from combat. Thus, she will take longer to level up than anyone else.
|
| Jayene Kliyn | Medium |
Jayene is a medium-level villager to accompany and will help you get one of the medium rewards. She is reasonably tough and can take a few hits. She can also try to defend herself and fight off other monsters within the event area.
|
| Easy | Dean is easy to accompany and because of this, he can only help you get to the lower rewards. He has a lot of health and a high defence rating, so he can take a lot of punches as well as dish them out.
| |
| Burgh De Rott Ramble | ||
| Name | Difficulty | Notes |
| Rolayne Twickit | Hard | Rolayne knows how badly his people are suffering under the rule of the vampyres, having previously escaped himself. Now he's had a taste of freedom he's returned to try and relieve the plight of others so they may experience the same. He's far too frail to be useful as a fighter but what he lacks in hardiness, he makes up for in determination. He is a very weak Melee fighter, but helps you with lighting fires and chopping logs.
Rolayne presents a difficult challenge by being both extremely weak and very aggressive. He will often run to the opposite end of the battefield and attack enemies that are not actively engaged. The easiest way to keep him alive is to attack every enemy at least once and position yourself so they can all attack you. If an enemy cannot reach you and Rolayne attacks them, they will switch their attention to him. This can be fixed by attacking that enemy so it switches its focus to you.
|
| Zachory Bragg | Medium | Zachory is not yet a great sorcerer, and needs your help to become one. He is not a difficult adventurer to accompany, but is by no means simple.
Attacks with Water Bolt.
|
| Easy | Pazuzu is a powerful spell-caster intent on bringing salvation to the people of Burgh de Rott. She could probably do the ramble herself, though, so don't expect a significant reward.
Attacks with Earth Blast.
| |
Routes
Once you have chosen someone to escort, you will need to choose which path to take. There are three paths, each a different difficulty, the main difference being the combat level of the monsters faced. This will only be the difficulty of the next event faced. Choosing the best path will be dependent upon combat level, available gear and which character is being escorted.
After each encounter, players will be given the option of changing the path that they are currently taking. If players find themselves having a hard time, they can take an easier route for instance or take a harder route when things are too easy.
Your follower will be able to predict the events by left clicking on "Continue-x" tile. This ability becomes available after the NPC gains a certain level. You can tell your follower has gained this ability because they will run along with you as opposed to walking behind. In some followers it is also accompanied by a significant change in appearance.
- Easy route: In order to evade any combat events, players must kill at least 1 monster in the event. The monsters on this path are around level 80. Rune armour should be a minimum for combat events on this route. If monsters appear there will be at least 2.
- Medium route: In order to evade combat events, the player must complete at least 33% of the event first. Monsters will be around level 110. Prayer may be useful for certain events depending on the player's level, so choosing pure defence armour or prayer armour will be at the player's discretion. If monsters appear, there are at least 3.
- Hard route: There is sometimes no way to evade any event. The monsters are around level 140. Prayer will be important to surviving this route at any level, so having Prayer boosting gear is recommended. Escorting a weak follower is not recommended for this route but it is possible. If escorting a "hard" NPC certain events, such as the Giant Snake and Giant Snail events, are particularly difficult. In these events, and a few others, multiple monsters will attack your follower extremely fast and can deliver a significant amount of damage in a very short period of time. If monsters appear there are at least 4.
Supplying your follower
Followers can hold 28 items of food in their backpack, also called the Follower Inventory. It will retain items from one trip to the next, even after logout, and is shared between all followers. So anything given to one is available to all followers, regardless of difficulty and location.
It is a good idea to fill the follower's pack before starting a trek, while talking to them, and before agreeing to escort them.
To fill the pack, trade the desired food. The trade will be accepted immediately. It is not possible to see what is already in the pack, only how many more items can be given. The follower inventory can only be filled with food. If a player tries to trade the follower something else it gives the following message: 'You can only trade food to trek NPCs.'
After giving food to the follower it is recommended to then return to the bank to retrieve additional food for the trip. Once ready, restart the dialogue and agree to escort it to Burgh De Rott.
You cannot take the food you have already given your follower.
The follower can be given untradeable foods, such as the Baron Shark .
During the events the follower can be resupplied with food. For this reason, it is advantageous to allocate one inventory slot for a sack filled with a food, such as cabbages, allowing for the healing and food replenishment of the follower as much as 10 times per inventory slot.
Your follower will also have a Druid pouch.
Recommended equipment
The following items are recommended:
Weapons and armour
- Most monsters are weak to magic after the Evolution of combat, so bring the best staff/wand with the best spell you have. As the combat triangle is much more important now, you should bring a crushing weapon for snails and a bow and some arrows for snakes too.
- Vampyres and Vampyre Juvinates can only be harmed by relatively weak silver weapons, or the strong Blisterwood weapons. So one of the following weapons, from best (1) to worst (4), should be the weapon of choice.
 Blisterwood weapons may be used after some progress in the quest Branches of Darkmeyer has been made and are the best choice as they are the most effective against vampyres and faster than the Ivandis flail. There are weapons for each combat style, allowing the player to safe-spot Vyrewatch and Juvinates with the Blisterwood stakes (for ranged), though as they now are weakest against magic, the Blisterwood staff is highly recommended (it also has +2 Prayer bonus). The Blisterwood polearm offers faster hits if using melee. Players have been forced to teleport out of Vyrewatch events because they could not harm them enough with other weapons.
- Ivandis flail requires completion of Legacy of Seergaze. It is the only way to harm and kill the Vyrewatch unless some progress in The Branches of Darkmeyer quest has been made. The more experience with the flail, the better. As it acts as both a silver sickle(b) and Rod of Ivandis, it allows the player to deal with both ghasts and juvinates.
- Rod of Ivandis requires In Aid of the Myreque and will perform capably. Using its special with Guthix balance potion allows the player to finish off Juvinates at slightly below 50% health. This does not use any charges; however if its special is used and the Juvinate is killed using the Rod, a charge will be used up.
- Other silver weapons:
- A blessed silver sickle is recommended if you do not have access to the Ivandis flail or the rod of Ivandis, as it prevents swamp decay if players are ejected from the game into the swamp.
- Silver bolts used with your best crossbow (At least a black crossbow is required, but rune or better is recommended)
- Darklight/Silverlight, or Wolfbane are fast and have a prayer bonus, but will not perform as well
- A Blessed hatchet may be used as a weapon, but not to repair the bridge or gather logs (you will use the hatchet in your toolbelt for both cases).
- Dragon halberd can be very useful to melee monsters safely, especially if they get stuck behind obstacles.
- Snelm for fighting Giant snails.
- There are more than a handful of Undead monsters here, so a Salve Amulet (e) is recommended.
Inventory
- Druid pouch or Ouroboros Pouch to defend against Ghasts. Stock up before starting. It can be used to protect your food from turning into rotten food. One trick to prevent the rotting of food if you don't have a druid/ouroboros pouch is to drop all the food in your inventory when you encounter the Ghast event, occasionally picking it up and dropping it again so it doesn't disappear. All your trek followers have druid pouches though, so if you don't have one for any reason, you can hide behind your follower near the entrance and wait for his or her pouch to activate.
- Food for personal healing and to heal the follower. Remember that the follower can accept any type of food mid-trip. Lobster, Swordfish or Monkfish is generally recommended, depending on your combat level, expertise, and whether you use Prayer, or not. For a player with high combat stats and good armor, it is possible to not use food at all, though it is still advised to bring some. It may also be useful to bring 3-5 pieces of low level food for the campsite event. To save money and inventory room for the campsite event, take a bag of cabbages (10) with you.
- Recommended to bring low level food, such as cabbages or potatoes in sacks that can hold ten at a time, so you don't have to kill the snails for their meat. Cheese wheels are also effective for the campsite puzzle.
- It may be worth it to bring a Super defence potion to help tank monsters to avoid damage done to your follower. To speed up kills with the hard characters you might bring a magic potion of some kind. If doing easy/medium, you won't be needing combat boosts because the followers should do all the fighting.
- Prayer potions are optional, but recommended for players who intend to make significant use of prayers. In this case a Holy wrench and the Reverence Aura might also be helpful, as it will increase the amount of prayer restored when using a prayer restoring potion.
- Beast of burden familiars and combat familiars are very useful as noted above. Fruit bats are also useful, since the pineapples can be cut up into four rings which will allow you to feed the campsite victims, and the other fruit can be used as healing, opening up your inventory for drops.
- Snelm for protection against the giant snails' ranged attacks.
- Drakan's medallion For quick acess to Burgh de Rott & the bank. If you fail a trek as you can just teleport out & restock.
- Enough open space to pick up items quickly during events.
Prayer
During treks it is recommended, but not necessary, to have full prayer points. Certain monsters in the events can hit hard (so Protect prayers come in handy). Also, you need prayer points to collect items for druid pouches, if you need any. The Paterdomus temple and Nature Spirit altar are quite close by to the start of each route. If you have it, the Ardougne cloak teleport option to the Kandarin monastery can come in handy to recharge prayer inbetween treks. Prayer potions can be used too. However, higher-level players who have brought the correct equipment should have little need of prayer though it does make it safer and easier for lower-level players.
Events
Abidor Crank event

Try to position enemies so that your follower may train.
There are 3 different types of events that might happen when you're moving forward - friendly events, combat events, and puzzle events. The specific event and difficulty of completing may depend on the difficulty of the route taken, although most events are possible regardless of difficulty.
Once an event occurs, the player and follower are pulled into the event area. The player will start in front of a section of path with blue stones. Right-clicking will display an Escape option, which completely abandons the trek and leaves the player wherever they have reached on the map, often in the middle of Mort Myre Swamp. At the opposite end of the area is the path that allows the player to "Continue-trek", once the event is completed. In combat events on the easy and medium routes, there are paths that evade-event that when used will skip the event and continue trekking, adding no reward and increasing the chance for another event. On the medium route, 33% of the monsters must be killed before being able to use Evade-event.
Friendly event
A man named Abidor Crank will appear as an event and heal you and the follower, above maximum health if applicable and buff defence. He also turns all Rotten foods into Stews. Getting this event adds nothing to the end reward.
Combat events
In combat events a certain number of enemies will attack the player and the escort. For most of the combat events, the monsters give a few seconds before attacking. This is the player's chance to position themselves between the follower and the monsters. Combat events provide the majority of the end reward when completed.
| Monster Name | Notes |
|---|---|
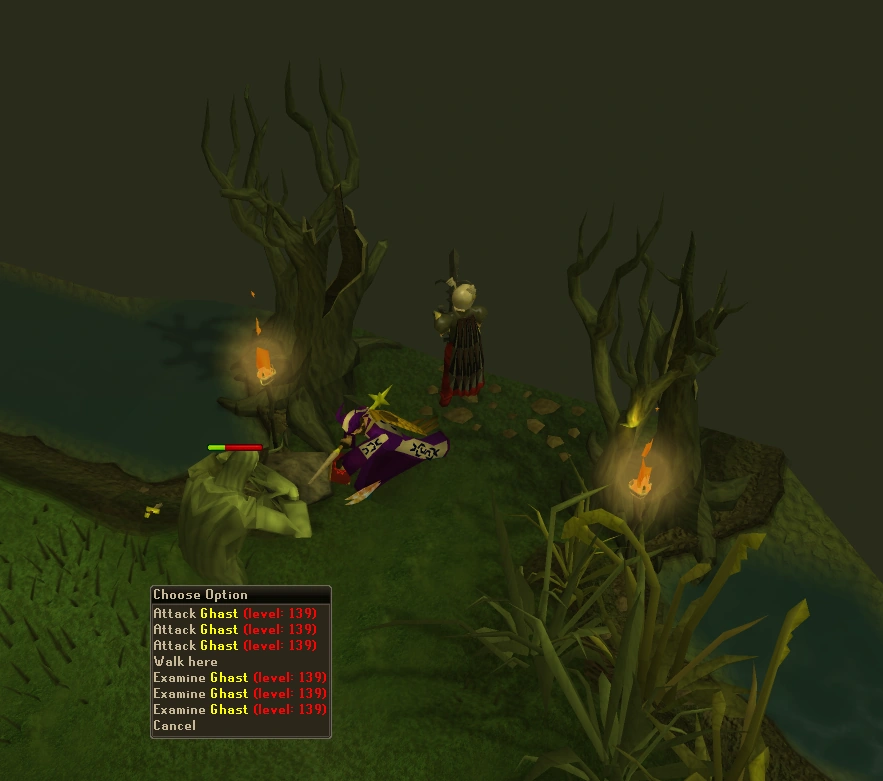
| Ghasts | 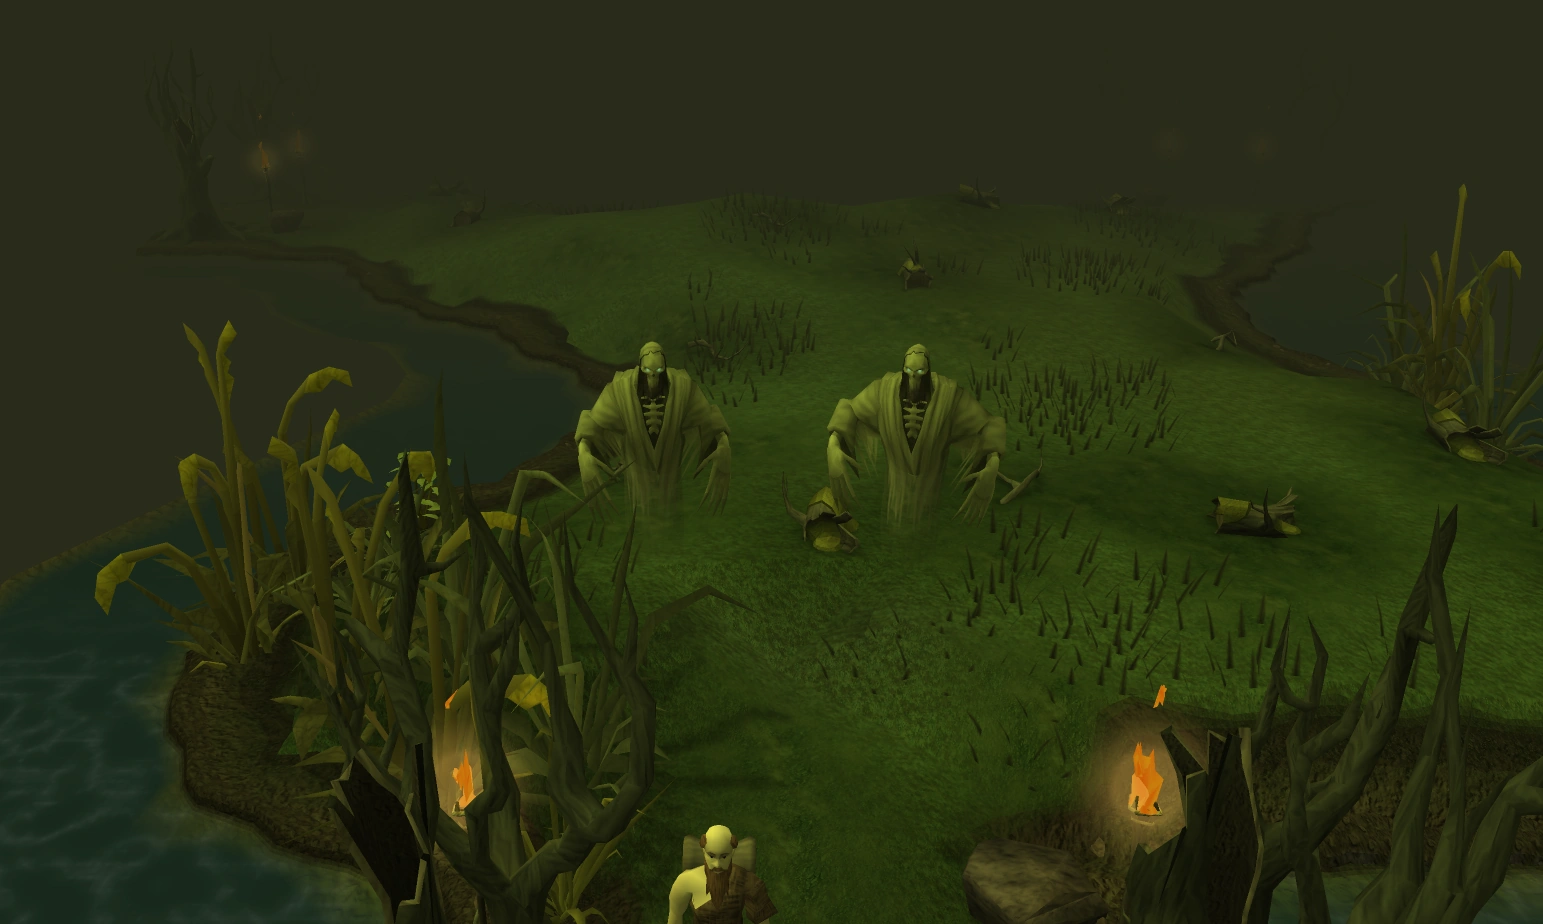
|
| Giant snails | 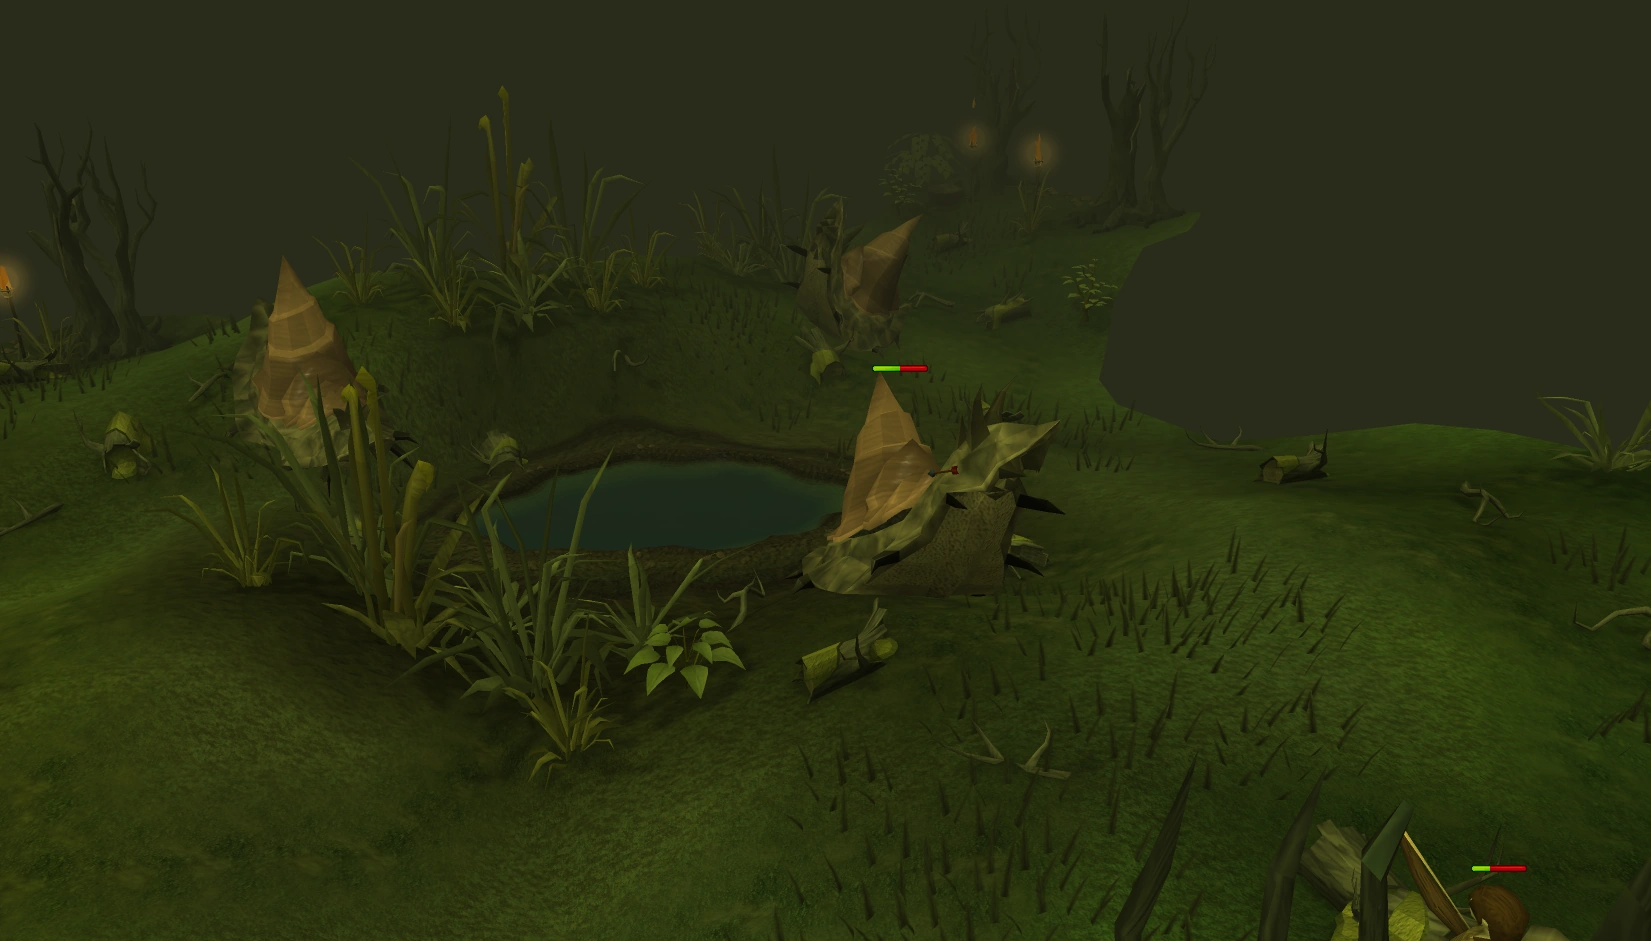
|
| Graveyard | 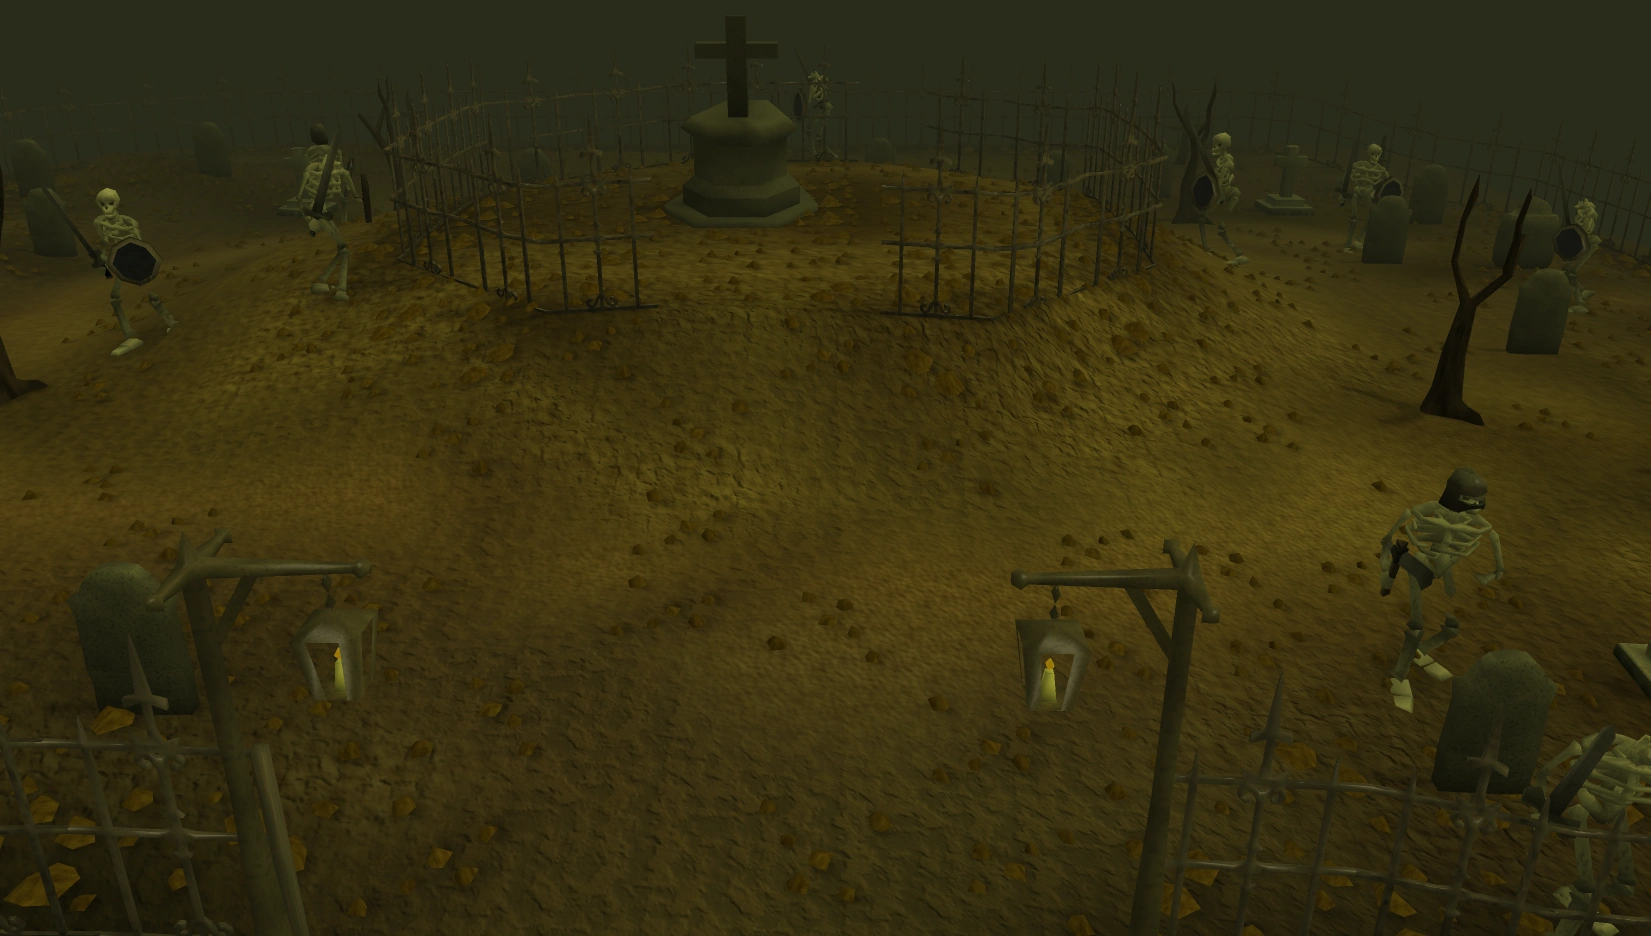 |
| Juvinates | 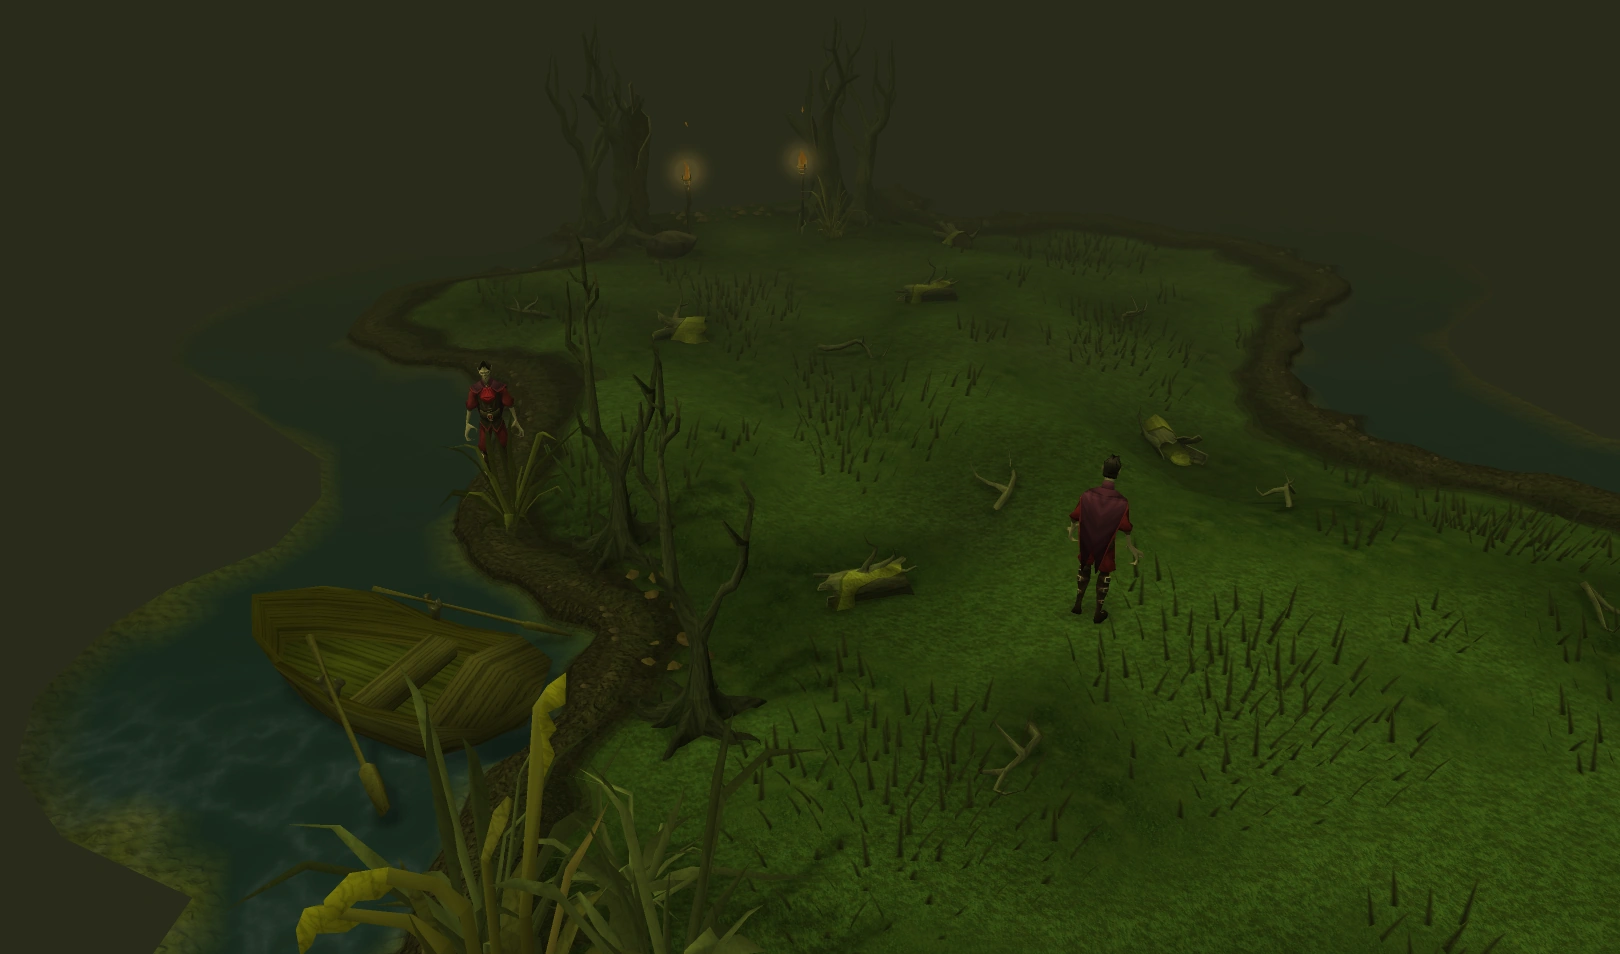
|
| Nail beasts | 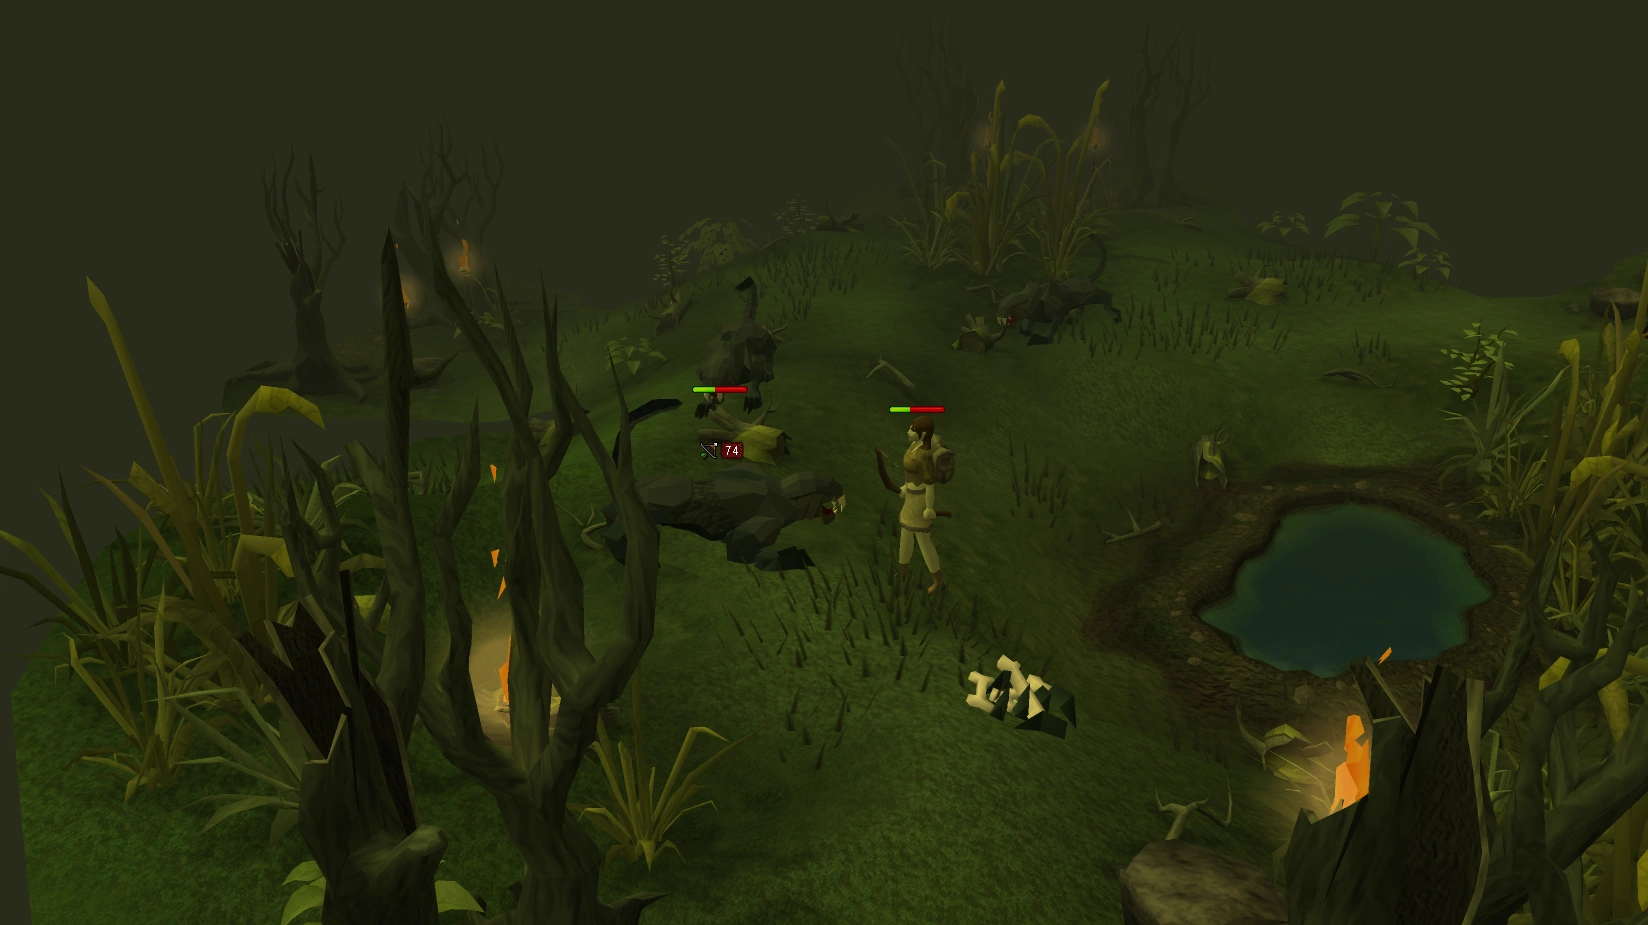
|
| Shades | 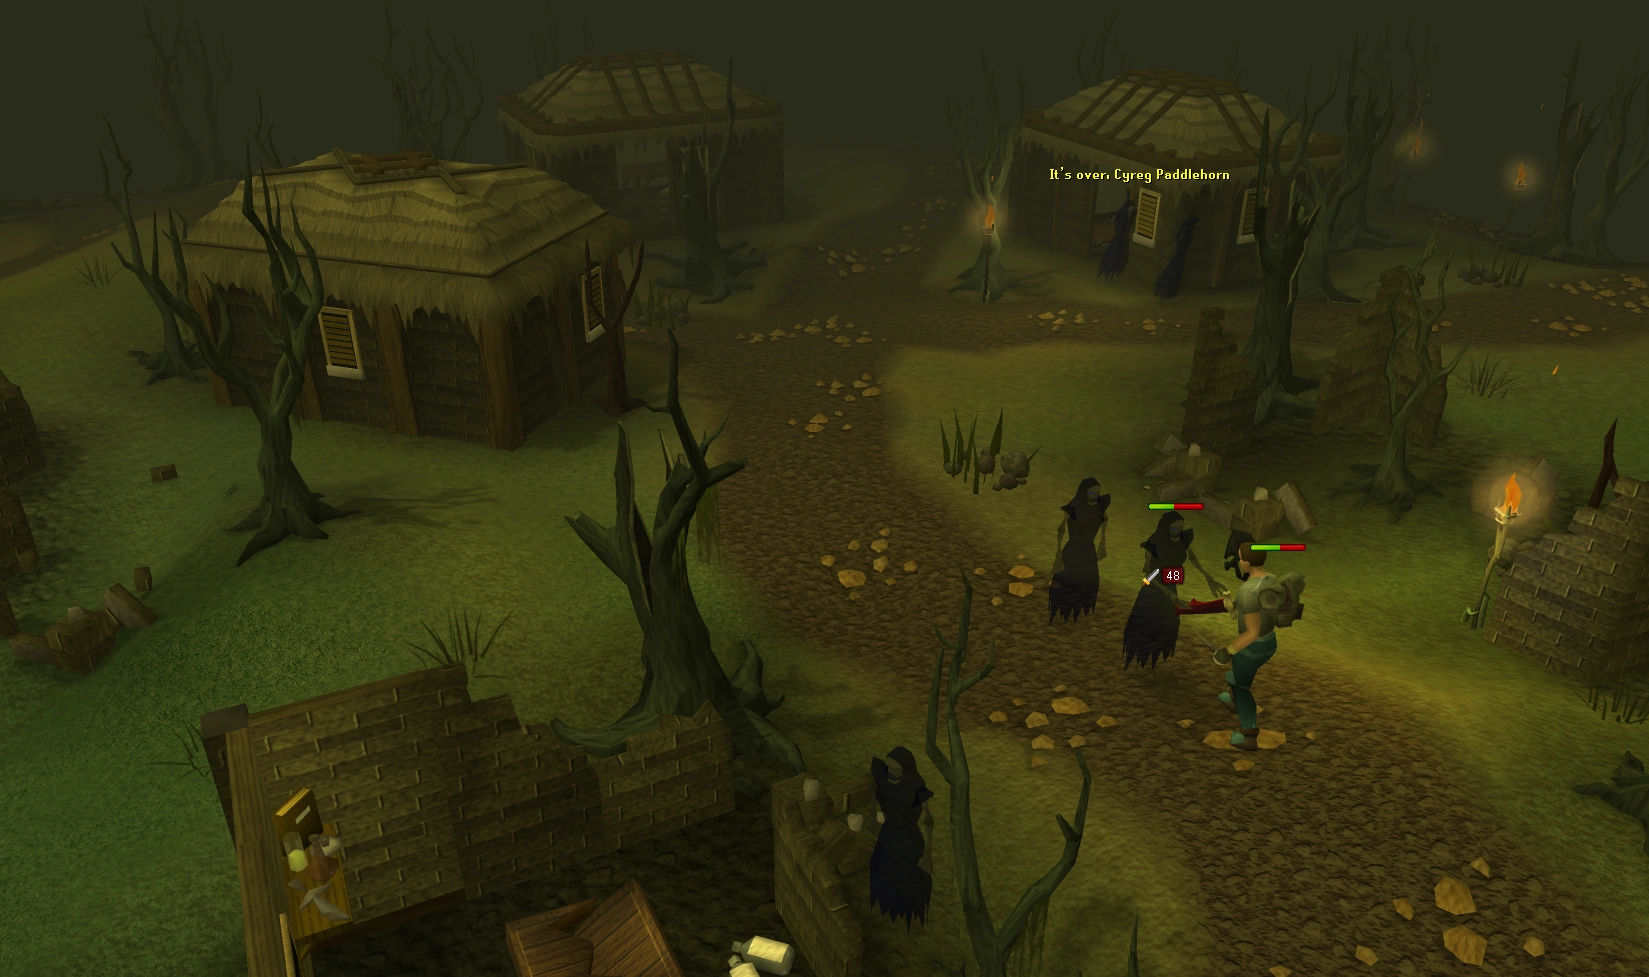
|
| Swamp Creatures | 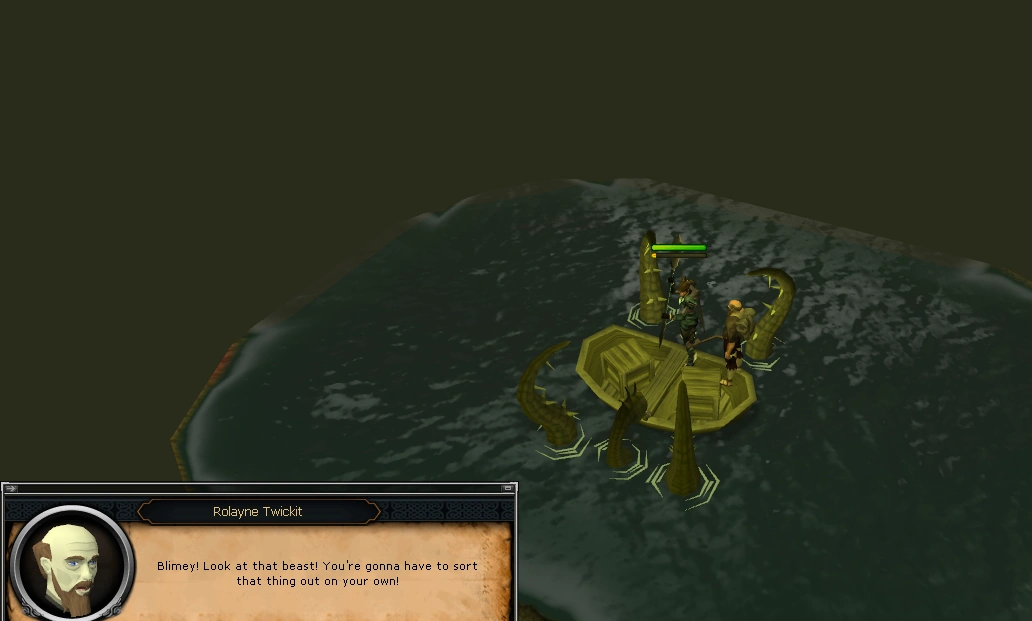
|
| Swamp snakes | 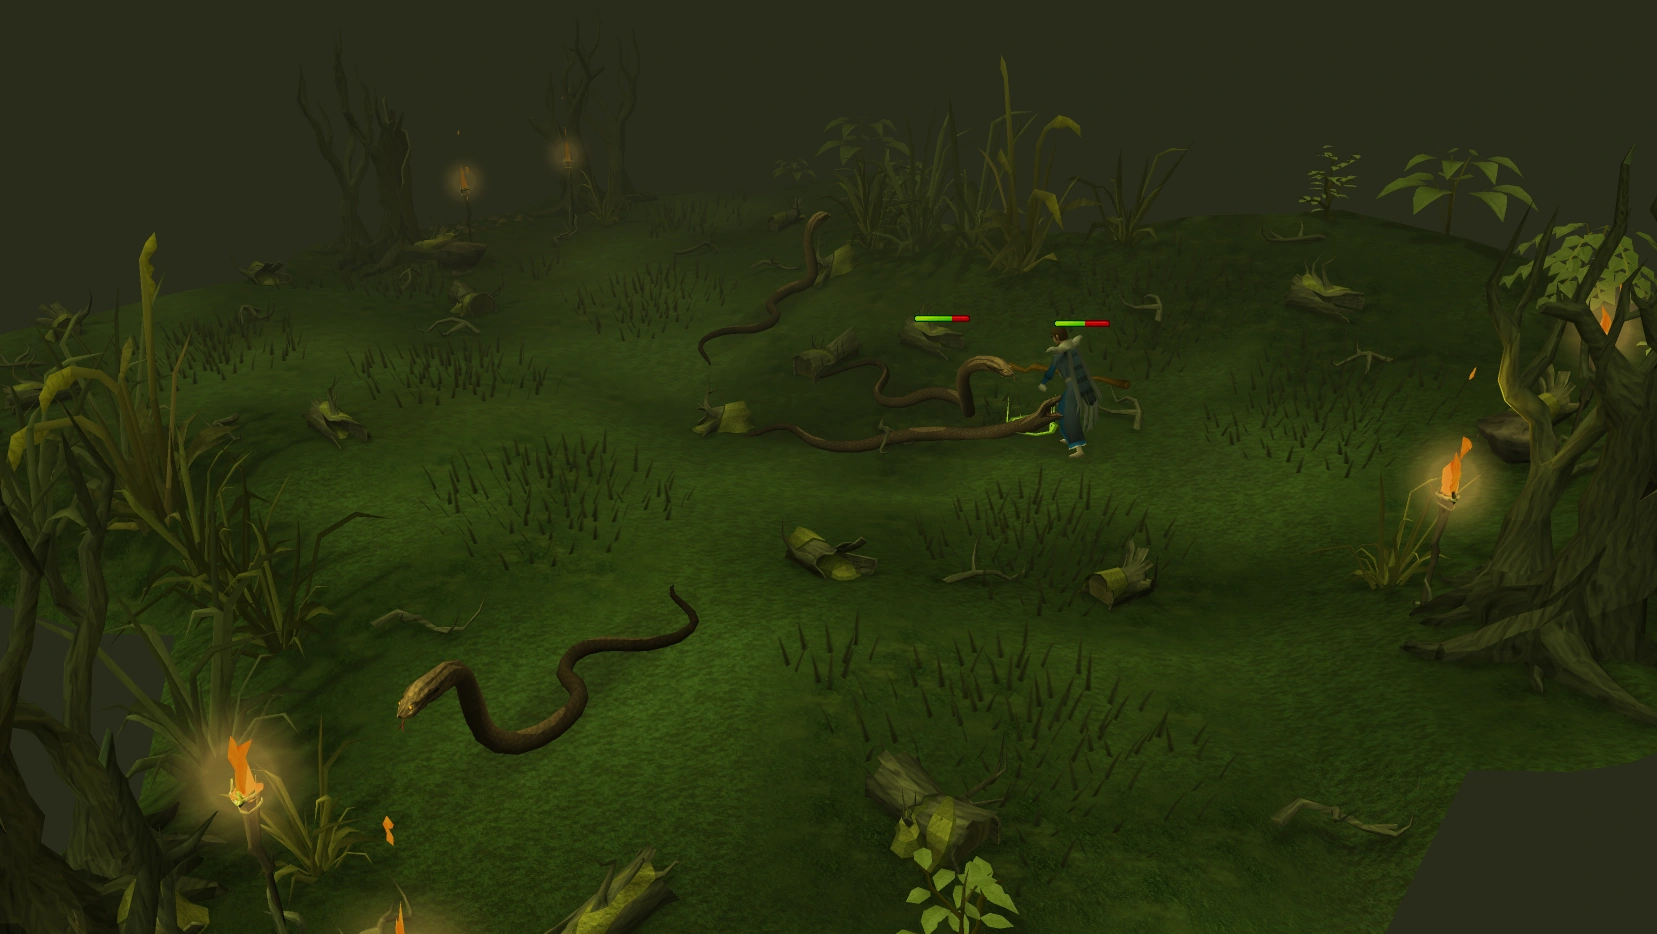
|
| Vyrewatch | 
|
Puzzle events
Puzzle events will require you overcome an obstacle before continuing the trek. Normally, there are no monsters to fight in these events. If there are, they are just required to be beaten to complete the puzzle. The monsters are not hard to kill as their level is always the same no matter the difficulty of the path selected. After attaining a certain level, your follower might assist you in these events by starting a fire or cutting logs for you.
| Puzzle Name | What to do |
|---|---|
| Bog | 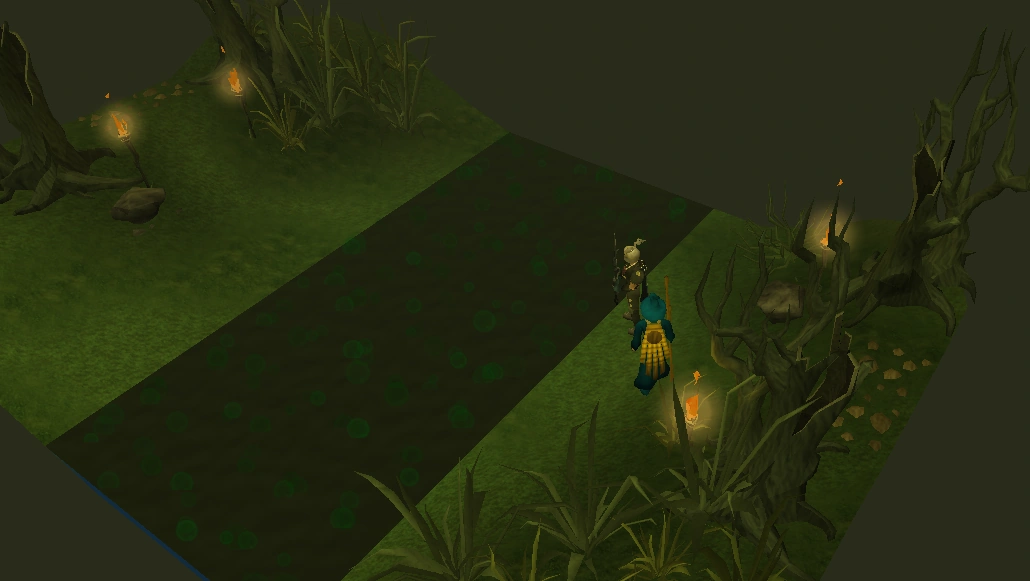 |
| Bridge | 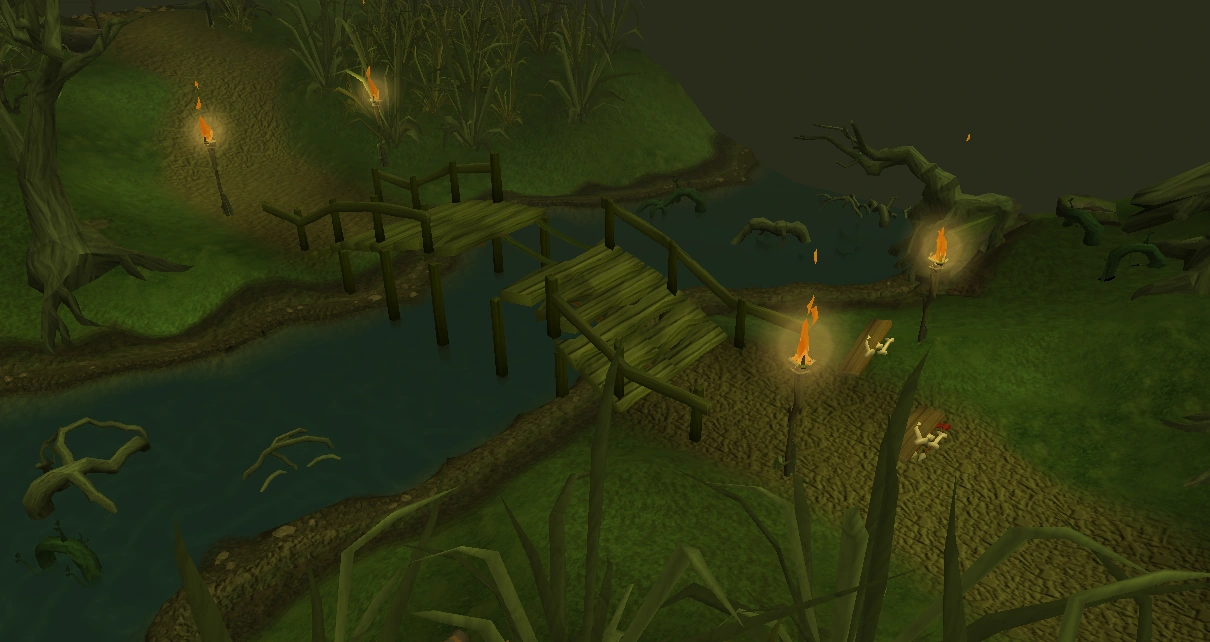
|
| Campsite | 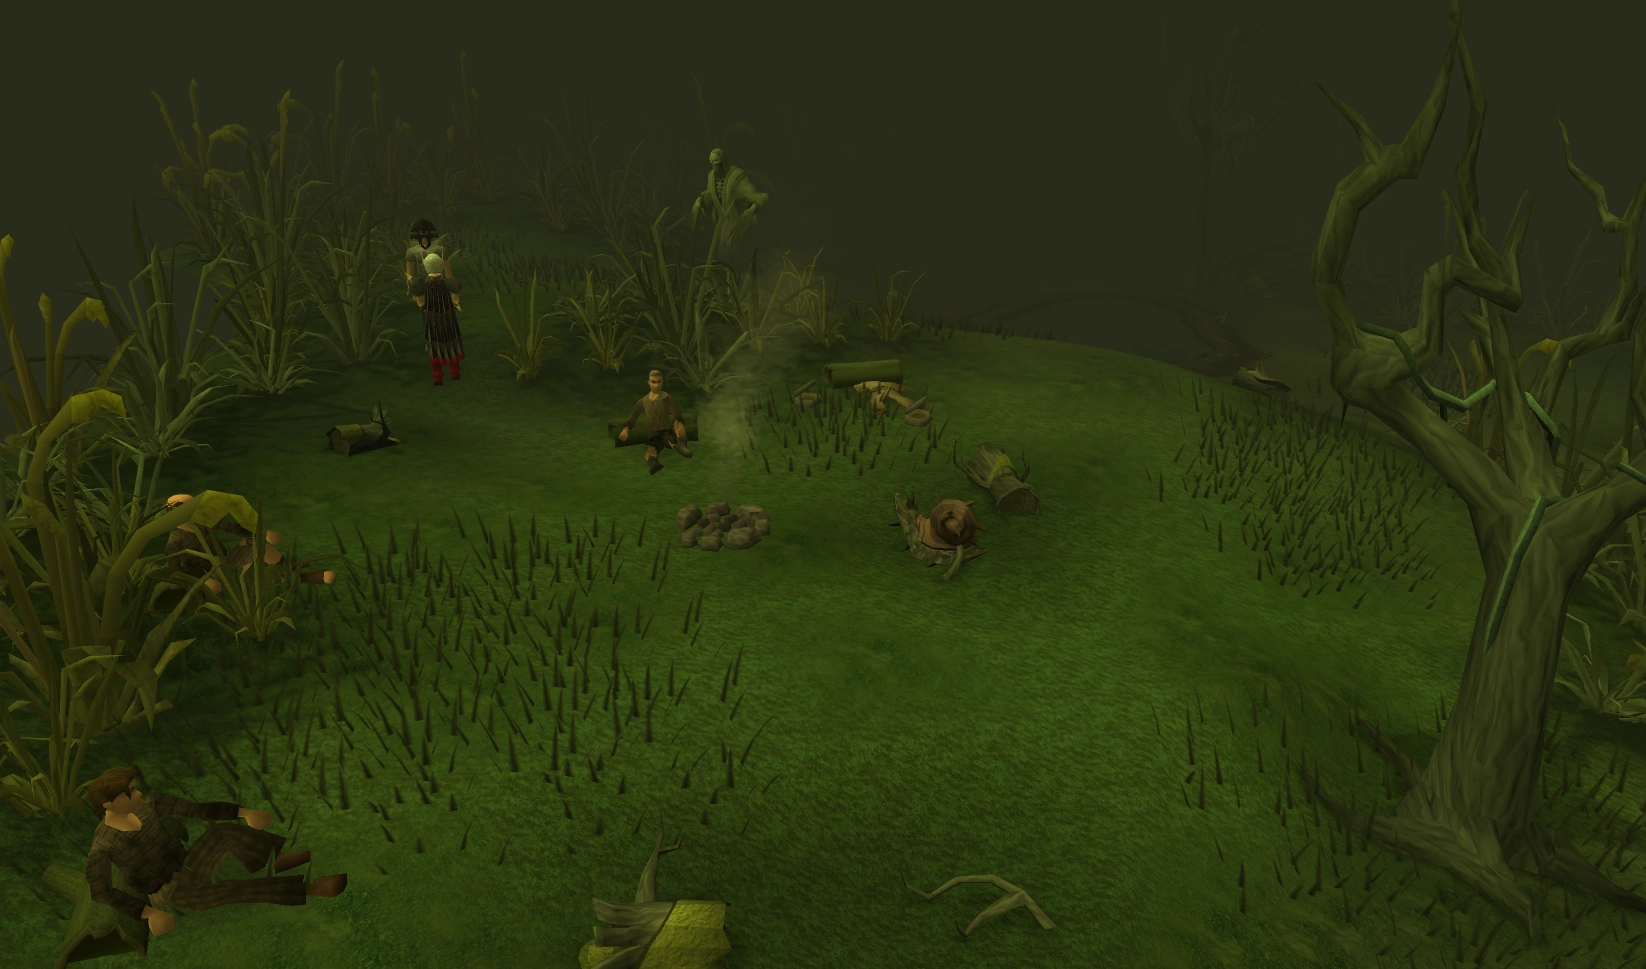 |
| Grotto | 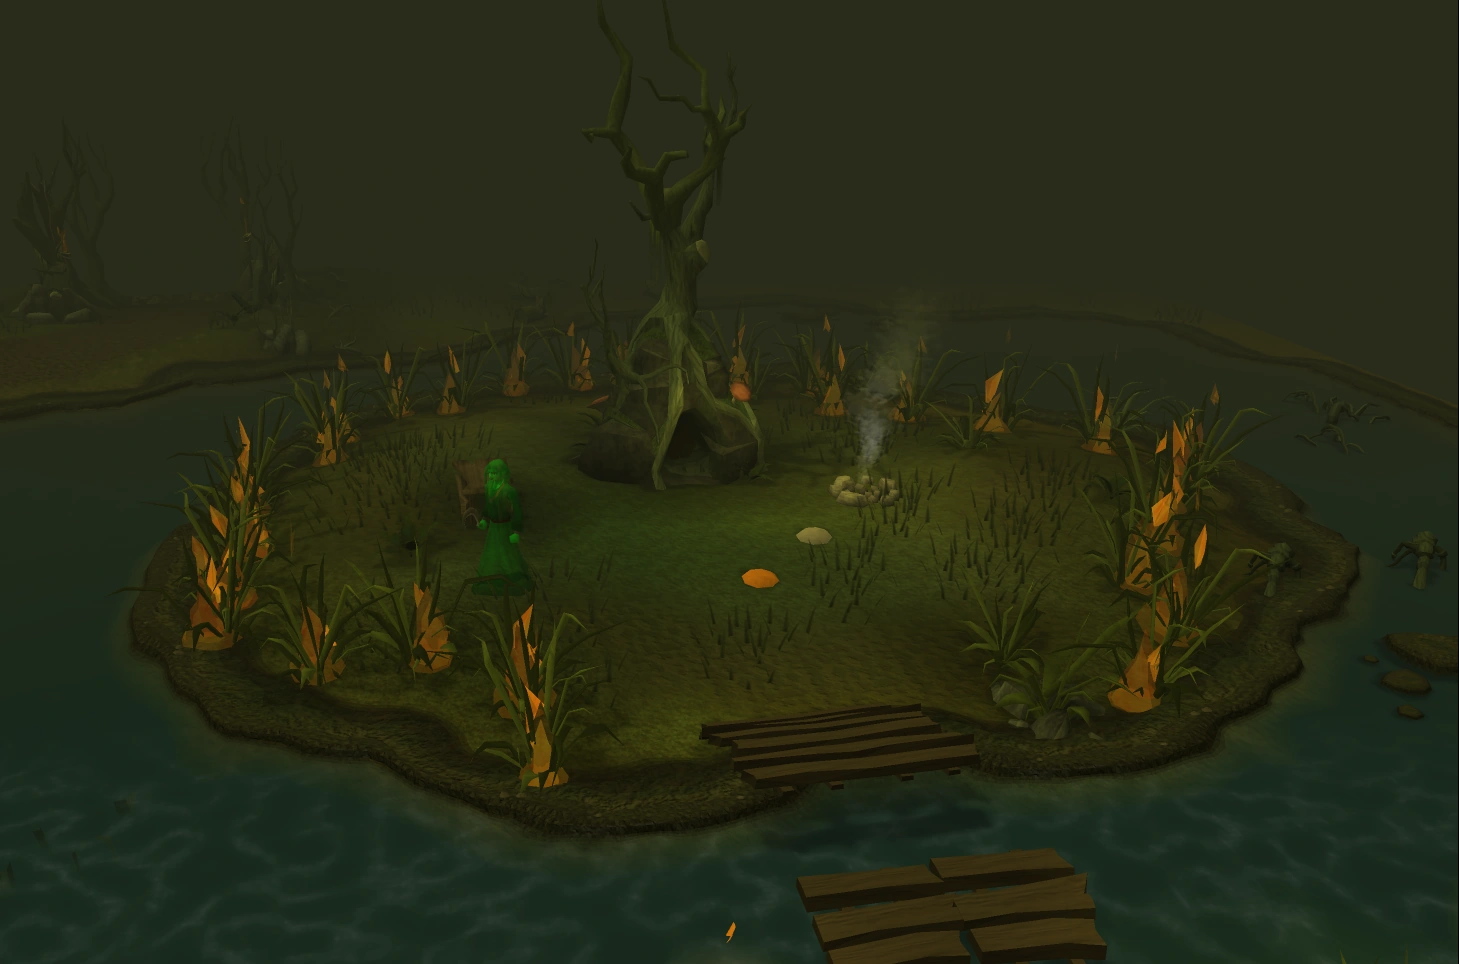 |
| River |  |
Follower's predictions
If you don't want to do any of the paths predicted, log to lobby, re-login to the same world, continue your trek, and you will get three new options to choose from.
When they are unable to predict what is on the path:
- "This looks to be the easiest route. Are we going this way. then?" - Event from the Easy Route
- "Should be fairly challenging for us. Is this the way you want to go?" - Event from the Medium Route
- "This will probably be the hardest way forward. Are you sure?" - Event from the Hard Route
Easy Route:
- "Do you see that river down ahead this way? It looks like we'll have to get over it if we go that way." - River puzzle event.
- "Oh no! I can see a fair few ghasts this way. We should be careful." - Ghasts combat event.
- "I can see some sort of vampyric creatures down there. They won't give in without a fight." - Either Juvinates or Vyrewatches combat event.
- "What in the name of Guthix is this? I can see injured people ahead in the way!" - Campsite puzzle event.
- "That's the town of Mort'ton up ahead and it looks like it's in trouble. We should be ready to fight if we head that way." - Shades combat event.
- "There is something moving around ahead and I fear it[sic] heard the hiss of a snake..." - Swamp snakes combat event.
- "Did you see that? There seems to be some sort of broken bridge ahead." - Bridge puzzle event.
- "I can see strange dark shapes slinking around in the myre ahead. Tread carefully if we go that way." - Nail Beasts combat event.
- "What's this? There's a group of snails ahead!" - Giant snails combat event.
- "There seems to be a strange man up ahead." - Abidor Crank friendly event.
- "It looks like that nature spirit's grotto is surrounded by ghasts ahead!" - Grotto puzzle event.
- "So Close! I can see the Morytania gates, but there are enemies blocking the way!" - Either Juvinates or Vyrewatches combat event. (Temple Trekking only)
Medium Route:
- "Should be "The nature spirit's grotto is this way, and it looks like he's under attack!" - Grotto puzzle event.
- "Watch out. There are spectral beings floating around that way." - Ghasts combat event.
- "It looks safe ahead, but there is a bit of water we'll have to traverse if we want to go this way." - River puzzle event.
- "It's difficult to see, but I think there are people ahead. It doesn't look good." - Campsite puzzle event.
- "I can just about make out a graveyard down there. It looks like it could be an ambush." - Skeleton Graveyard combat event.
- "You'll need to be handy with repairs to head this way, if we are to cross the river." - Bridge puzzle event.
- "I can see Mort'ton, and the villagers look to be in trouble!" - Shades combat event.
- "I can't see properly, but there are some slimy trails on the floor." - Giant snails combat event.
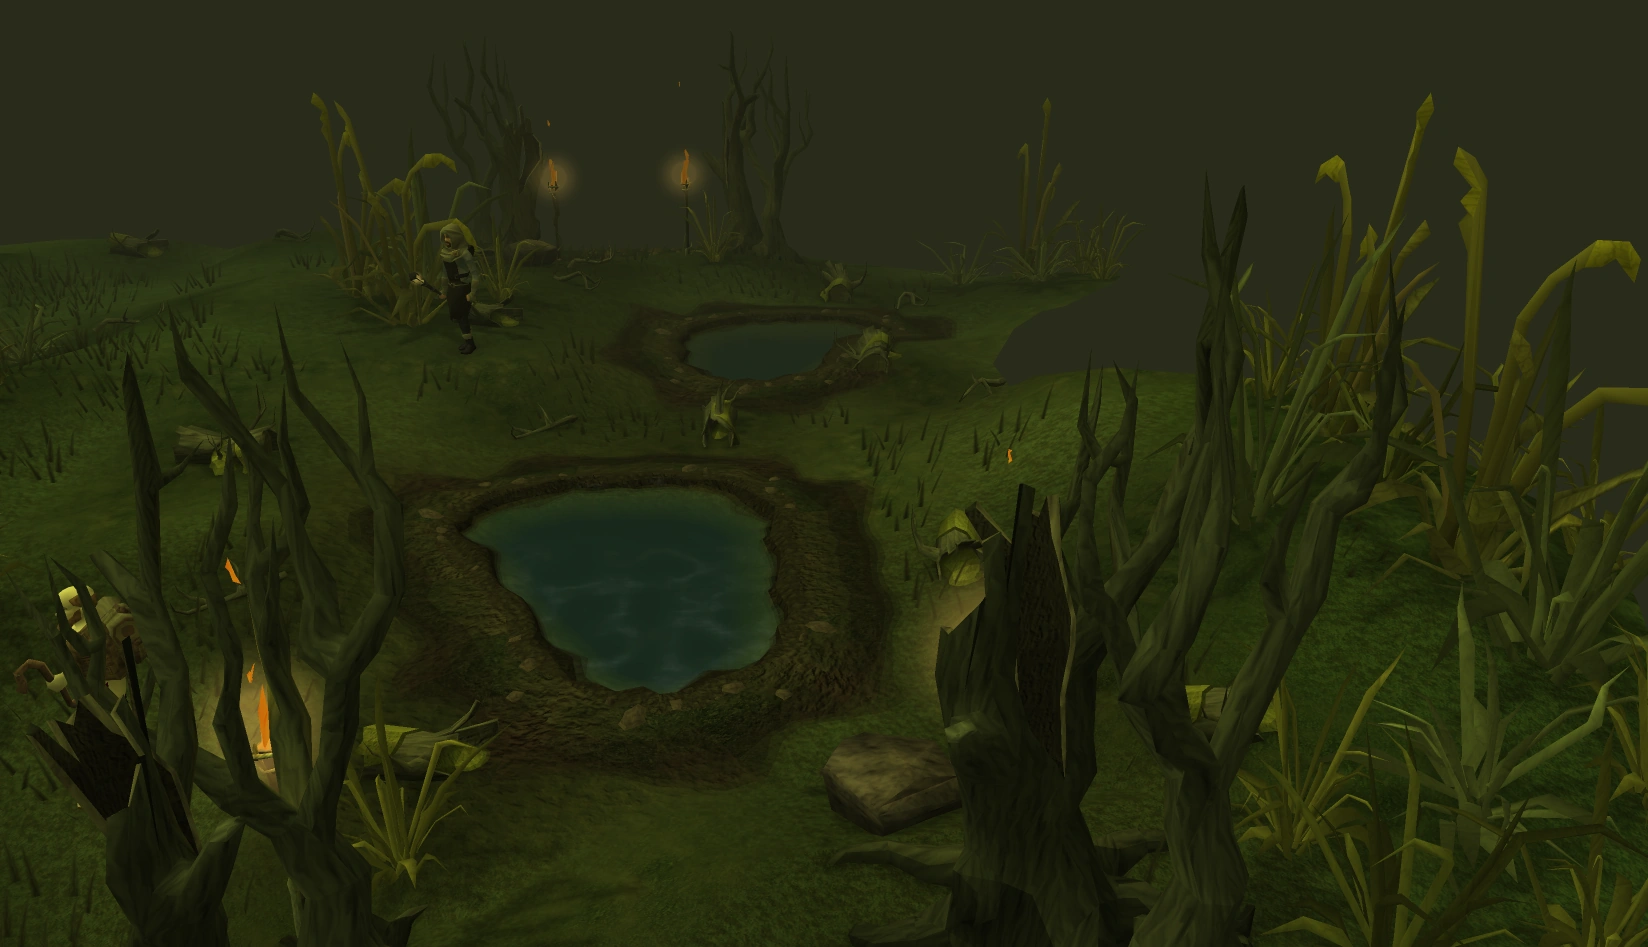
- "There doesn't seem to be much moving this way, except perhaps the floor!" - Bog puzzle event.
- "The curse of Morytania is strong that way. There are vampyric creatures lurking ahead." - Either Juvinates or Vyrewatches combat event.
- "Be careful if we go this way. I can see some things sneaking around." - Nail beasts combat event.
- "There's something moving up ahead, but I can't make it out properly." - Abidor Crank friendly event.
- "Tread carefully this way. I'm pretty sure snake slithered across the Myre in the distance." - Swamp snakes combat event.
- "Well that's the exit of the swamp, but it's not without danger. There are creatures ahead!" - Either Juvinates or Vyrewatches combat event. (Temple Trekking only)
Hard Route:
- "Mort'ton is under attack and it doesn't look good! It'll be a tough fight this way into the town." - Shades combat event.
- "Looks like we've got a fight on our hands if we head this way. I can see Filliman ahead and he's in trouble!" - Grotto puzzle event.
- "Did someone order the snail?" - Giant snails combat event.
- "Careful! I can see vampyric creatures skulking around up ahead." - Either Juvinates or Vyrewatches combat event.
- "There are some massive snakes moving around ahead; should be an interesting fight." - Swamp snakes combat event.
- "There's a river this way and I can't see a clear way across it, I'm afraid." - River puzzle event.
- "Nasty! Do you smell that? There's definitely a bog this way. Even though I can't see it, I can smell it!" - Bog puzzle event.
- "Nail beasts! You don't see them much these days. We'll be in for a big fight if we choose to go this way!" - Nail beasts combat event.
- "Ghasts! We'll need to have our wits about us to get past these." - Ghasts combat event.
- "Hmm, it looks to be empty. No, wait... There is a man walking around up ahead." - Abidor Crank friendly event.
- "There's a nice-looking bridge this way... Well, it would be nice if we could cross it!" - Bridge puzzle event.
- "Careful this way, too; it's a strange graveyard. I've heard the dead still stir in the area." - Skeleton Graveyard combat event.
- "It looks like some wandering adventurers have had a bad run in with ghasts up ahead. They might need our help." - Campsite puzzle event.
- "There's a swamp boat this way that I'm sure will speed up our journey." - Swamp Creature combat event.
- "It's the gate out of Mort Myre, but getting out alive will be a challenge." - Either Juvinates or Vyrewatches combat event. (Temple Trekking only)
Rewards
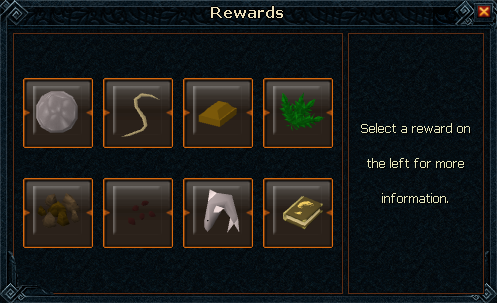

After successfully completing a trek, the follower will give a Reward token, which will be blue, yellow, or red tokens depending on the follower chosen, route chosen, how well events were handled and the amount of damage that the follower takes. The reward amount is determined by how many monsters are fought and what level they were, and how many puzzle events were completed. This is further explained below. You can exchange your token for rewards by left clicking on the token. Note: You do not receive a reward token when your follower does all the attacking, when every event is evaded, or when your follower teleports out due to low health.
Typically, this is the usual setup for tokens. Even if you take the hardest route you can still get a yellow token from your follower.
- 2 fights and 1 puzzle or 3 fights - Red token
- 1 fight, 2 puzzles or 1 fight and puzzle - Yellow token
- 1 fight or 1 puzzle - Blue token
If your inventory is full upon arrival of the destination, your reward will be sent to your bank. If your bank is full it will be dropped on the ground.
Possible rewards:
| Item | Amount received | ||
|---|---|---|---|
| Blue token | Yellow token | Red token | |
| Pure Essence | 50-150 | 70-210 | 100-300 |
| Bowstring | 30-90 | 40-120 | 70-210 |
| Silver bar | 55-165 | 75-225 | 120-360 |
| Herbs; all kinds. | 10-30 low herbs (Guam to Harralander) |
3-11 medium herbs (Ranarr to Kwuarm) |
2-7 high herbs (Snapdragon to Torstol) |
| Coal and Iron ore |
14-42 7-21 |
20-60 10-30 |
40-120 20-60 |
| Watermelon seeds | 2-8 | 4-12 | 5-15 |
| Raw sharks | 8-24 | 10-30 | 18-54 |
| XP Tome | 1100 - 1650 (xp) |
2035 - 3025 (xp) |
4015 - 5005 (xp) |
This table shows the max reward possible on any trek for each item.
| Item | Max amount | Max Profit |
|---|---|---|
| Pure Essence | 300 | 9,000 |
| Bowstring | 210 | 80,430 |
| Silver bar | 360 | 206,640 |
| Herbs; all kinds. | 30* | |
| Coal and Iron ore | 120 and 60 | Lua error: . |
| Watermelon seeds | 15 | Lua error: . |
| Raw sharks | 54 | Lua error: . |
*Blue token 10-30 low herbs, Yellow token 3-11 medium herbs, Red token 2-7 high herbs.
Experience tomes
A Tome of Learning can be chosen as a reward. Unlike most experience tomes, the skill is predetermined and not selectable. These tomes give some experience in one of the following specific skills: Agility, Thieving, Slayer, Firemaking, Fishing, Woodcutting, or Mining. The colour of the tome depends on the colour of the token.
| Item | Level | Xp |
|---|---|---|
| Blue tome | Level 1 | Random amount of experience (1100-1650) in a defined skill. |
| Yellow tome | Level 2 | Random amount of experience (2035-3025) in a defined skill. |
| Red tome | Level 3 | Random amount of experience (4015-5005) in a defined skill. |
Additional rewards
Follower rewards
In addition to the rewards received from completing a trek, rewards are also gained through getting the followers to reach a certain level. These rewards can be claimed by using the noticeboard at the start point for the Treks.
Rewards for a single follower can be claimed from the respective follower's noticeboard tab. On the right under their level click on the green text to claim/toggle it.
Rewards for your followers' total level can be obtained on the Rewards tab by clicking on the total count once it's green and then clicking the "claim" button.
- Constructor's outfit - An outfit that when worn gives a bonus to Construction experience received. The pieces are obtained separately as follows:
- Constructor's gloves - Training Pazuzu to level 85.
- Constructor's boots - Training Zachory Bragg to level 25.
- Constructor's hat - Training the companions to a total level of 200 or higher.
- Constructor's trousers - Training the companions to a total level of 300 or higher.
- Constructor's garb - Training the companions to a total level of 400 or higher.
- Rambler's backpack - Obtained by training Dean Vellio to level 25. This is a cosmetic item worn in the cape slot.
- Walking stick - Obtained by training Rolayne Twickit to level 40.
- Ouroboros pouch - Obtained by training Jayene Kliyn to level 99. The pouch acts as unlimited Druid pouches.
- Shortcut from the swamp gates to the Nature Grotto - Obtained by training the companions to a total level of 100 or higher.
Shortcut from the swamp gates to the Nature Grotto
- A Trapdoor Shortcut in Canifis to Mort'ton - Obtained by training Zachory Bragg to level 99. This shortcut uses the same trapdoor behind the tavern in Canifis. In order to use this shortcut, the option must be toggled on in the character interface by clicking on Zachory Bragg's level 99 description. The shortcut places the player's character next to the swamp boat in south-eastern Mort'ton.
A trapdoor shortcut in Canifis to Mort'ton
- Burgh de Rott Teleport - unlocks a teleport to Burgh de Rott on the games necklace. Obtained by training the companions to a total level of 500 or higher.
- Ghast familiar - A familiar that prevents food decay in Mort Myre Swamp, gives Prayer experience for damage, makes ghasts non-aggressive in Morytania and restores 100 prayer points when the special move is used. Obtained by training the companions to a total level of 594, with an additional cost of 50,000 coins.

Drops
Many of the monsters faced in this minigame will drop items, and these can be useful or valuable. Some of these drops can only be obtained by taking part in the minigame. These include:
- Lumberjack clothing - a four-piece set that when worn gives a boost to woodcutting experience. The clothing is received as a drop from Undead Lumberjacks during the Bridge puzzle event.
- Nail beast nails - Dropped by Nail beasts. Used in Herblore to make Sanfew serum
- Talon beast charms - Dropped by Nail beasts. Can be used in Summoning to make talon beast pouches for a large amount of experience.
- Swamp snake hides - Dropped by Swamp snakes. Can be made into Snakeskin armour, or used in Summoning as the tertiary ingredient for Spirit cobra pouches.
- Shade remains - Dropped by Riyl shades, Asyn shades and Fiyr shades depending on the difficulty. They can be cremated as part of the Shades of Mort'ton minigame.
- Snail shells and Perfect snail shells - Dropped by giant snails. Can be sold to Barlak in Dorgesh-Kaan for 600 coins or 1000 coins & 500 Crafting experience, respectively.
History
- Before the 13 March 2007 update, you were required to travel back to Burgh de Rott to collect the reward and restart the game. Now, the player has the option to escort mercenaries from Paterdomus to Burgh de Rott for a reward in the same fashion if Darkness of Hallowvale is completed. This allows the game to be endlessly repeated with rewards at each end of the trip.
- Before 24 April 2007, Wildblood seeds were given instead of Watermelon seeds, the maximum amount being 55.
Revamp
On 17 August 2011, the minigame received a major overhaul. A great deal was changed with this update. Previously, there were many more followers that could be selected (see below), and the follower would not take part in combat, unless attacked. There was also no levelling system for the followers. The treks were started by talking to the NPC. A few new followers were added with the update.
The trails themselves functioned differently - the player would select the difficulty before the trail and would have to complete the whole trail at that difficulty. Two new events were added - the graveyard of skeletons and the nature grotto fires, which previously did not exist.
The rewards system was also slightly different before this update - previously, players could not choose rewards, they were received at random by turning in the reward token at Hiylik Myna at Paterdomus or Cornelius in Burgh de Rott. A number of new rewards were added with the update, such as the constructor's outfit, the shortcut to the Nature Spirit's grotto, the teleport to Burgh de Rott and the Ghast familiar.
Additionally, the events received a major graphical update, as did the monsters, such as Ghasts and Vyrewatch.
The previous followers available, now removed from the game, were:
- Easy: Fyiona Fray, Dalcian Fang, Mage and Adventurer
- Medium: Valantay Eppel, Ranger and Apprentice. Jayene Kliyn used to attack barehandedly.
- Hard: Woman-At-Arms, and Forester. Rolayne Twickit used to be at Burgh de Rott and Smiddi Ryak used to be a child.
Initially, anyone who had tokens left over from before the update were unable to redeem them for the new rewards. This was fixed the next day with an update. [1]
In an update on 4 October 2011, following adjustments were made to improve this minigame further:
- Players will now receive 25 Ghastly Attack scrolls instead of 15.
- Attacking an enemy that is fighting your companion will now pull the threat away from him/her.
- "Hard" companions now receive slightly more experience for completing an event.
- Ranger and mage companions’ accuracy has been increased.
- Trekkers will now eat at below 50% health instead of 25%.
Trivia
- If you have an aura active when you receive water-power from the Nature Spirit event it will turn blue and stay blue even after the effect wears off, but it will go back to normal when you swap weapons. The same applies for the charged dragonfire shield but the colour change appears to stay until logout or upon teleport.
- The fire cape seems to be the only item that is too hot to be cooled by the water-power effect, and so the fire cape will not change into blue.
- Despite being named differently from the Druid pouch, the message displayed after revealing a Ghast with the ouroboros pouch remains the same.
- During the Swamp Monster event a number of Internet memes occur, talking to your companion prior to killing the head results in him/her saying "What is this? I don't even...", and also in the dialogue he says "Tentacle alert".
- During the Grotto puzzle event, some companions will respond with "Green guy needs a hand. Seems legit." when talked to before completing the event. This is a reference to another Internet meme.
- It is not possible to cast the High Level Alchemy spell in the course of the minigame.
- In the shades event it is possible to search the shelf and receive the Diary of Herbi Flax from the quest Shades of Mort'ton.
- Raising every follower to level 99 used to be one of the requirements needed to get the trimmed Completionist cape but with the addition of the Morytania task set, this is now a requirement for the Morytania legs 4 and consequently the regular Completionist cape.
- Oddly enough, in the reward token menu, you can choose silver bars as a reward, but the image is a bronze bar.
- When a companion levels during a trek it still uses the old level up fireworks.
- Some companions still use the old graphics for armour (Pazuzu has old mystic robes, Dean's Bandos is updated now).
- Currently when encountering a Ghast in an event if you make them visible using YOUR ouroboros pouch, they will not be hostile and simply stare in your general direction.
- There used to be a glitch where after crossing the bridge on the nature's grotto event and activating the water power, the character would turn blue and then return back to normal for the rest of the event. This bug did not affect everyone and got patched on 2 April 2012.
- During the nature's grotto event, there is a glitch with the dragonfire shield where after you recover from turning blue, the flame on the shield remains blue. This glitch is not visible to other characters. The glitch goes away when you either log out or change a visible piece of armour or weapon. If you re-equip the same piece of armour, the glitch remains. This glitch also applies to the blisterwood staff and the abyssal wand and orb, although the glitch only occurs when both wand and orb are wielded together.
- Also, during the nature's grotto event, there is a glitch in which while the nature spirit does the "fear" emote, he becomes opaque, then turns back transparent when he is done.
- When in the southern side of Fareed's dungeon in desert treasure in which it is possible to see some of the temple trekking scenes. This is because both of them are in the same instanced area.
| Team | |
| Solo |
|
| PvP |
|
| Removed |
|