(Edited Gallery to show new picture of Dominion Sandtower.) Tag: rte-source |
m (Examines are on the respective pages.) Tag: sourceedit |
||
| Line 17: | Line 17: | ||
==Preparations== |
==Preparations== |
||
[[File:Beach party preparations.png|thumb|Reyna amongst heaps of sand]] |
[[File:Beach party preparations.png|thumb|Reyna amongst heaps of sand]] |
||
| − | Half a week prior to the beach party itself players were able to bring Reyna up to 24 [[bucket of sand|buckets of sand]] per day, in exchange for [[ |
+ | Half a week prior to the beach party itself players were able to bring Reyna up to 24 [[bucket of sand|buckets of sand]] per day, in exchange for [[Mystery box (Treasure Hunter)|mystery boxes]]. Mystery boxes could also be obtained through [[Treasure Hunter]] or [[Challenge System/Challenges|daily challenges]]. |
Rewards from the mystery boxes include: |
Rewards from the mystery boxes include: |
||
* [[Small protean pack]] |
* [[Small protean pack]] |
||
| Line 27: | Line 27: | ||
* [[Huge fallen star]] |
* [[Huge fallen star]] |
||
| − | [[Big mystery box]]es can be claimed from Reyna until [[12 July]], the number received dependent on how many mystery boxes were opened. As well as the above rewards, excluding the [[Prize token]], they also give the chance of winning a [[ |
+ | [[Big mystery box]]es can be claimed from Reyna until [[12 July]], the number received dependent on how many mystery boxes were opened. As well as the above rewards, excluding the [[Prize token]], they also give the chance of winning a [[Crab hat (tradeable)|crab hat]]. |
Speaking to Reyna any time prior to the party also rewarded the player with a [[beach party ticket]], to be redeemed once the party has started for 4 cocktails, an [[ice cream]], and a random reward item token. |
Speaking to Reyna any time prior to the party also rewarded the player with a [[beach party ticket]], to be redeemed once the party has started for 4 cocktails, an [[ice cream]], and a random reward item token. |
||
| Line 35: | Line 35: | ||
There are various activities around the beach, which can be used to gain [[experience]] in different [[skills]]. Unique item tokens may also be a rare prize from any of the activities. |
There are various activities around the beach, which can be used to gain [[experience]] in different [[skills]]. Unique item tokens may also be a rare prize from any of the activities. |
||
| − | The filling of a temperature gauge to the right of the screen indicates how close the player is to reaching the daily experience cap, which can be reset 3 times a day by eating an |
+ | The filling of a temperature gauge to the right of the screen indicates how close the player is to reaching the daily experience cap, which can be reset 3 times a day by eating an ice cream. |
Every 15 minutes a different activity is spotlighted, which provides an extra 10% experience buff to the relevant skilling activity. The spotlighted activity differs from world to world. |
Every 15 minutes a different activity is spotlighted, which provides an extra 10% experience buff to the relevant skilling activity. The spotlighted activity differs from world to world. |
||
| Line 43: | Line 43: | ||
[[Clawdia]] is an hourly boss, which emerges from the water-filled hole in the middle of the crater 45 minutes after every hour. This is indicated by rain falling at the beach. She is level 250 and has 1,500,000 life points, damage scaling to the player's level. |
[[Clawdia]] is an hourly boss, which emerges from the water-filled hole in the middle of the crater 45 minutes after every hour. This is indicated by rain falling at the beach. She is level 250 and has 1,500,000 life points, damage scaling to the player's level. |
||
| − | Upon defeat, Clawdia rewards players with [[ice cream |
+ | Upon defeat, Clawdia rewards players with [[ice cream]]s, [[anti-sun potion]]s and [[cocktail]]s. There is also a rare chance to receive a unique item token. Note that Clawdia can still be fought for rewards if the temperature gauge is full. |
To get the most rewards from Clawdia, players can hop from world to world to defeat Clawdia during the five minutes that she appears each hour. |
To get the most rewards from Clawdia, players can hop from world to world to defeat Clawdia during the five minutes that she appears each hour. |
||
| Line 49: | Line 49: | ||
===Coconut shy=== |
===Coconut shy=== |
||
[[File:Coconut shy.png|thumb|right|The coconut shy stands]] |
[[File:Coconut shy.png|thumb|right|The coconut shy stands]] |
||
| − | There are two [[ |
+ | There are two [[Coconut shy|coconut shies]] on the beach, located in the south-eastern corner and ran by [[Sarah (Summer Beach Party)|Sarah]]. They provide [[Ranged]] experience relative to the type of projectile thrown. [[Tropical coconut]]s can also be deposited here for [[Farming]] experience. |
{|class="wikitable" |
{|class="wikitable" |
||
| Line 81: | Line 81: | ||
* [[Shooting Star portal]] |
* [[Shooting Star portal]] |
||
* [[Sinkhole portal]] |
* [[Sinkhole portal]] |
||
| + | |||
| − | ''' |
+ | '''Note:''' If the world's current shooting star is in the wilderness, players will be given a warning beforehand. |
===Grills=== |
===Grills=== |
||
| Line 90: | Line 91: | ||
===Palm trees {{(m)}}=== |
===Palm trees {{(m)}}=== |
||
| − | There are multiple [[Palm tree (Summer Beach Party)|palm trees]] found around the beach, grown by [[Palmer]]. They can be harvested for Farming experience and [[tropical coconut |
+ | There are multiple [[Palm tree (Summer Beach Party)|palm trees]] found around the beach, grown by [[Palmer]]. They can be harvested for Farming experience and [[tropical coconut]]s. |
Additional Farming experience can be gained by depositing the tropical coconuts in the pile of coconuts east of Sarah, by the coconut shies. |
Additional Farming experience can be gained by depositing the tropical coconuts in the pile of coconuts east of Sarah, by the coconut shies. |
||
| Line 96: | Line 97: | ||
===Rock pools=== |
===Rock pools=== |
||
[[File:Rock pool fishing.png|thumb|right|Rock pool fishing spot with toy warships in]] |
[[File:Rock pool fishing.png|thumb|right|Rock pool fishing spot with toy warships in]] |
||
| − | The rock pools can be found on the east side of the beach, overseen by [[Wellington]]. [[Raw tropical trout]] can be |
+ | The rock pools can be found on the east side of the beach, overseen by [[Wellington]]. [[Raw tropical trout]] can be caught here for [[Fishing]] experience. Further Fishing experience can be gained by depositing the raw trout at the table north of Nigel, by the grills. |
| − | [[Toy pirate battleship |
+ | [[Toy pirate battleship]]s can also be found here, to fight [[toy royal battleship]]s, earning the player [[Construction]] experience. |
===Sandcastle building {{(m)}}=== |
===Sandcastle building {{(m)}}=== |
||
| Line 104: | Line 105: | ||
[[Foreman George]] runs the sandcastle building, located in the north-western corner of the beach. Building the sandcastles rewards [[Construction]] experience. Players can build the corresponding tower to the current NPC guest to earn double experience. The NPC guest will spawn next to Foreman George and will change every few minutes. |
[[Foreman George]] runs the sandcastle building, located in the north-western corner of the beach. Building the sandcastles rewards [[Construction]] experience. Players can build the corresponding tower to the current NPC guest to earn double experience. The NPC guest will spawn next to Foreman George and will change every few minutes. |
||
| − | {|class="wikitable" |
+ | {| class="wikitable" |
| − | !Sandcastle |
+ | ! Sandcastle |
| − | !NPC |
+ | ! NPC |
|- |
|- |
||
| − | |[[Dominion Sandtower]] |
+ | | [[Dominion Sandtower]] |
| − | |[[Ozan]] |
+ | | [[Ozan]] |
|- |
|- |
||
| − | |[[Lumbridge Sandcastle]] |
+ | | [[Lumbridge Sandcastle]] |
| − | |[[Duke Horacio]] |
+ | | [[Duke Horacio]] |
|- |
|- |
||
| − | |[[Sand Exchange]] |
+ | | [[Sand Exchange]] |
| − | |[[Sally the Grand Exchange clerk]] |
+ | | [[Sally the Grand Exchange clerk]] |
|- |
|- |
||
| − | |[[Wizards' Sandtower]] |
+ | | [[Wizards' Sandtower]] |
| − | |[[Archmage Sedridor]] |
+ | | [[Archmage Sedridor]] |
|} |
|} |
||
==Rewards== |
==Rewards== |
||
===Summer raffle=== |
===Summer raffle=== |
||
| − | Opening [[ |
+ | Opening [[Mystery box (Treasure Hunter)|mystery boxes]] gives you a chance to win a [[Prize token]], which can be clicked and redeemed for any of five unique prizes. |
* [[Sand cape]] |
* [[Sand cape]] |
||
| Line 135: | Line 136: | ||
{|class="wikitable" |
{|class="wikitable" |
||
| − | !Reward |
+ | ! Reward |
| − | !Unlocks |
+ | ! Unlocks |
| − | !Bought from |
+ | ! Bought from |
| − | !Runecoins |
+ | ! Runecoins |
| − | !G.E price |
+ | ! G.E price |
|- |
|- |
||
| − | |{{plink|Beach ball token}} || [[Beach ball]] || Flo || 10 || {{GEPrice|Beach ball token}} coins |
+ | | {{plink|Beach ball token}} || [[Beach ball]] || Flo || 10 || {{GEPrice|Beach ball token}} coins |
|- |
|- |
||
| − | |{{plink|Bucket head token}} || [[Bucket head]] || Sheldon || 20 || {{GEPrice|Bucket head token}} coins |
+ | | {{plink|Bucket head token}} || [[Bucket head]] || Sheldon || 20 || {{GEPrice|Bucket head token}} coins |
|- |
|- |
||
| − | |{{plink|Bunting whip token}} || [[Bunting whip]] || Sheldon || 33 || {{GEPrice|Bunting whip token}} coins |
+ | | {{plink|Bunting whip token}} || [[Bunting whip]] || Sheldon || 33 || {{GEPrice|Bunting whip token}} coins |
|- |
|- |
||
| − | |{{plink|Buried in sand rest token}} || [[Rest#Other|Buried in sand resting animation]] || Flo || 33 || {{GEPrice|Bured in sand rest emote token}} coins |
+ | | {{plink|Buried in sand rest token}} || [[Rest#Other|Buried in sand resting animation]] || Flo || 33 || {{GEPrice|Bured in sand rest emote token}} coins |
|- |
|- |
||
| − | |{{plink|Challenge gem}}s x6 || Challenge gem || Flo || 45 || {{GEPrice|Challenge gem|6}} coins |
+ | | {{plink|Challenge gem}}s x6 || Challenge gem || Flo || 45 || {{GEPrice|Challenge gem|6}} coins |
|- |
|- |
||
| − | |{{plink|Clawdia hat token}} || [[Clawdia hat]] || Sheldon || 100 || {{GEPrice|Clawdia hat token}} coins |
+ | | {{plink|Clawdia hat token}} || [[Clawdia hat]] || Sheldon || 100 || {{GEPrice|Clawdia hat token}} coins |
|- |
|- |
||
| − | |{{plink|Dragon ring token}} || [[Dragon ring]] || Sheldon || 33 || {{GEPrice|Dragon ring token}} coins |
+ | | {{plink|Dragon ring token}} || [[Dragon ring]] || Sheldon || 33 || {{GEPrice|Dragon ring token}} coins |
|- |
|- |
||
| − | |{{plink|Dwarven challenge barrel}} x10|| Dwarven challenge barrel || Flo || 100 || N/A |
+ | | {{plink|Dwarven challenge barrel}} x10|| Dwarven challenge barrel || Flo || 100 || N/A |
|- |
|- |
||
| − | |{{plink|Masterwork music box}}|| Masterwork music box || Flo || 108 || N/A |
+ | | {{plink|Masterwork music box}}|| Masterwork music box || Flo || 108 || N/A |
|- |
|- |
||
| − | |{{plink|Party pack}} || Party pack || Flo || 45 || N/A |
+ | | {{plink|Party pack}} || Party pack || Flo || 45 || N/A |
|- |
|- |
||
| − | |{{plink|Snorkel token}} || [[Snorkel]] || Sheldon || 20 || {{GEPrice|Snorkel token}} coins |
+ | | {{plink|Snorkel token}} || [[Snorkel]] || Sheldon || 20 || {{GEPrice|Snorkel token}} coins |
|- |
|- |
||
| − | |{{plink|Surfboard emote token}} || [[Surfboard|Surfboard emote]] || Flo || 33 || {{GEPrice|Surfboard emote token}} coins |
+ | | {{plink|Surfboard emote token}} || [[Surfboard|Surfboard emote]] || Flo || 33 || {{GEPrice|Surfboard emote token}} coins |
|- |
|- |
||
| − | |{{plink|Stick of rock token}} || [[Stick of rock sword]] || Sheldon || 33 || {{GEPrice|Stick of rock token}} coins |
+ | | {{plink|Stick of rock token}} || [[Stick of rock sword]] || Sheldon || 33 || {{GEPrice|Stick of rock token}} coins |
|- |
|- |
||
| − | |{{plink|Throwing disc token}} || [[Anti-dragon throwing disc case]] || Flo || 10 || {{GEPrice|Throwing disc token}} coins |
+ | | {{plink|Throwing disc token}} || [[Anti-dragon throwing disc case]] || Flo || 10 || {{GEPrice|Throwing disc token}} coins |
|- |
|- |
||
| − | |{{plink|Throwing starfish token}} || [[Throwing starfish]] || Sheldon || 33 || {{GEPrice|Throwing starfish token}} coins |
+ | | {{plink|Throwing starfish token}} || [[Throwing starfish]] || Sheldon || 33 || {{GEPrice|Throwing starfish token}} coins |
|} |
|} |
||
| Line 184: | Line 185: | ||
Rewards obtained through other means include: |
Rewards obtained through other means include: |
||
| − | *[[Swimming outfit]] - 50 maxed thermometers |
+ | * [[Swimming outfit]] - 50 maxed thermometers |
===Titles=== |
===Titles=== |
||
| Line 191: | Line 192: | ||
* {{TitleAnchor|t=the Totally Quackers|c=#FADC02|loc=s}} - Find 10 hidden [[little toy duck]]s and own the [[mega ducklings]] or [[Mod Dolan's rubber duck]] |
* {{TitleAnchor|t=the Totally Quackers|c=#FADC02|loc=s}} - Find 10 hidden [[little toy duck]]s and own the [[mega ducklings]] or [[Mod Dolan's rubber duck]] |
||
* {{TitleAnchor|t=the Beachbum|c=#B432C9|loc=s}} - Successfully hit 5 coconuts in the coconut shy game in a row |
* {{TitleAnchor|t=the Beachbum|c=#B432C9|loc=s}} - Successfully hit 5 coconuts in the coconut shy game in a row |
||
| − | * |
+ | * {{TitleAnchor|t=Lif{{Colour|#FFFFFF|egu}}ard|c=#C61B19|loc=p|bg=yes}} - Kill [[Clawdia]] 50 times |
* {{TitleAnchor|t=the Bronzed|c=#C16F12|loc=s}} - Reach maximum temperature 10 times |
* {{TitleAnchor|t=the Bronzed|c=#C16F12|loc=s}} - Reach maximum temperature 10 times |
||
* {{TitleAnchor|t=the Sunburned|c=#C61B19|loc=s}} - Reach maximum temperature 25 times |
* {{TitleAnchor|t=the Sunburned|c=#C61B19|loc=s}} - Reach maximum temperature 25 times |
||
| Line 210: | Line 211: | ||
<gallery> |
<gallery> |
||
Clawdia's pool.png|The pool that Clawdia resides in |
Clawdia's pool.png|The pool that Clawdia resides in |
||
| − | Dominion_Sandtower_1.png|The Dominion Sandtower at tier 1 |
+ | Dominion_Sandtower_1.png|The Dominion Sandtower at tier 1 |
| − | Dominion Sandtower 2.png|The Dominion Sandtower at tier 2 |
+ | Dominion Sandtower 2.png|The Dominion Sandtower at tier 2 |
| − | Dominion Sandtower 3.png|The Dominion Sandtower at tier 3 |
+ | Dominion Sandtower 3.png|The Dominion Sandtower at tier 3 |
| − | Lumbridge Sandcastle 1.png| |
+ | Lumbridge Sandcastle 1.png|The Lumbridge Castle at tier 1 |
| − | Lumbridge Sandcastle 2.png| |
+ | Lumbridge Sandcastle 2.png|The Lumbridge Castle at tier 2 |
| − | Lumbridge Sandcastle 3.png| |
+ | Lumbridge Sandcastle 3.png|The Lumbridge Castle at tier 3 |
| − | Sand Exchange 1.png| |
+ | Sand Exchange 1.png|The Sand Exchange at tier 1 |
| − | Sand Exchange 2.png|The Sand Exchange at tier 2 |
+ | Sand Exchange 2.png|The Sand Exchange at tier 2 |
| − | Sand Exchange 3.png| |
+ | Sand Exchange 3.png|The Sand Exchange at tier 3 |
| − | Wizard Sandtower 1.png| |
+ | Wizard Sandtower 1.png|The Wizard Sandtower at tier 1 |
| − | Wizard Sandtower 2.png|The Wizard Sandtower at tier 2 |
+ | Wizard Sandtower 2.png|The Wizard Sandtower at tier 2 |
| − | Wizard Sandtower 3.png| |
+ | Wizard Sandtower 3.png|The Wizard Sandtower at tier 3 |
</gallery> |
</gallery> |
||
Revision as of 03:21, 6 July 2015
| |
| Release date | 29 June 2015 (Update) |
|---|---|
| Reward | Cosmetic overrides, titles and more |
| Head developer | Mod Daze |
| Preceded by | N/A |
| Succeeded by | N/A |
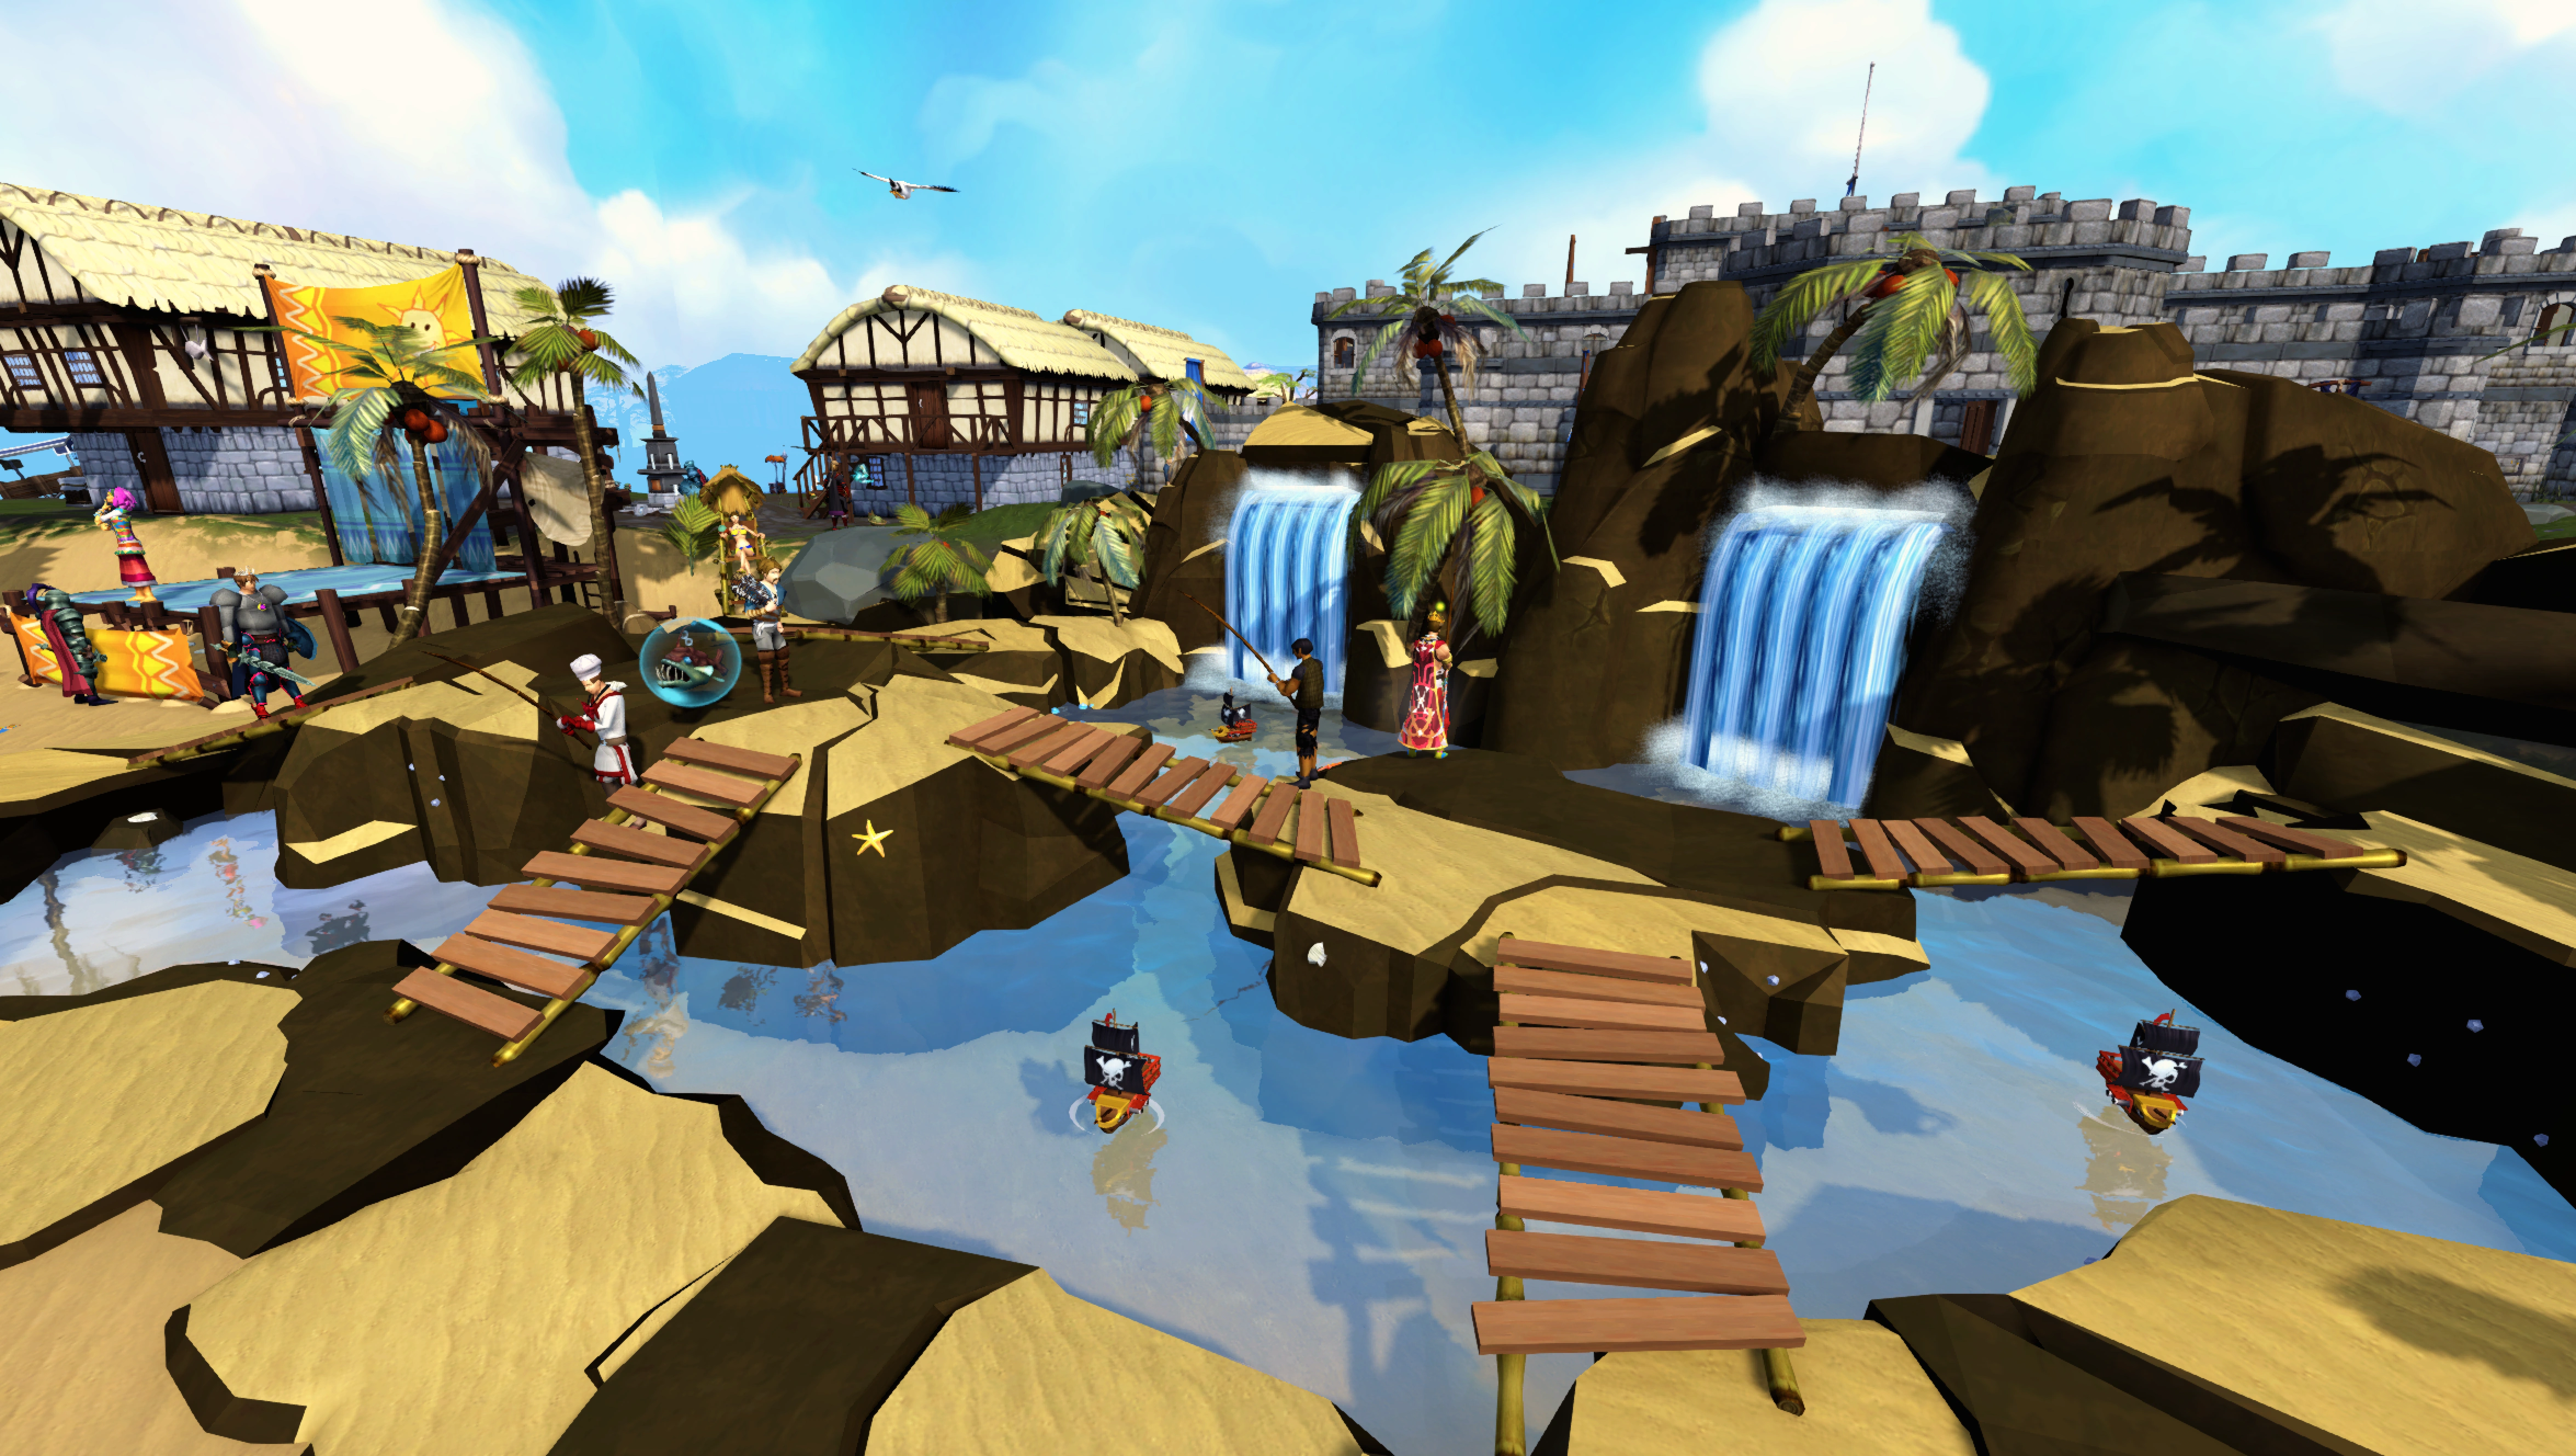
The Summer Beach Party is an event held at the Lumbridge Crater. The crater has been transformed into a beach and the event organised by Battle of Lumbridge survivor Reyna.
Preparations


Reyna amongst heaps of sand
Half a week prior to the beach party itself players were able to bring Reyna up to 24 buckets of sand per day, in exchange for mystery boxes. Mystery boxes could also be obtained through Treasure Hunter or daily challenges. Rewards from the mystery boxes include:
- Small protean pack
- Medium cash bag
- 20 Water balloons
- 2 Royal battleship kits
- Prize token
- Huge prismatic lamp
- Huge fallen star
Big mystery boxes can be claimed from Reyna until 12 July, the number received dependent on how many mystery boxes were opened. As well as the above rewards, excluding the Prize token, they also give the chance of winning a crab hat.
Speaking to Reyna any time prior to the party also rewarded the player with a beach party ticket, to be redeemed once the party has started for 4 cocktails, an ice cream, and a random reward item token.
Activities
There are various activities around the beach, which can be used to gain experience in different skills. Unique item tokens may also be a rare prize from any of the activities.
The filling of a temperature gauge to the right of the screen indicates how close the player is to reaching the daily experience cap, which can be reset 3 times a day by eating an ice cream.
Every 15 minutes a different activity is spotlighted, which provides an extra 10% experience buff to the relevant skilling activity. The spotlighted activity differs from world to world.
Clawdia

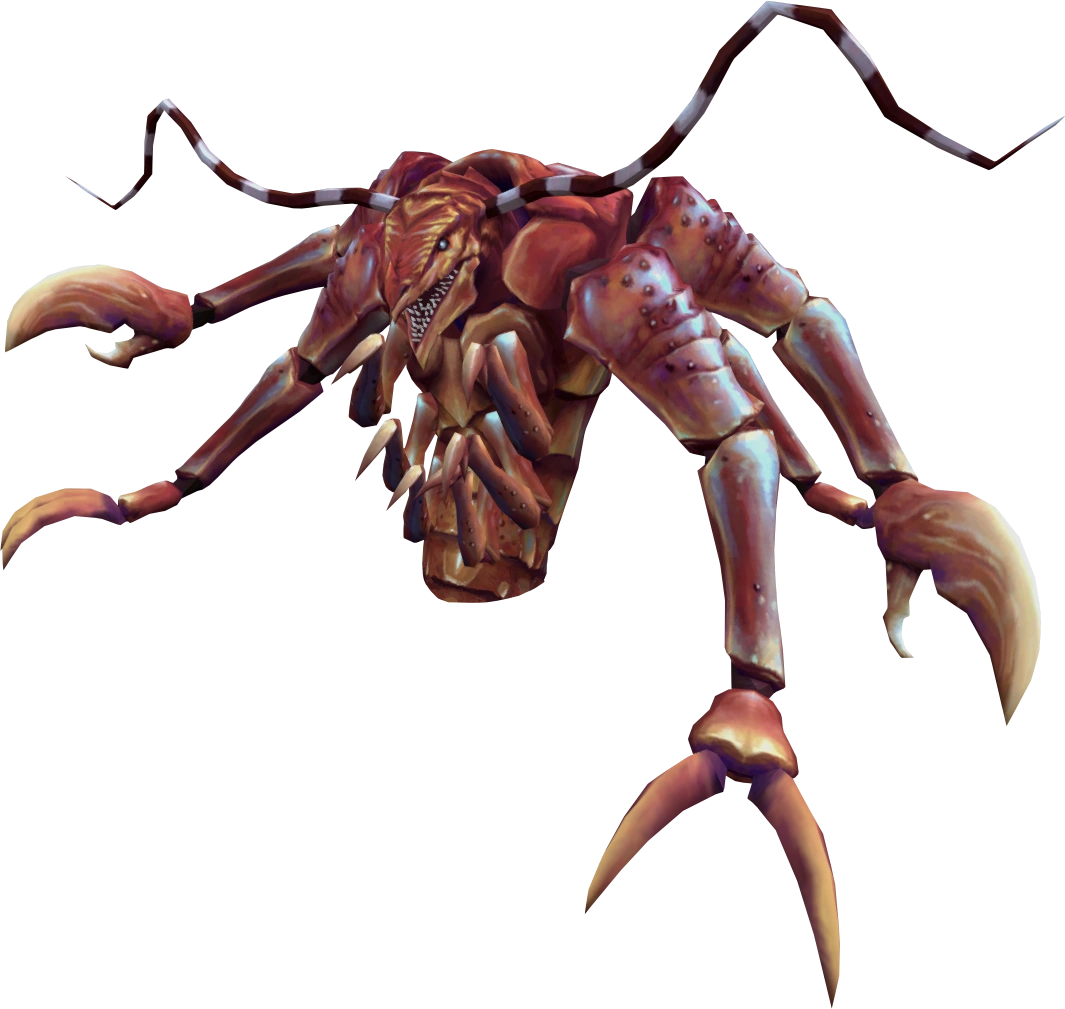
Clawdia fighting the players
Clawdia is an hourly boss, which emerges from the water-filled hole in the middle of the crater 45 minutes after every hour. This is indicated by rain falling at the beach. She is level 250 and has 1,500,000 life points, damage scaling to the player's level.
Upon defeat, Clawdia rewards players with ice creams, anti-sun potions and cocktails. There is also a rare chance to receive a unique item token. Note that Clawdia can still be fought for rewards if the temperature gauge is full.
To get the most rewards from Clawdia, players can hop from world to world to defeat Clawdia during the five minutes that she appears each hour.
Coconut shy

The coconut shy stands
There are two coconut shies on the beach, located in the south-eastern corner and ran by Sarah. They provide Ranged experience relative to the type of projectile thrown. Tropical coconuts can also be deposited here for Farming experience.
| Item | Experience | Hit chance |
|---|---|---|
| Ball | Average | Average |
| Cabbage | High | Low |
| Chinchompa | Low | High |
Distraction and Diversion portals

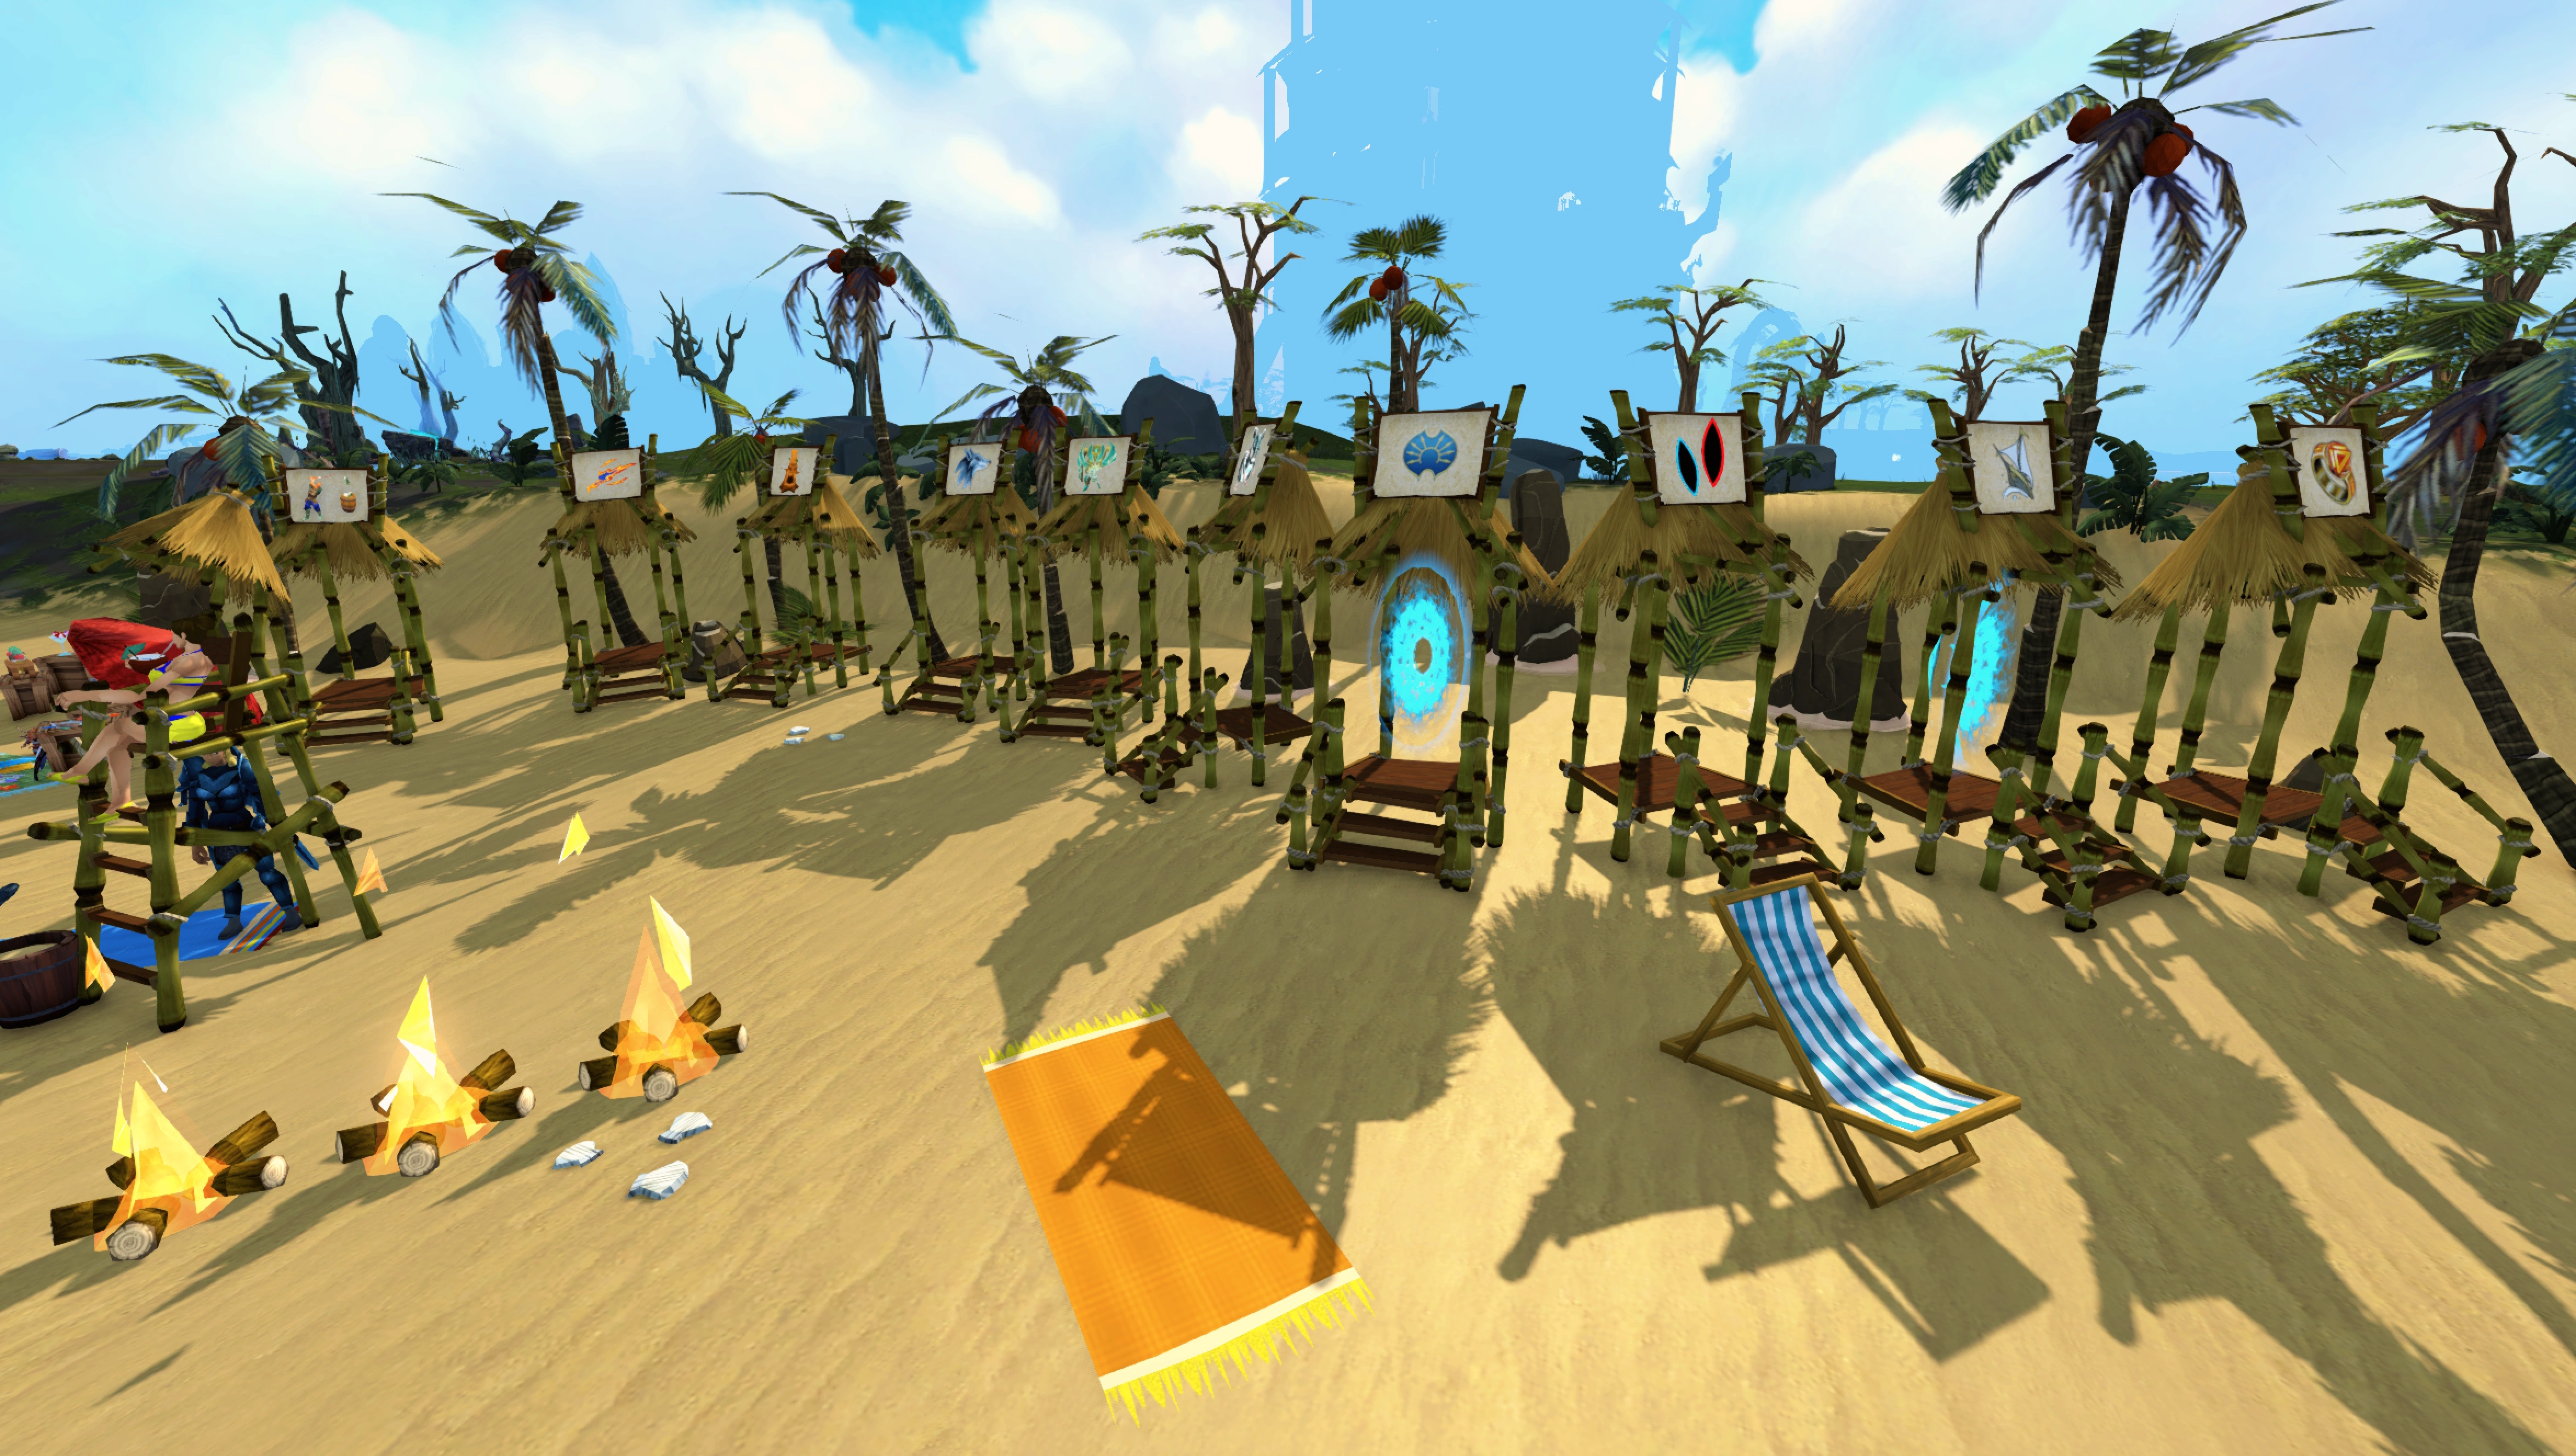
The D&D portals with Shooting Star and Evil Tree active
The south-western corner features 7 Distraction and Diversion portals, which can be entered to teleport the player to the corresponding D&D. A lifeguard announces which D&D activities are active on the players world.
The portals featured include:
- Big Chinchompa portal
- Evil tree portal
- Familiarisation portal
- Fish Flingers portal
- Guthixian Cache portal
- Shooting Star portal
- Sinkhole portal
Note: If the world's current shooting star is in the wilderness, players will be given a warning beforehand.
Grills

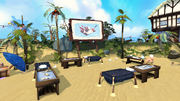
The summer barbecue plot
Grills and large chopping boards can be found in the north-eastern corner of the beach. They can be used to gain Cooking experience, and are run by Nigel.
Raw tropical trout may be deposited here for Fishing experience.
Palm trees (m)
There are multiple palm trees found around the beach, grown by Palmer. They can be harvested for Farming experience and tropical coconuts.
Additional Farming experience can be gained by depositing the tropical coconuts in the pile of coconuts east of Sarah, by the coconut shies.
Rock pools
Rock pool fishing spot with toy warships in
The rock pools can be found on the east side of the beach, overseen by Wellington. Raw tropical trout can be caught here for Fishing experience. Further Fishing experience can be gained by depositing the raw trout at the table north of Nigel, by the grills.
Toy pirate battleships can also be found here, to fight toy royal battleships, earning the player Construction experience.
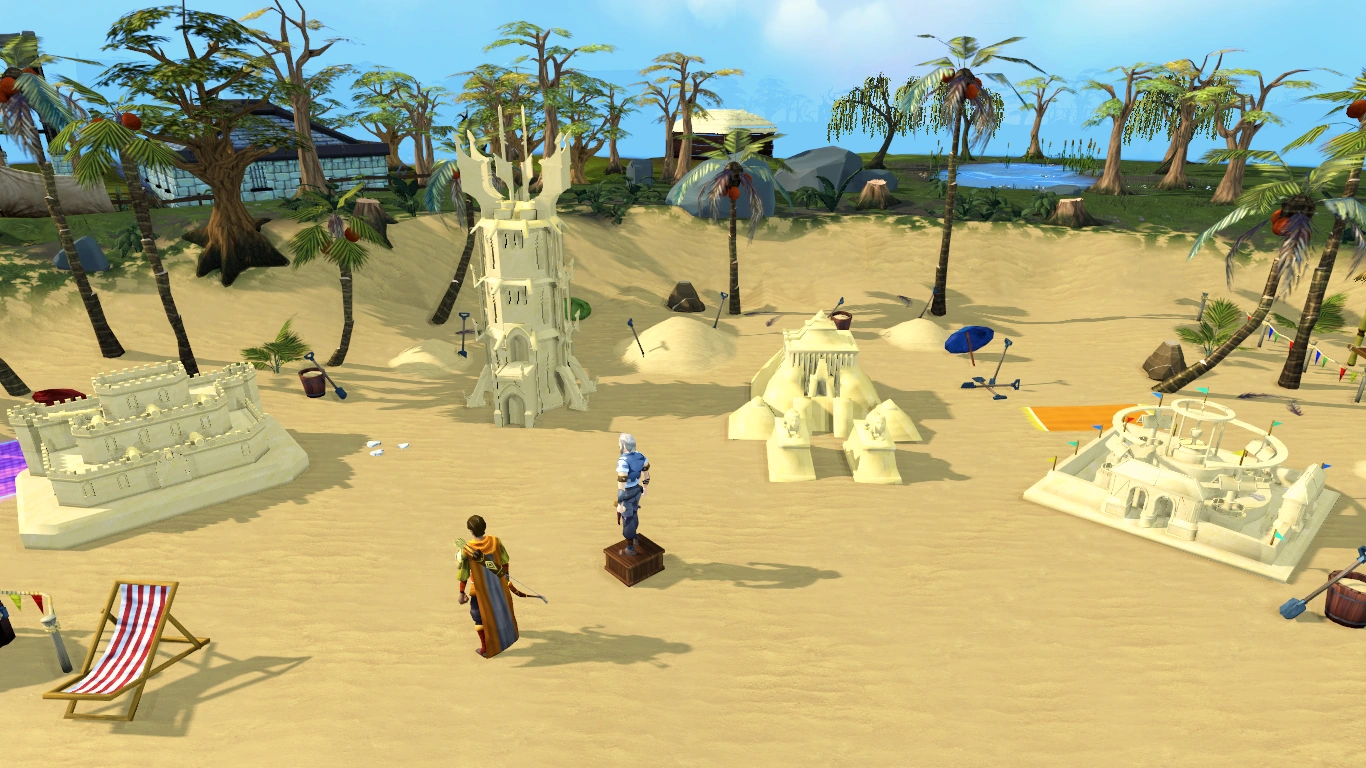
Sandcastle building (m)

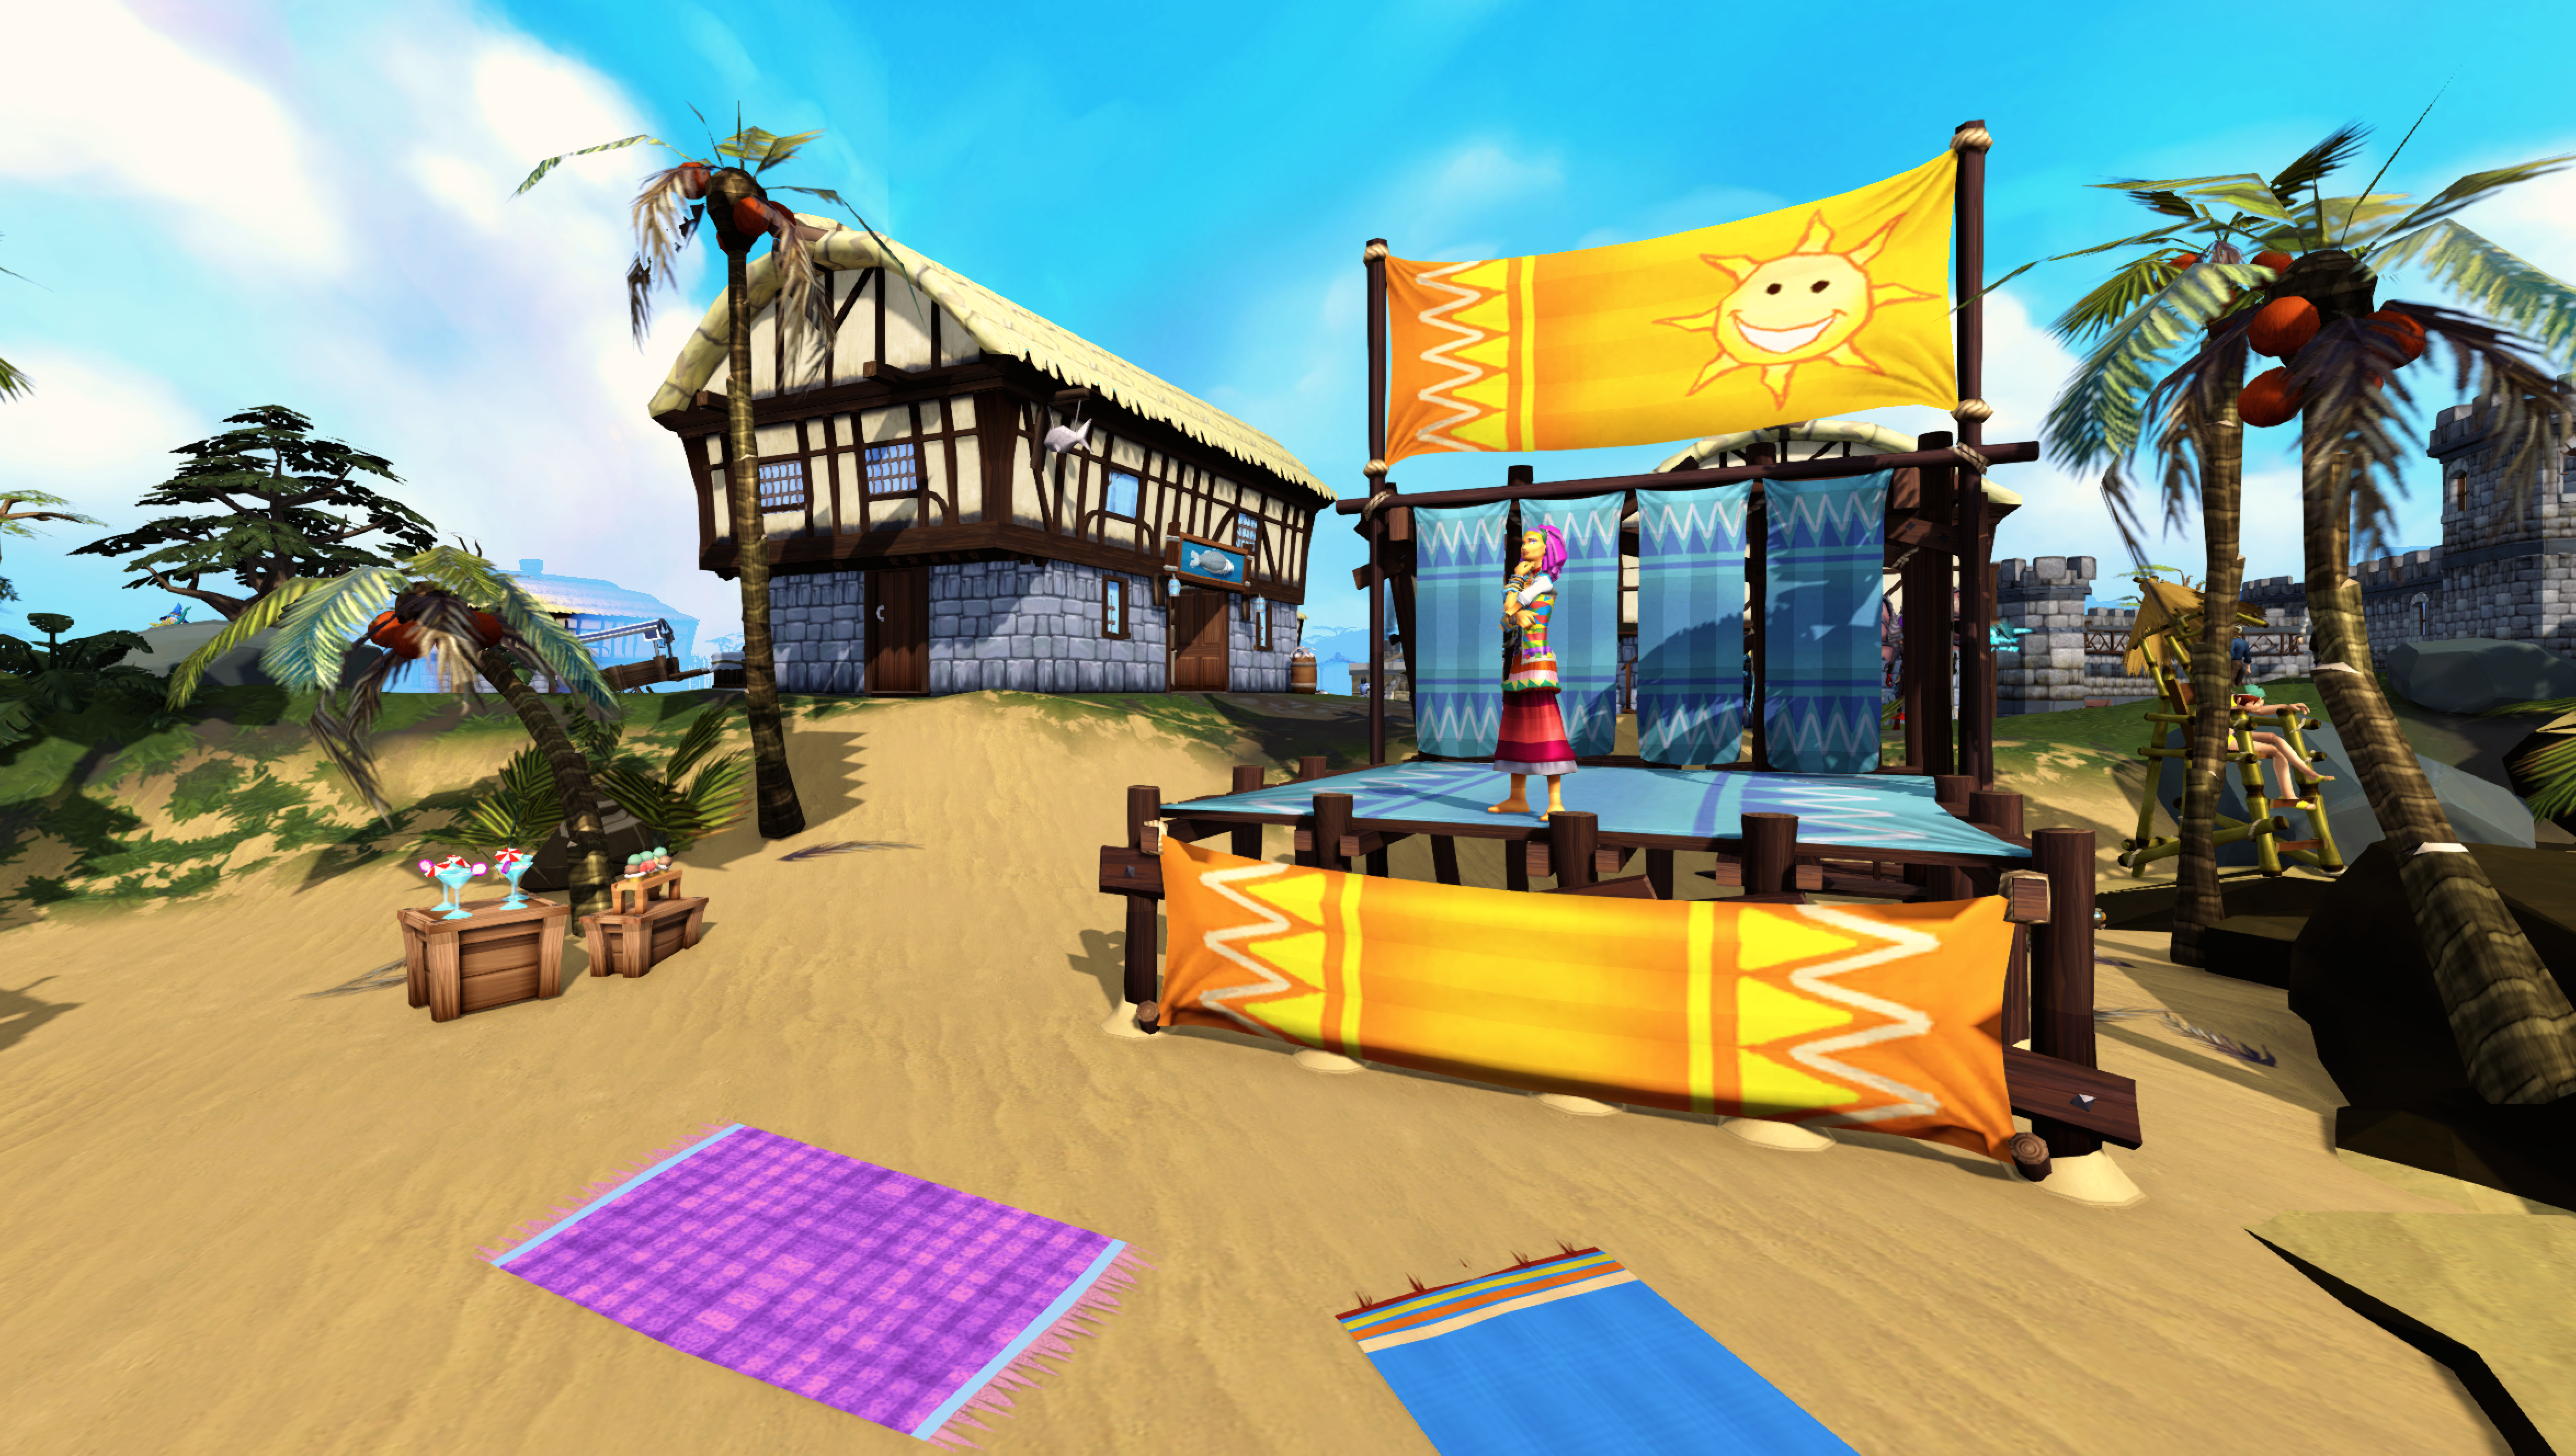
Sandcastle building area, with four buildings in progress
Foreman George runs the sandcastle building, located in the north-western corner of the beach. Building the sandcastles rewards Construction experience. Players can build the corresponding tower to the current NPC guest to earn double experience. The NPC guest will spawn next to Foreman George and will change every few minutes.
| Sandcastle | NPC |
|---|---|
| Dominion Sandtower | Ozan |
| Lumbridge Sandcastle | Duke Horacio |
| Sand Exchange | Sally the Grand Exchange clerk |
| Wizards' Sandtower | Archmage Sedridor |
Rewards
Summer raffle
Opening mystery boxes gives you a chance to win a Prize token, which can be clicked and redeemed for any of five unique prizes.
- Sand cape
- Baby tortoise – a follower pet
- Bucket & Spade – shield and melee weapon overrides
- Coconut hat
- Sandcastle lootbeam
Beach rewards
Rewards may be earned as through skilling, from Clawdia, or purchased with runecoins from Flo's Fun Item Shop or Sheldon's Cosmetic Item Shop. They can also be purchased on the Grand Exchange, as the rewards come in tradeable token form to unlock the untradeable item or cosmetic.
| Reward | Unlocks | Bought from | Runecoins | G.E price |
|---|---|---|---|---|
| Beach ball | Flo | 10 | 12,238 coins | |
| Bucket head | Sheldon | 20 | 18,891 coins | |
| Bunting whip | Sheldon | 33 | 102,318 coins | |
| File:Buried in sand rest token.png Buried in sand rest token | Buried in sand resting animation | Flo | 33 | Lua error in Module:Exchange at line 74: package.lua:80: module 'Module:Exchange/Bured in sand rest emote token' not found. coins |
| Challenge gem | Flo | 45 | 2,843,316 coins | |
| Clawdia hat | Sheldon | 100 | 2,489,455 coins | |
| Dragon ring | Sheldon | 33 | 58,006 coins | |
| Dwarven challenge barrel | Flo | 100 | N/A | |
| Masterwork music box | Flo | 108 | N/A | |
| Party pack | Flo | 45 | N/A | |
| Snorkel | Sheldon | 20 | 23,112 coins | |
| Surfboard emote | Flo | 33 | 76,884 coins | |
| Stick of rock sword | Sheldon | 33 | 68,744 coins | |
| Anti-dragon throwing disc case | Flo | 10 | 7,170 coins | |
| Throwing starfish | Sheldon | 33 | 29,882 coins |
Other
The following items are common prizes from beach activities or killing Clawdia:
- 5 Barrel of monkeys (Summer Beach Party)
- 50 Water balloons
- Anti-sun potion - 5% xp boost to any activity done on the beach for the next 24 hours
- Ice cream - used to reset the temperature gauge, up to 3 times a day
- Lemon sour - 2% xp bonus (stackable to 10%) to all support skills for 30 minutes
- Pink fizz - 2% xp boost (stackable until 10%) to all combat skills for 30 minutes
- Pineappletini - gives a 2% xp bonus (stackable to 10%) to all gatherer skills for 30 minutes
- Purple Lumbridge - gives a 2% xp bonus (stackable to 10%) to all artisan skills for 30 minutes
Rewards obtained through other means include:
- Swimming outfit - 50 maxed thermometers
Titles
These titles are not purchasable, instead earned from doing certain things.
- [Name] the Quackers - Find 10 hidden little toy ducks
- [Name] the Totally Quackers - Find 10 hidden little toy ducks and own the mega ducklings or Mod Dolan's rubber duck
- [Name] the Beachbum - Successfully hit 5 coconuts in the coconut shy game in a row
- [[Lifeguard|Lifeguard [Name]]] - Kill Clawdia 50 times
- [Name] the Bronzed - Reach maximum temperature 10 times
- [Name] the Sunburned - Reach maximum temperature 25 times
- [Name] the Chilled - Eat 10 ice creams
Batch 2
Batch 2 of the beach party will include a jellyfish pet, a fish out of water pet, strong-arm, beach ball rolling, as well as the [Name] Beachcomber[1] title.
Music unlocked
Trivia
- Clicking on home teleport while resting on the deck chair will cause the following message to appear: "It's hard to teleport when you're so relaxed."
Gallery
")
")
")
")
")
")
")
")
")
")
")
")
")
References
| Hallowe'en event | |
| Christmas event |
|
| Easter/Spring event |
|
| Summer Beach Party |
|
| Spring Fayre |
|
| Thanksgiving event |
|
| April Fools' |
|
| Cryptic Clue Fest |
|
| Winter event |
|
| Winter Weekends |
|
| RuneFest |
|
| Membership promotions |
|
| The Drop |
|
| Christmas Advent Calendar |
|
| Game Jam |
|
| Miscellaneous |
|