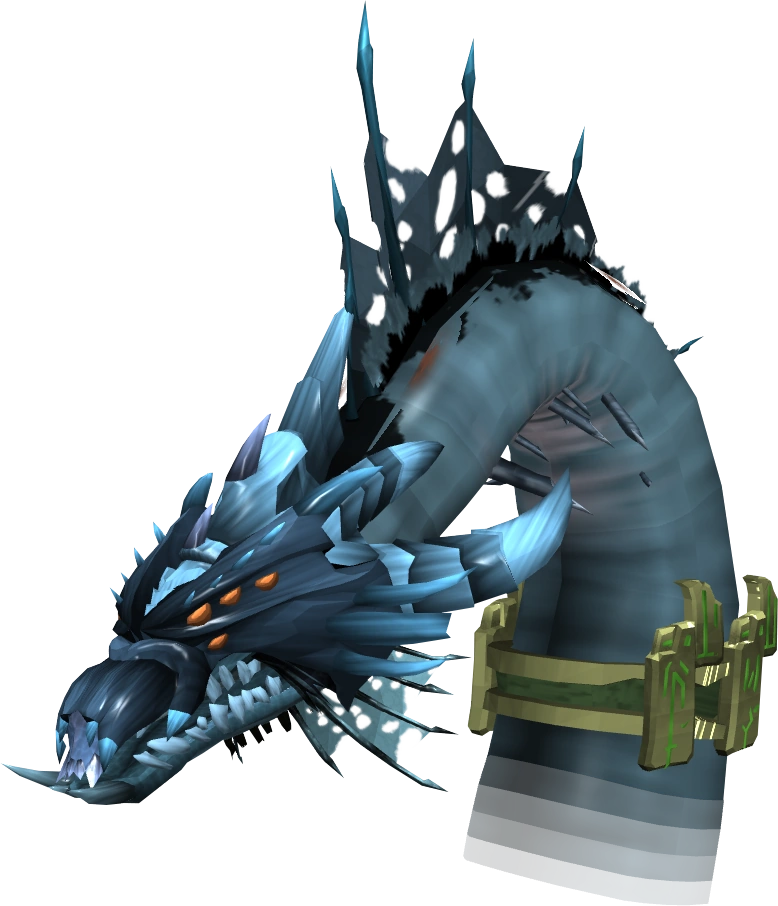
The Queen Black Dragon is a very powerful dragon boss. There is no option to fight it with friends, so fighting it is a personal challenge between you and the boss.
The only actual requirement is a Summoning level of 60. No quests are required to fight the Queen Black Dragon, but completing Song from the Depths is recommended as incoming damage is reduced.
Recommended equipment[]
As the Queen Black Dragon has no actual weakness, all combat styles can be well-utilised during the fight. The choice of which class to use is up to the player. However she may acquire weaknesses and resistances to certain styles randomly throughout phases 3 and 4.
Offensive armour is a good choice because the QBD's damage is tolerable even with lowered defensive and life bonuses. "All class" or hybrid armour such as Dragon Rider and Warpriest are also viable choices especially when ranging or maging to avoid being weak to either the QBD's ranged or melee attack depending on the style of combat you choose to fight against her.
If you have a Qbd damage enhancer in your inventory, you will do 10% more damage against the Queen Black Dragon. This lasts for 150 successful hits, after which the enhancer will disappear.
Defence-wise, Ranged is lacking against the QBD: rangers are weak to her melee attacks and are not strong against her ranged attacks. Even so, by staying at a distance the player can completely avoid her melee, and, as with mages, rangers are not limited to close distance, which means easier dodging of fire walls and souls.
The royal crossbow performs well against her and should be used if the player has no stronger weapon – although of course, to obtain the crossbow you must have already reached the last stage of the fight. Ascension crossbows perform even better and are comparable to meleeing with drygores, and are somewhat equal to the seismic wand and singularity.
Dragonbane arrows and bolts give a significant boost to accuracy, enough to provide near 100% hit chance with a royal crossbow. They should be used if the player lacks accuracy. Off-hand Death Lotus darts and a chaotic or ascension crossbow loaded with dragonbane bolts will give the best damage output, as the darts are calculated with the passive damage boost of Bane ammo additively and not separately.
While Magic armour is weak to the ranged attacks of the Queen Black Dragon, standing in melee distance allows for good tanking of incoming melee attacks – while running south from fire walls is always an option.
The QBD has no weakness, so use the highest level spell you have available regardless of its element.
Theoretically Melee is the safest way to fight QBD as the Ranged attacks can be well-blocked while the subsequent Melee attacks can be moderately tanked. However, in practice Melee is the most dangerous way to do the fight as souls may spawn erratically and there is less time to react to fire walls. If you are new to the fight or inexperienced, it is better to try Ranged or Magic as they are easier while also managing good kill rates.
All/Hybrid[]
Players wishing to take advantage of the QBD's occasional weakness to either physical or magical attacks can consider using Hybrid armour. Do note that these armours have lower defence and that you can instead use a set of Tank or Power armour for each style.
One disadvantage to using a specific type of combat armour against QBD is that you may become weak to either her ranged or melee attack (rangers lack defence against her melee attack and mages lack defence against her ranged attack). The use of "all" armour will prevent users from being weak to one of her attack styles.
It is recommended to use Tank or Power helmets, gloves and boots to compensate for the lost defence, while still having no negative offensive bonuses to all attack styles.
Another use of hybridding is to use multiple powerful abilities while others are on cooldown.
Examples of action bars for hybridding are below.
Rapid Fire and Asphyxiate, as well as Anguish and Torment, are in the same action bar slot, so you can press the same buttons when switching action bars to activate the required prayer and then use the combo threshold.
Combat breakdown[]
The fight consists of many different mechanics. They are listed below in the general order that they become available to the boss during the fight. All the damage values are given assuming that the player has completed Song from the Depths.
Ranged attack[]
- The Queen Black Dragon uses this attack on a player anywhere on the field, including the range at which it performs its melee attack.
- It is an accurate sweeping attack with her head that usually hits in the high 1000s, but potentially as high as 2990.
- The Protect from Ranged prayer or Deflect Missiles curse will halve damage from this attack.
Melee attack[]
- The Queen Black Dragon can use this attack if the player does not stand farther south than the middle artefact.
- It is an accurate bite attack that can hit over 2000 life points.
- The Protect from Melee prayer or Deflect Melee curse will halve damage from this attack.
Standard Dragon Breath[]
The Queen Black Dragon has a dragon breath that even super antifires with a dragonfire shield/anti-dragon shield cannot fully block. This attack is reduced to the low 400s with full antifire protection, and 800's with standard protection. There is a ten second cooldown on this attack, preventing the player from being inflicted with continuous typeless damage. This attack will hit over 1500 without any dragonfire protection.
Fire Wave[]

The fire wall attack.
An orange message appears in the chatbox prior to this attack, saying "The Queen Black Dragon takes a huge breath." A few seconds later, a fire wall will appear at the northern edge of the fighting area, moving south at moderate speed.
The fighting area consists of a platform 19 squares from west to east. As the wall descends, there is always one gap out of three possibilities available for the player to pass through.
- Possibility 1 has the gap on the 5th square.
- Possibility 2 has the gap on the 9th square (one square to the left of the centre artefact).
- Possibility 3 has the gap on the 15th square (the 5th from the right).
750 damage is dealt for every game tick of contact with the wall when the player drinks a super antifire, and 1875 damage is dealt with a regular antifire. Without any, the flame walls hit 2500 per game tick of contact. If you do not move from the flame walls and let it hit you, you will be hit two times per flame wall. Note that it is possible to avoid the flame walls without running through the gaps. To do so, the player must stand still until the flame wall is one square north of them, and then click to run straight through the fire. If done properly, the player will take no damage. Be aware, however, that this is a difficult strategy to perfect, and even when done properly, can fail due to lag.
Grotworms[]
The QBD coughs up level 105 Giant worms every time its current health bar is depleted. These worms attack with magic and continue spawning until the correct artefact for the stage has been activated or a maximum of around 11 worms are in the arena. If the player still has not activated the artefact after the maximum number of worms has been spawned, they receive the message "The power of the unprotected artefact leaks out and damages you!"; the player begins receiving constant typeless hits of 2000 from the artefact until it is activated.
While these worms hit up to 500s, it is oftentimes more convenient to ignore them and continue fighting the QBD. Their weakness is bolts.
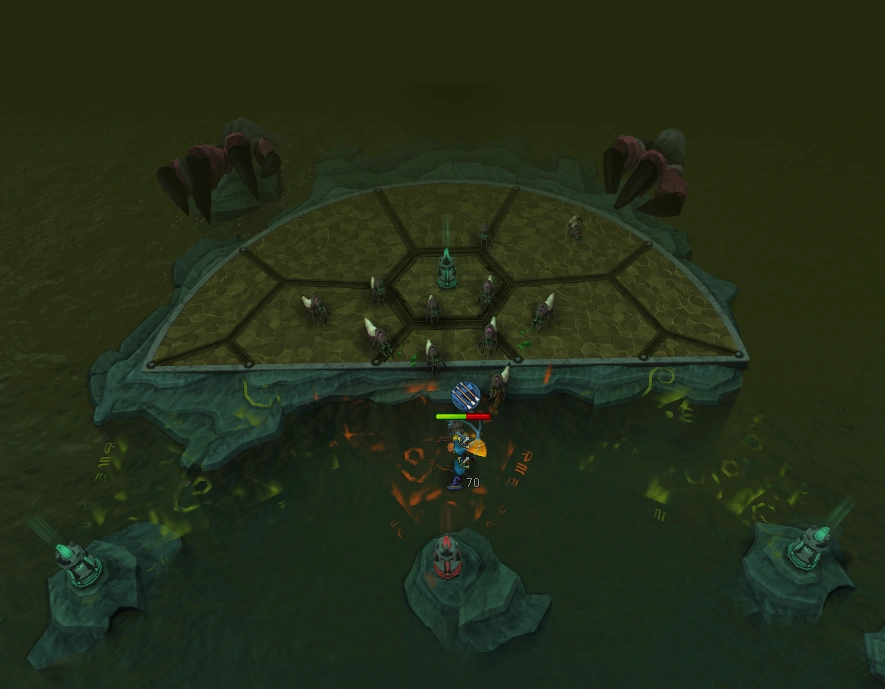
Magical platforms[]
The magical platforms that appear during the fight. More appear as more artefacts are activated.
The start of the second, third, and fourth stages comes with an extension to the playing area: a magical platform that extends over the ocean, allowing reach to the next appropriate artefact. Standing on one of these platforms for too long at once deals 1500 typeless damage every few seconds until the player returns to solid ground. It is a good idea to keep your life points over 2500+ while running to touch a southern artefact, as you can easily get combo'ed by the QBD's attacks, the grotworms and the magical platform damage.
Summoning Tortured Souls[]
One of the most notable aspects of the entire fight is the summoning of tortured souls. Seconds before the attack is used, a purple message will appear in the chatbox saying "The Queen Black Dragon summons one/several of her captured souls.".
This attack is not used at all during the first stage. Of the others:
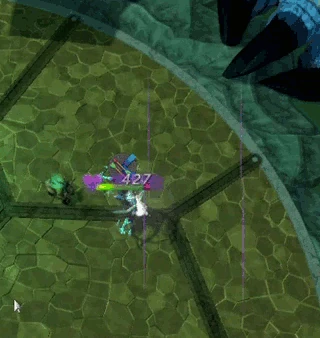
Avoiding the chaotic clouds in stage four by luring them onto one of the souls (2x speed).
- Stage two: One soul will spawn one square west of the player.
- Stage three: Two souls will spawn, one on each side of the player.
- Stage four: Four souls will spawn, each soul on a different square one diagonal away from the player (e.g. one tile northeast of the player).
Souls can spawn on the first artefact.
If any of the spaces mentioned is occupied by water/magical platform, the soul will spawn somewhere else. After a tick, it releases a chaotic cloud which chases after the player unless it hits a soul, a worm, or the player, dealing at least 900 damage (up to 1500 on players) on whatever it comes in contact with. The cloud lasts for a very long time if the player tries to avoid it. If the soul that summoned that cloud is killed, it will immediately dissipate.
Players should note that the souls do not target the player immediately and may instead wander around before they do so. Eating is not necessarily required when one or two souls are summoned, but it is recommended to eat up just in case during phase four, since you will most likely be hit by 2 clouds (the other two will kill the soul you went through). They are level 93 with 2000 life points with a moderately strong melee attack. It is not required to kill them, but it is recommended to do so for slower players.
Avoiding chaotic clouds[]
The timing is very important. You have to make your move just before the souls start their cloud attack. This happens around 1 second after they spawn, and just after their spawn animation stops.
- One soul: Run to the square directly behind the soul. The cloud will spawn on the other side and hit it.
- Two souls: Same as with one soul, run to the square behind either one of the souls. Both clouds will hit it.
- Four souls: This time, you should run diagonally across one of the souls. If done correctly all 4 clouds will hit and kill it.
Healing[]
The Queen heals off of the tortured souls.
Not only do the souls fight for the QBD, but they can heal it too. During phases 3 and 4, if souls spawn and are not killed the boss will after some time siphon health off of them with 200% efficiency: 100 health is taken off each soul every tick and given to the QBD for 200 (a maximum of 4000 life points healed from each soul). It is generally a good idea to kill these monsters, although it may be best to finish the fight if on the final phase or she uses her crystal skin or carapace (depending on what you are using) as you can deal more damage than she heals from the souls.
If a soul is using the "Time Stop" ability when this occurs, their life points will not be drained.
The text "The Queen Black Dragon starts to siphon the energy of her mages." appears preceding this.
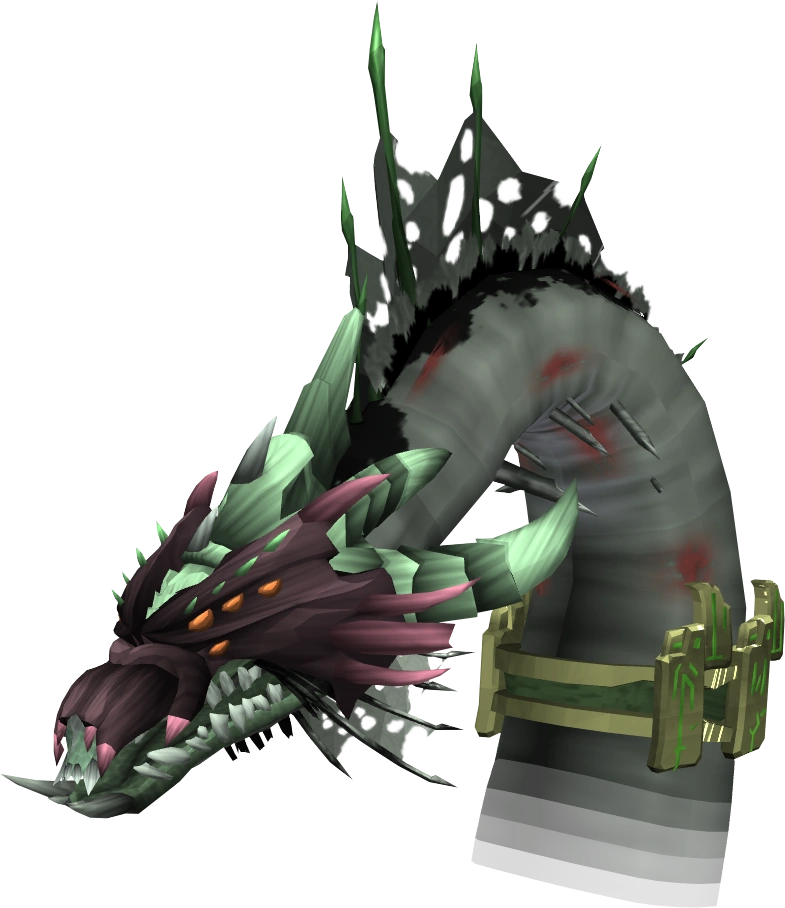
Crystal form[]
.png)
The Queen Black Dragon when in crystal form.
On phases 3 or 4 the QBD can enter a "crystal form". She will gain increased defence against magical attacks, which will also deal 25% less damage on her, while melee and ranged attacks deal 25% more damage. This state wears off in one minute, regardless if the phase is completed or not.
The player is notified of this move in the chatbox with the message, "The Queen Black Dragon takes on the consistency of crystal; she is more resistant to magic, but weaker to physical damage.".
Hardened carapace[]
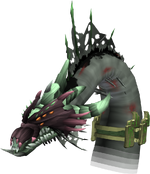
.png)
The Queen Black Dragon with a hardened carapace.
This is the inverse of the previous move, also occurring on phases 3 and 4. She will gain increased defence against melee and ranged attacks, which will also deal 25% less damage, while magic attacks have increased accuracy and deal 25% more damage. This state wears off in one minute, regardless if the phase is completed or not.
The player is notified of this move in the chatbox with the message, "The Queen Black Dragon hardens her carapace; she is more resistant to physical damage, but more vulnerable to magic.".
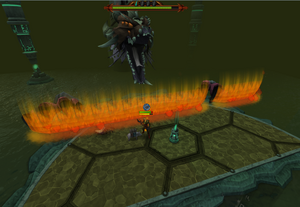
Extreme Dragon Breath[]


The Queen Black Dragon unleashes her extremely hot dragon breath.
This is the QBD's most extreme dragonfire attack, only used in the final stage. The text "The Queen Black Dragon gathers her strength to breathe extremely hot flames." appears in dark orange on the player's chatbox seconds prior to the move. Once the attack begins, the damage will depend on how far you are from the Queen Black Dragon's head. Being in or very close to the middle will result in three hits of 1950, which totals up to 5850 life points. Staying on the side will results in three hits of 750, which totals up to 2250 life points.
| Dragonfire protection | Location in arena | Damage taken (total) |
|---|---|---|
| None | Centre | 6500 (19,500) |
| Side | 2500 (7500) | |
| Antifire | Centre | 2500 (7500) |
| Side | ||
| Super antifire/Dragonfire shield | Centre | 1950 (5850) |
| Side | 750 (2250) |
Note that this is what forges an unforged royal crossbow. To do so, stand in the centre (the zone which takes increased damage, next to the central artefact) and click the Brandish option on the unforged crossbow. You will have to stand next to her (at melee range) or it won't work. Remember that you will need to absorb all three hits of the damage, so make sure you have at least 5850 life points before doing this or you will die. If the only goal of the fight is to forge the crossbow, it is recommended to do this in practice mode. Thus, the only cost incurred is from supplies, and not dying.
Time Stop[]
A single soul teleports to the edge of the arena (not on the platforms), shouting "Kill me mortal...quickly! HURRY! BEFORE THE SPELL IS COMPLETE!". If not killed, the soul will proceed to shout:
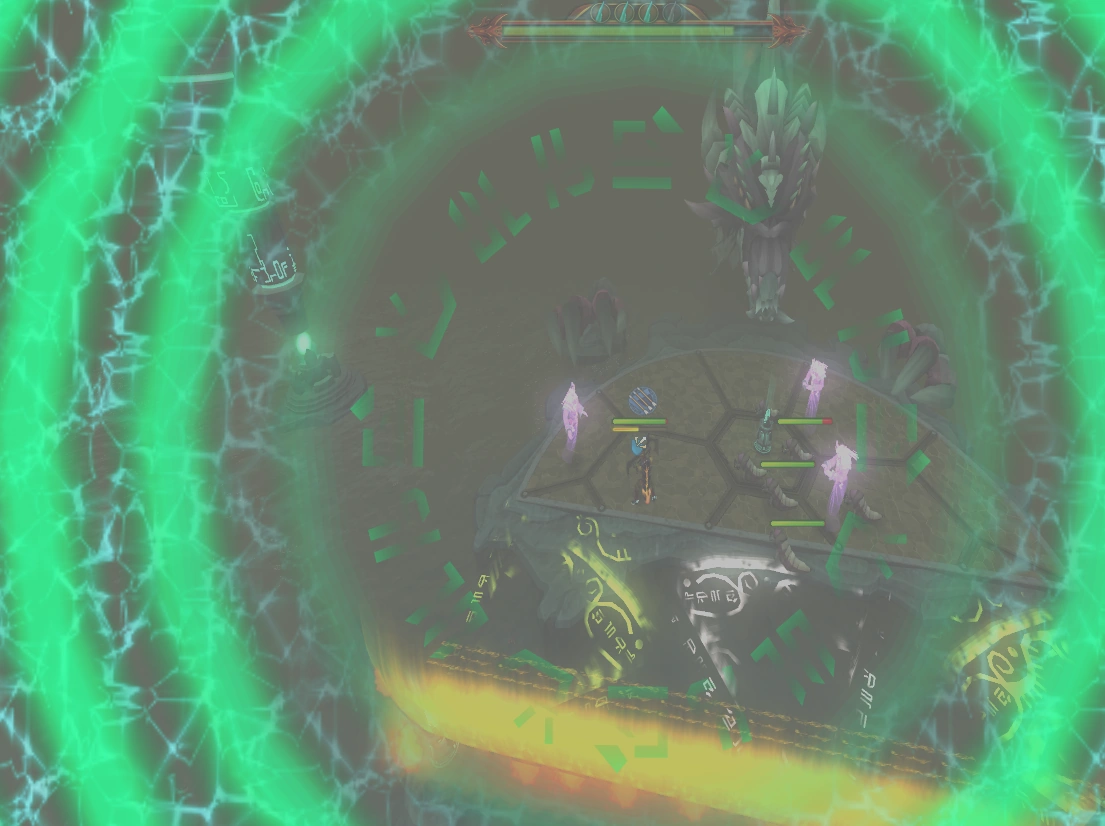

A player is affected by the Time Stop spell.
- "Time is short!"
- "She is pouring her energy into me...hurry!"
- "The spell is nearly complete!"
The spell takes effect seconds after the final dialogue, ten seconds after the initial warning. A haze appears over the screen, freezing the whole arena except for the Queen Black Dragon and the soul which used the ability. During this time, players cannot move, eat or teleport until it ends. The Queen Black Dragon will use all attacks at her disposal during that time, and when the ability ends the player will take all the damage in one tick, meaning that it is easy to die from this attack if not prepared. To tell when this attack is coming, you should focus on the screen and the minimap; if a soul disappears while attacking you it is very likely that it has begun the time stop.
Even though the soul is charging for the attack, it will still move towards the player. A multiplying bleed (such as Combust) can make quick work of the soul charging the attack without having much focus on it.
If a soul uses this just as the phase ends, incoming grotworms will not be affected by the freeze.
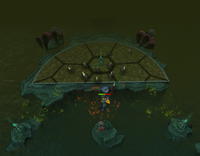
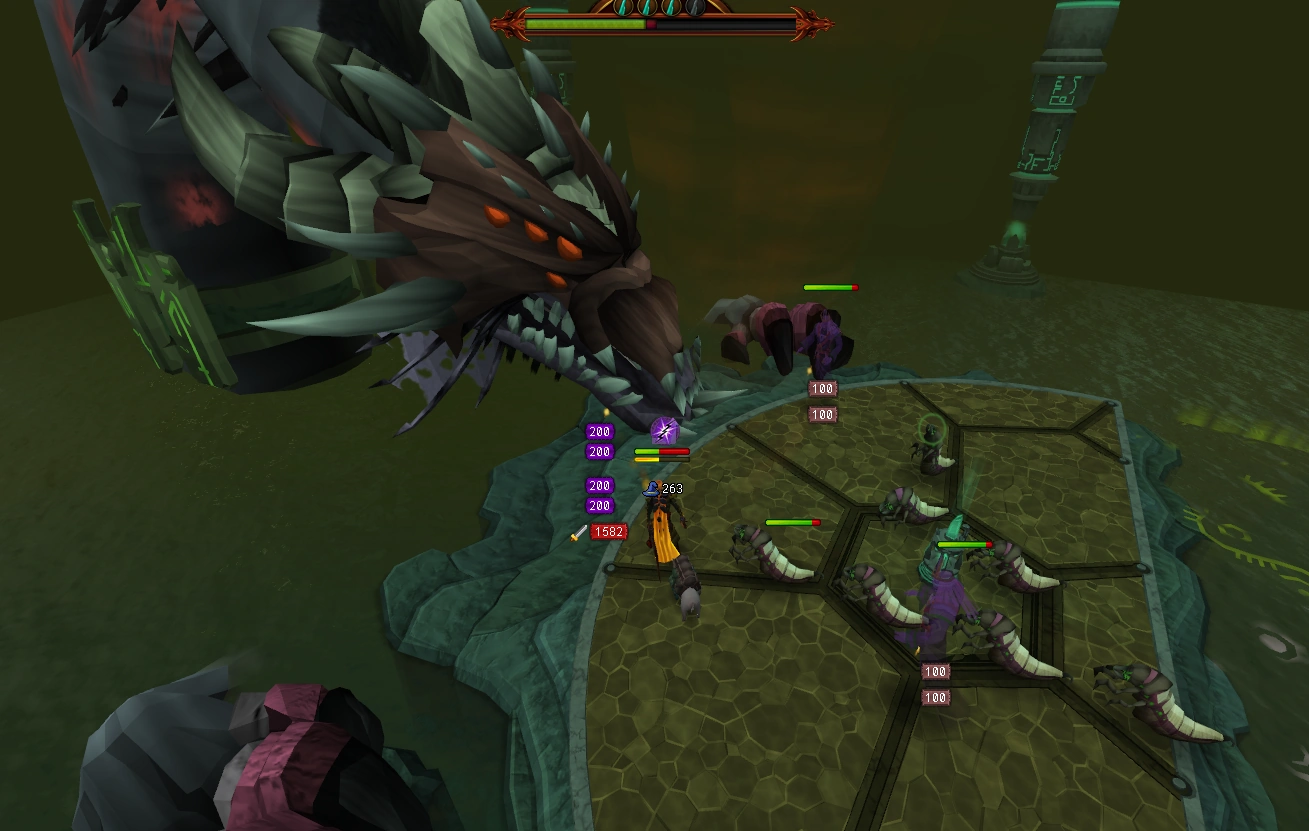
The fight[]
This section explains the basic mechanics of the fight, regardless of what combat style the player is using.
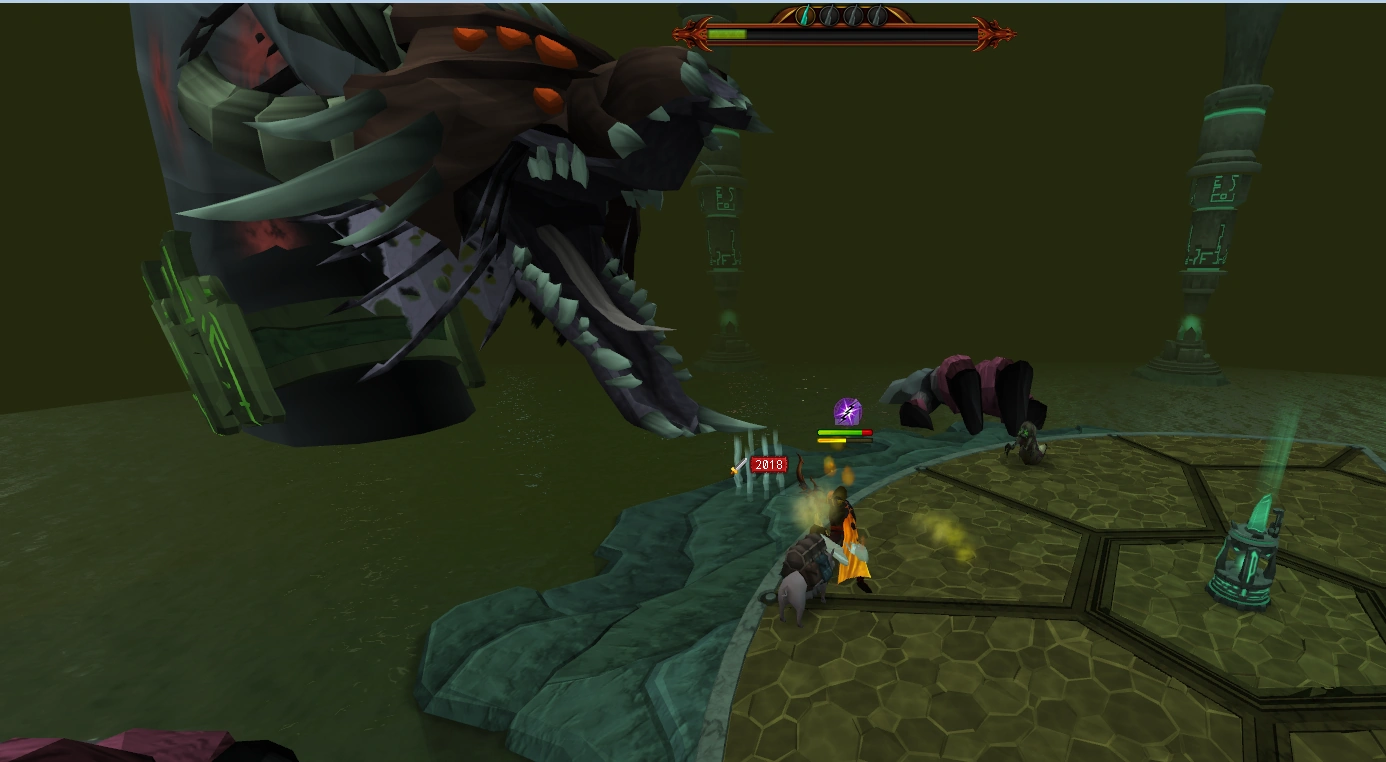
Fighting the deadly Queen Black Dragon
Phase one[]
There are no soul spawns whatsoever. The QBD will only use her Ranged attack, her Melee attack (if the player is more than one square above the northernmost artefact), and the occasional singular fire wall.
The correct artefact to activate at the end of this stage is the northernmost one, in the centre of the fighting platform.
Phase two[]
The QBD will use all of her previous attacks along with an occasional summoning of one tortured soul. Fire walls now come in groups of two at a time when she uses them.
The correct artefact for this stage is to the south-west. A magical platform allowing access to it will have appeared at the start of this stage.
Phase three[]
This QBD can now temporarily either harden her carapace or enter crystalline form. Two souls will appear every time she summons souls. Fire walls appear in groups of three. Along with that, she is now able to siphon the souls to heal herself if they linger in the field too long.
The next correct artefact is the south-eastern one. Similarly to the second artefact, a glowing platform will have arrived at the start of this stage.
Phase four[]
All attacks from previous stages remain available. Time Stop and Extreme Dragon Breath are now potential attacks, and soul spawns will come in fours. The fire wall attack is unchanged.
The fourth and final artefact is to the direct south, between the second and third. Once activated, all souls and grotworms on the field will die, and the QBD will return to her slumber. However, if she spat out a worm just as the artefact was touched, that worm will survive and can kill the player if they run low on health, so wait until the stairs become a "solid" object so the worm cannot attack you as you enter.
Tips[]
- Don't run when souls are about to be summoned. If they spawn behind you, you won't be able to lure their clouds properly.
- Don't stand near any of the edges of the platform you are on, or else some of the souls will spawn irregularly and might mess up the kill.
- Always remember to take a dose of prayer potion or super restore at the beginning of each stage to ensure prayer doesn't drop when most needed
- Check how much health is left on the current stage before using powerful abilities such as Unload.
- Ensure you have a decent amount of health when running to touch the southern artefacts. Grotworms and the possible damage from the platforms can kill an unprepared player.
- If timed correctly, it is possible to run directly through a fire wall without taking damage. Click north when the wall is roughly two squares north of you.
- Be ready to run/touch artefacts as soon as they turn red, because grotworms spawn until you start the next stage. If she is low on health, use bleeds on her to save time and if done properly, a meleer can reach the artefact before she starts coughing up grotworms.
- While the souls are weak to Crush, any decent-level weapon will kill them with ease.
- Keep an eye on the chatbox in order to identify upcoming attacks, and if applicable, the time left before the effects of certain potions (such as a super antifire) wear off.
- Regular antifires alone will only block 25% of the firewall's damage, from 2500 to 1875.
- Sacrifice can be used on tortured souls to heal a decent amount of health.
- On the final phase when tortured souls are summoned, if you have a decent amount of life points you can use Transfigure to restore 4000 - 5000 life points, negating their damage and healing you slightly, although this can be risky due to the various abilities the QBD uses, so be wary if you decide to use this ability.
- Use Surge and/or Escape to reach the artefacts on the edges and to get out of the magical platforms.
Tips with Ranged[]
- Try not to stand any further north than the first artefact. This way, the QBD can't exploit your armour's weakness to Melee attacks.
- Bombardment and Ricochet are excellent for dispatching multiple souls.
- Fragmentation Shot is of less use than normal due to the QBD being stationary.
- Don't activate Death's Swiftness when souls have just spawned or the stage is about to end.
Tips with Magic[]
- Stay at the same distance from the center artefact and QBD. The more melee the boss uses on you, the better, because that means it's not using your weakness of Ranged.
- Standing at a distance provides more reaction time to fire walls.
- If using a shield, the ability Revenge at 100% Adrenaline then building back up to use Metamorphosis to then use Asphyxiate has a large chance to do extremely heavy damage against QBD, especially with a few grotworms or souls attacking you.
- Dragon Breath and Chain are good for dispatching souls.
- Don't activate Metamorphosis when souls have just spawned or the stage is about to end.
Tips with Melee[]
- Be aware that even though Berserk can speed up kills, the player will have to travel quite a distance once the phase is over to reach the next artefact. It will also result in the QBD dealing more damage to you as it increases damage dealt to you by 50%.
- Slaughter is of less use than normal due to the QBD being stationary. You can combine this attack with Dismember however to get a head-start on the artefact, and if timed properly, no grotworms will spawn while you turn the artefact off.
- Hurricane, and to a lesser extent, Quake, can kill multiple souls at once.
- Don't activate Berserk when souls have just spawned or the stage is about to end.
| Monsters | |
| Drops |
|
| Royal crossbow |
|
| Dragonkin journals |
|
| White Knights |
|
| Miscellaneous |
|