Port upgrades consist of buildings and decorations can be built or upgraded to offer increased bonuses to different areas of the port's operations. Each upgrade is separate and distinct from its previous upgrade meaning that bonuses from previous upgrades do not carry over or stack with the new upgrade, unless specifically stated.
Bar
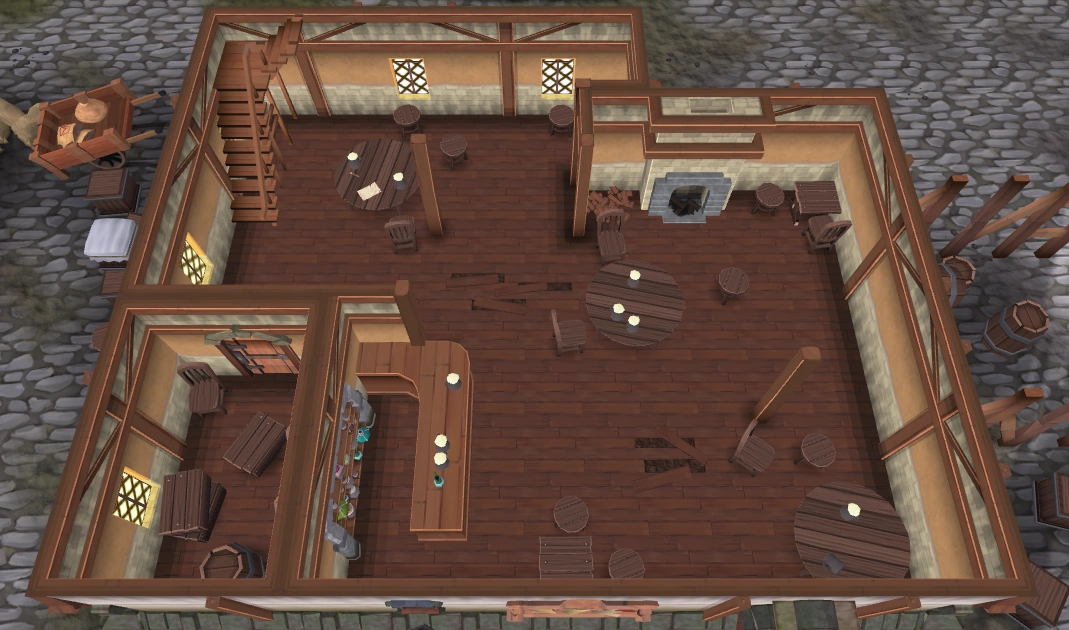
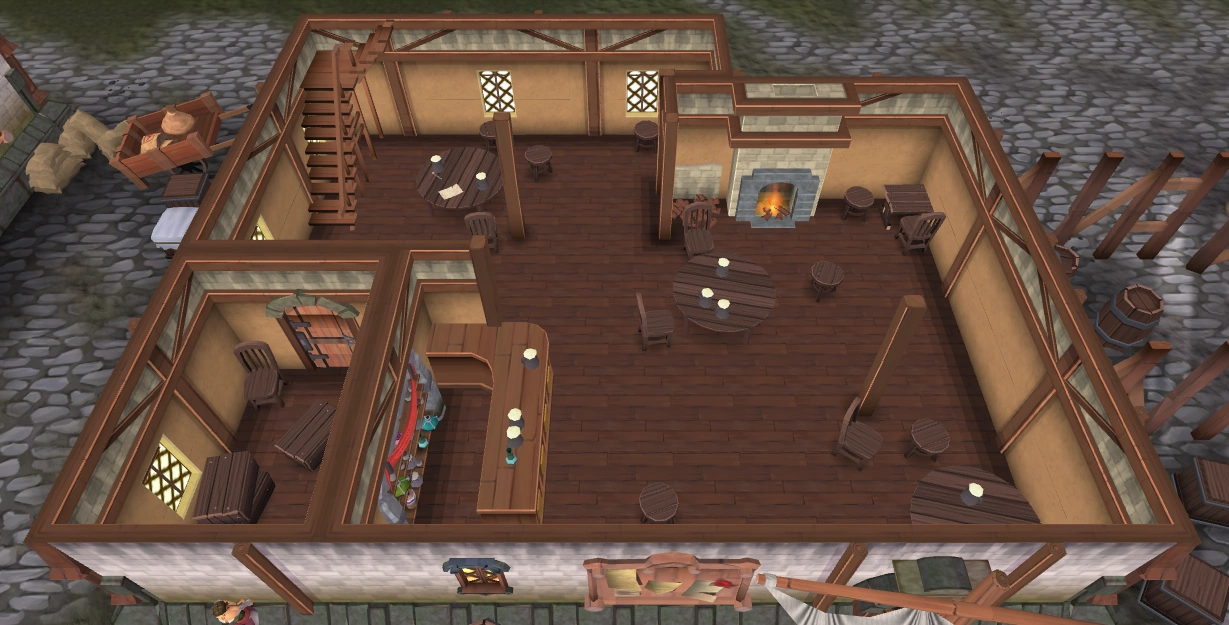
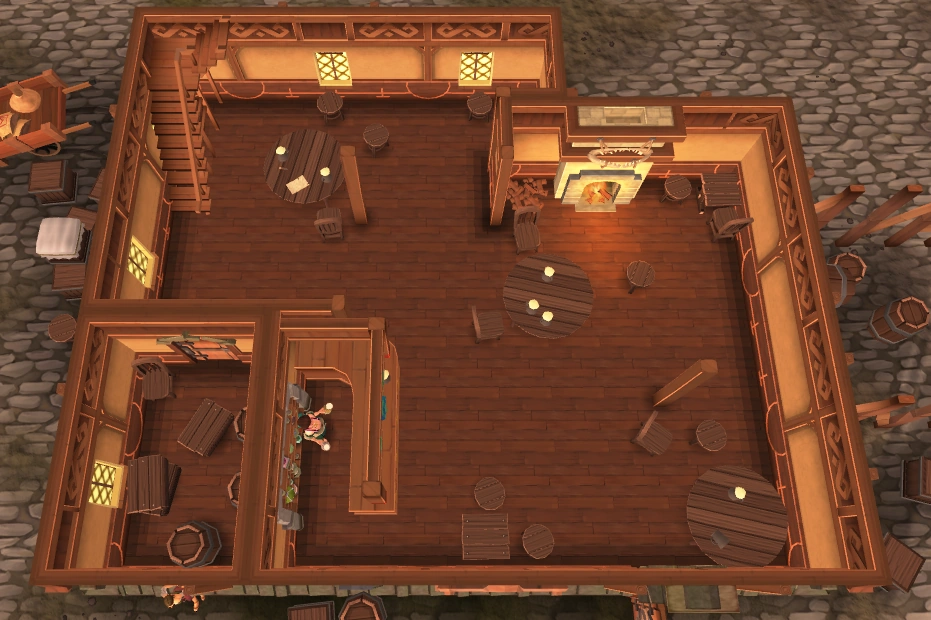
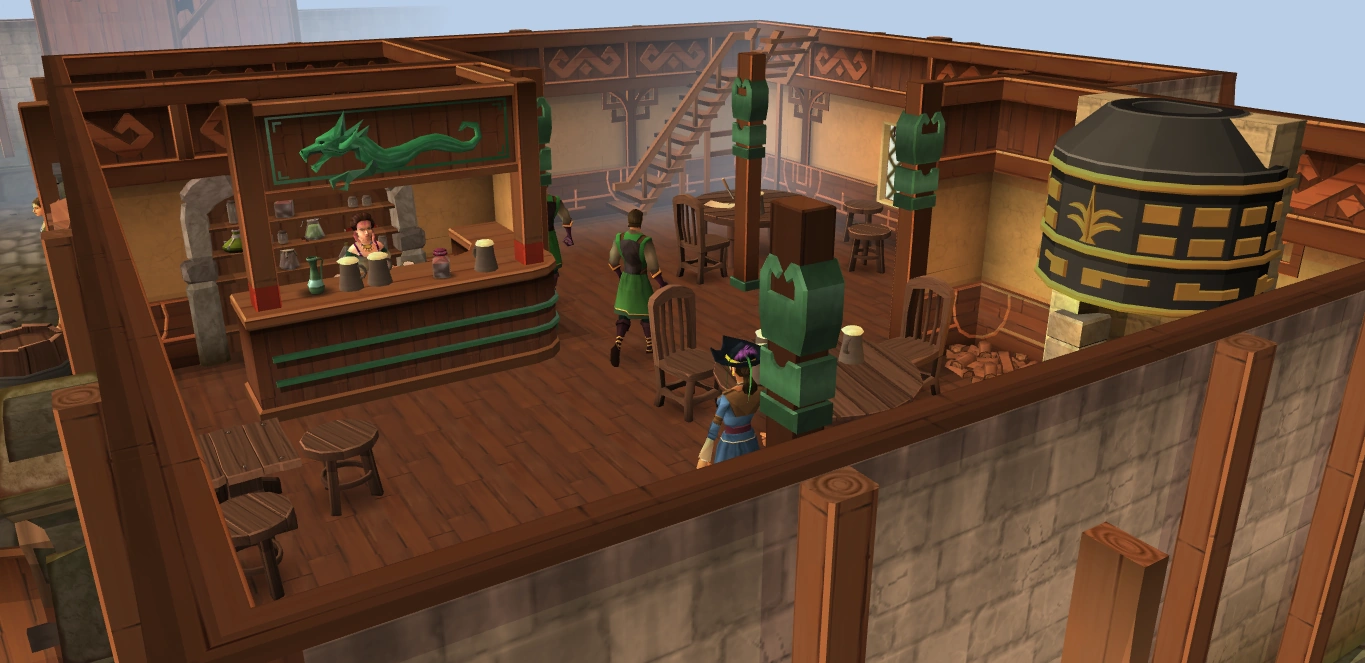
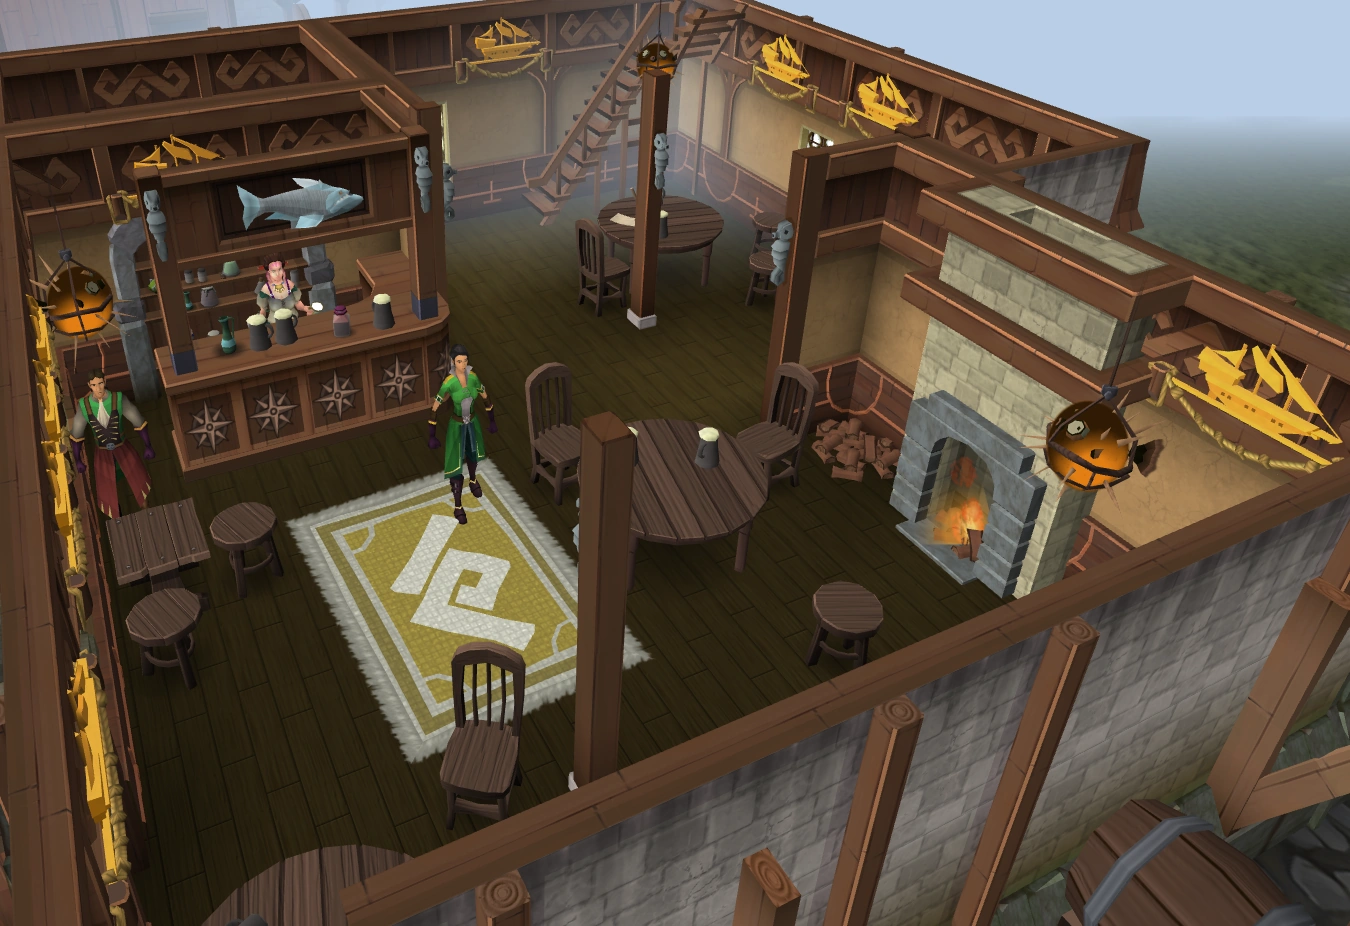
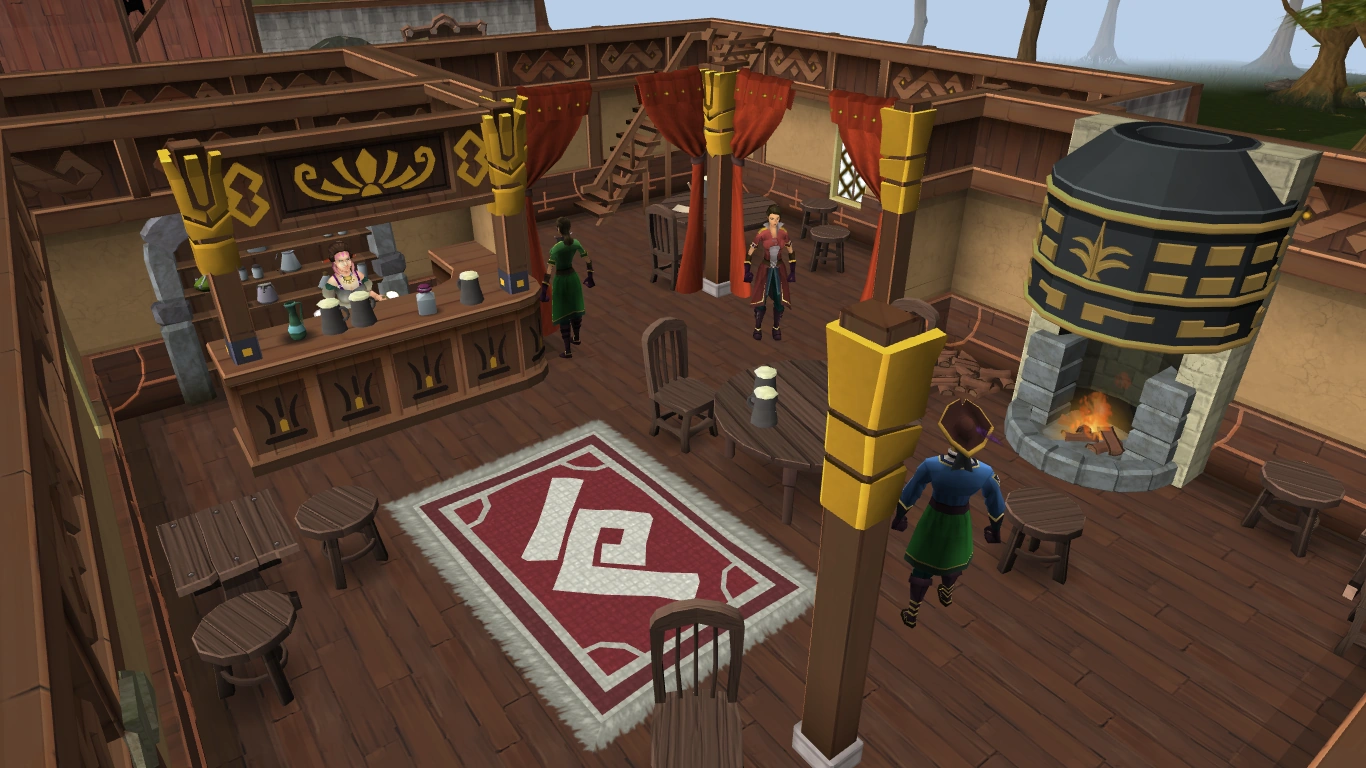
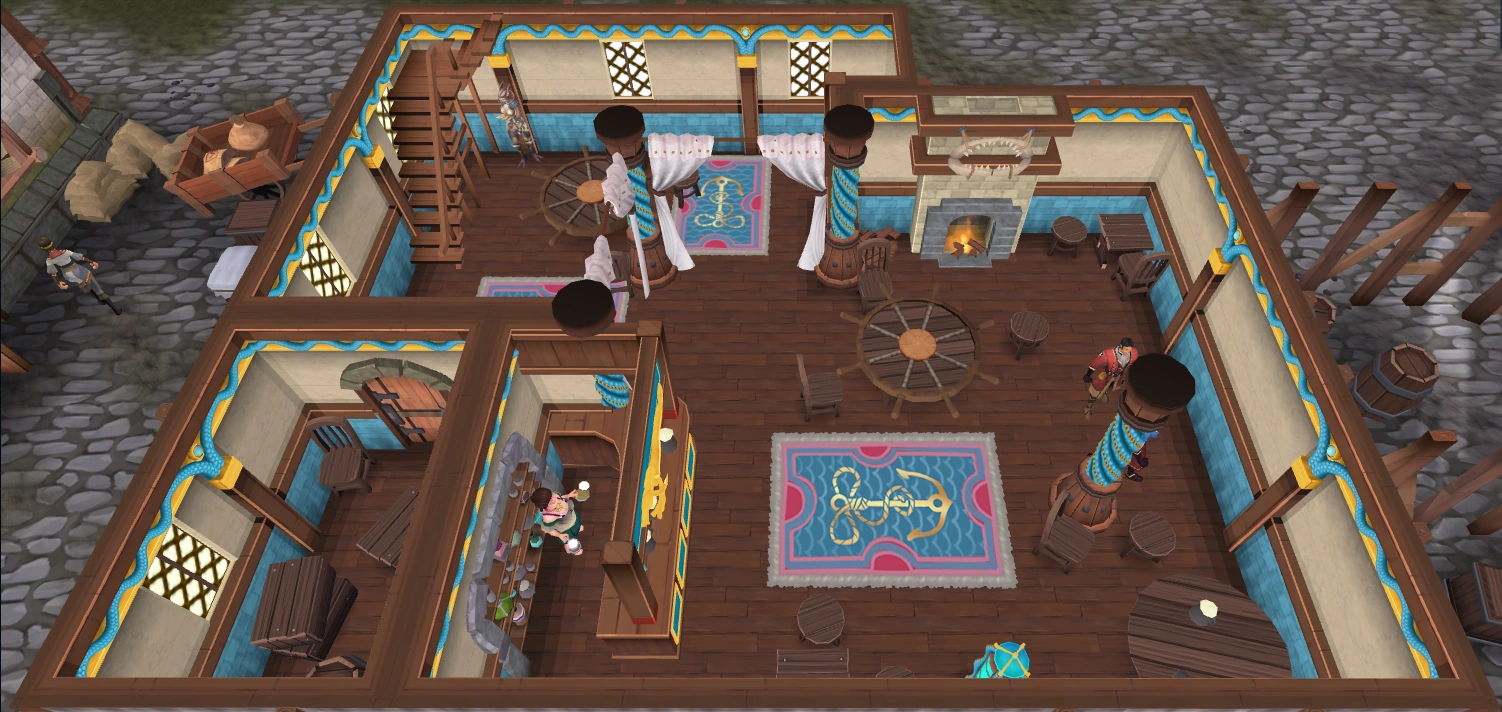
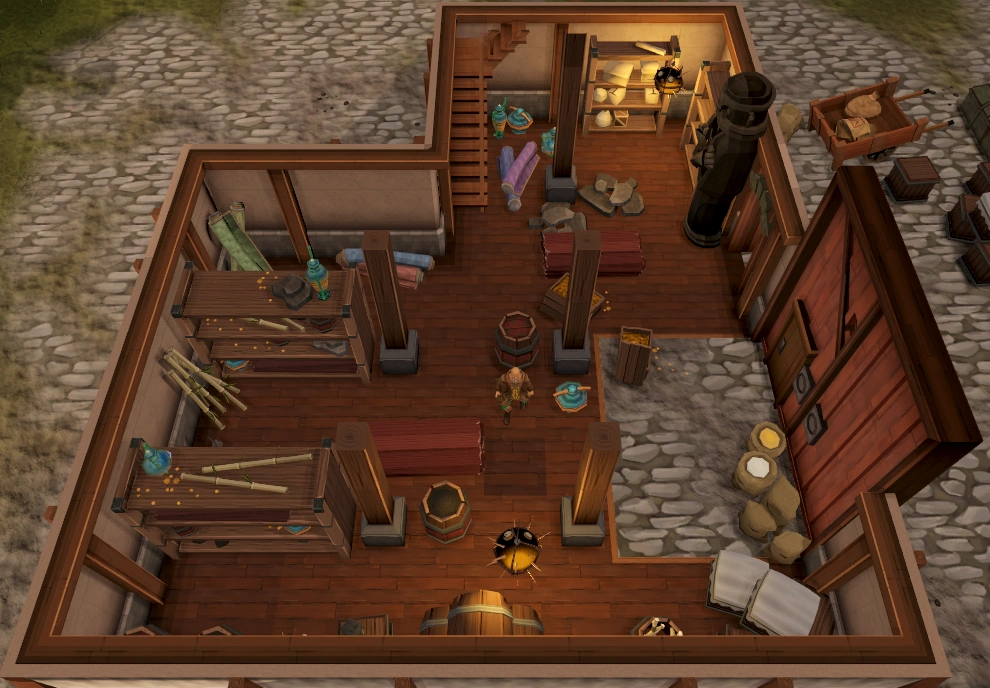
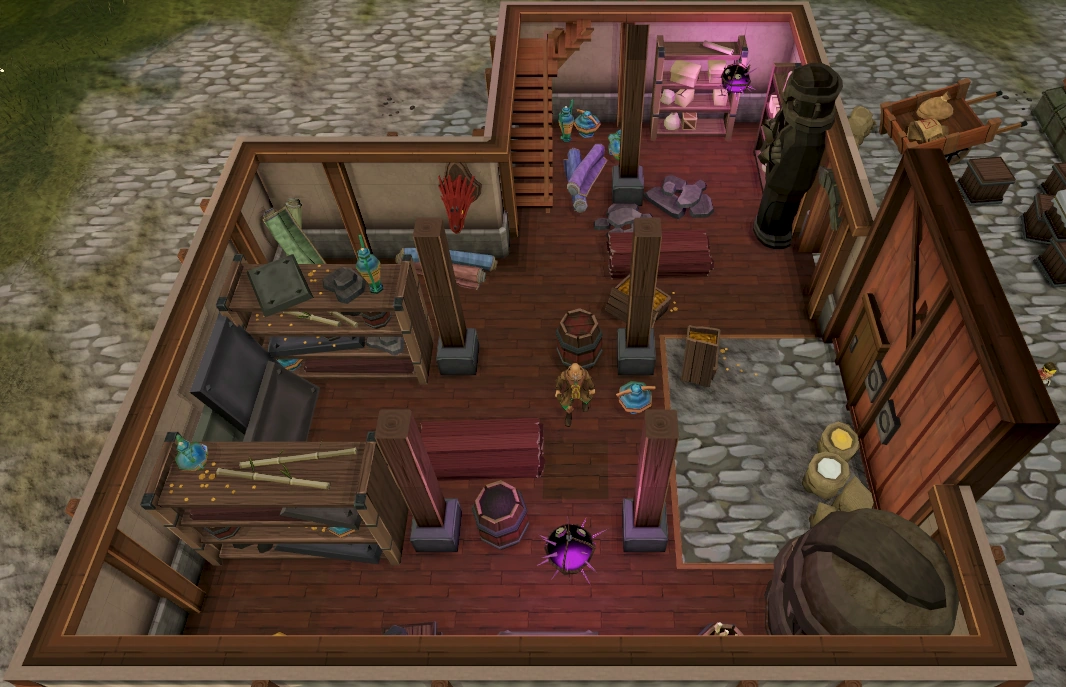
The bar, located northwest of the entrance portal, is owned by Surula and is used to attract captains and adventurers. On Thursdays, players can talk to Surula for a gossip voyage, resulting in the players third offered voyage to be replaced with one highly rewarding voyage. This upgrade affects the Port Upgrades score in the Captain's Log. There are three types of bars (sinister, nautical, luxurious) in the highest tier of upgrades. A possible 2 upgrade points and 20 port score can be gained from this tier. Players will gain one upgrade point and 10 port score if they build the sinister bar. Upgrading again to the nautical or luxurious bar will reward the player the remaining upgrade point and 10 port score. Alternatively, players can build the nautical or luxurious bar first (skipping the sinister bar) and earn 2 upgrade points and 20 port score at one time, thus saving the player some resources. Upgrading between the nautical bar and luxurious bar does NOT affect any scores. However, one upgrade point and 10 port score will be lost if the refurbished bar is rebuilt.
| Image | Bar Type | Effect | Cost |
|---|---|---|---|
|
Dilapidated bar | No bonus | Free |
|
Refitted bar | Boosts port attractiveness for higher quality captains by 2% | 120 [1] |
|
Renovated bar | Boosts port attractiveness for higher quality captains by 3% Boosts port attractiveness for adventurers by 2% |
600 1,000 |
|
Refurbished bar | Boosts port attractiveness for higher quality captains by 5% Boosts port attractiveness for adventurers by 3% |
1,000 2,000 |

|
Sinister bar | Boosts port attractiveness for higher quality captains by 5% Boosts port attractiveness for adventurers by 3% Boosts port attractiveness for combat and morale based captains by an additional 2% |
3,000 5,000 |
|
Nautical bar | Boosts port attractiveness for higher quality captains by 5% Boosts port attractiveness for adventurers by 3% Boosts port attractiveness for seafaring and speed based captains by an additional 2%. |
3,000 5,000 |
|
Luxurious bar | Boosts port attractiveness for higher quality captains by 5% Boosts port attractiveness for adventurers by 5% |
3,000 5,000 |
|
Opulent bar | 7% chance to attracting higher quality captains. 5% bonus chance to attracting adventurers. |
5,000 5,000 |
|
Malevolent bar | 10% chance to attracting captains with higher combat or morale stats. 7% chance to attracting higher quality captains. 6% bonus chance to attracting adventurers. |
5,000 |
|
Maritime bar | 10% chance to attracting captains with higher seafaring or speed stats. 7% chance to attracting higher quality captains. 6% bonus chance to attracting adventurers. |
5,000 |

|
Ostentatious bar | 8% chance to attracting higher quality captains. 8% bonus chance to attracting adventurers. |
5,000 |
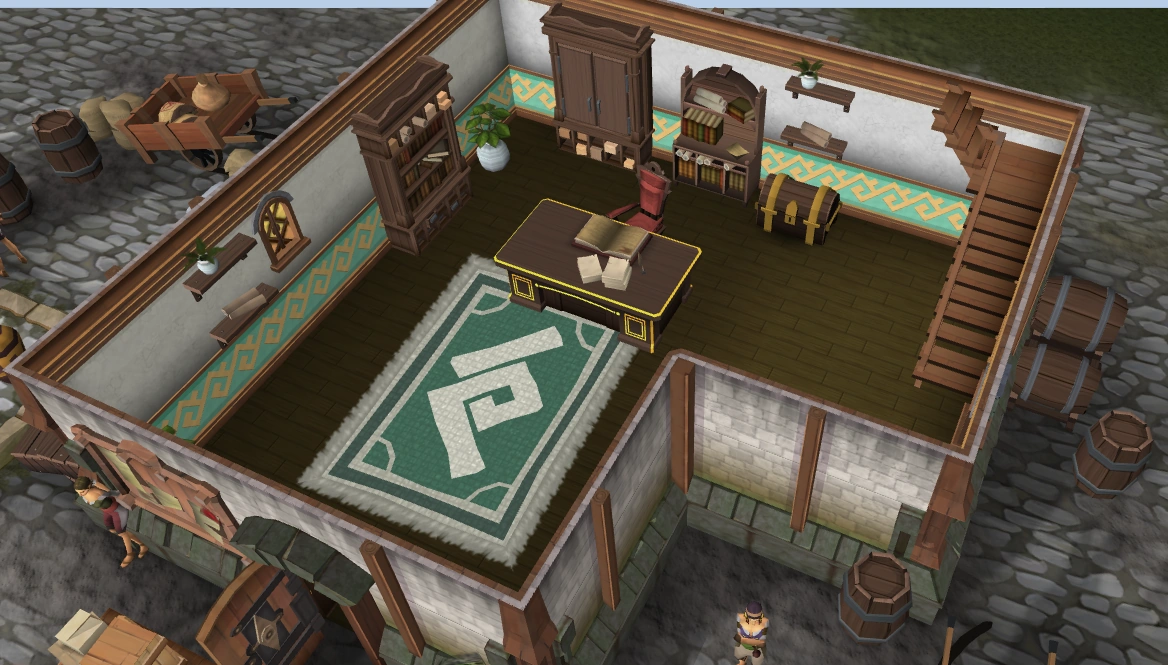
Office
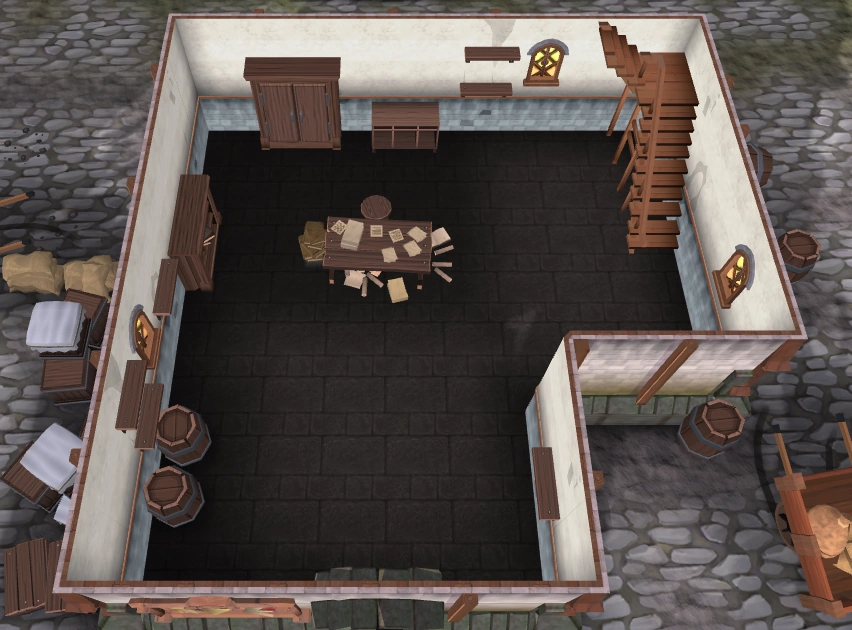
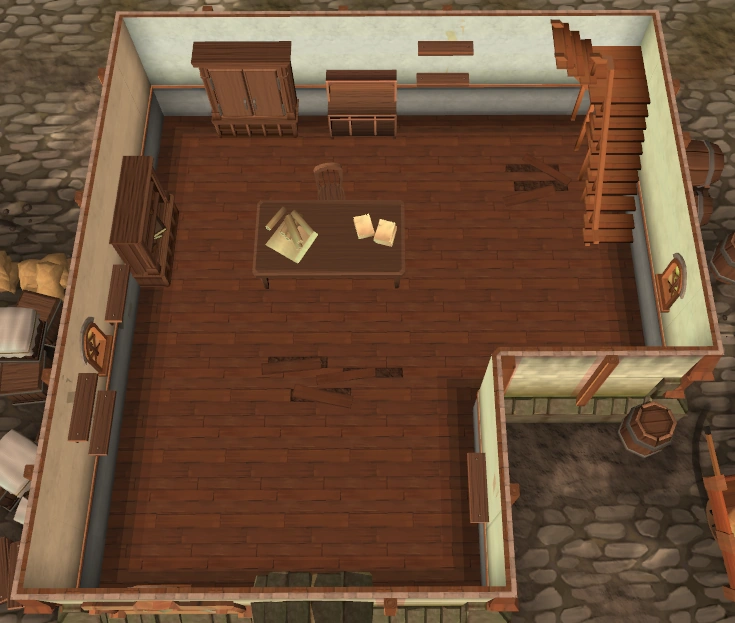
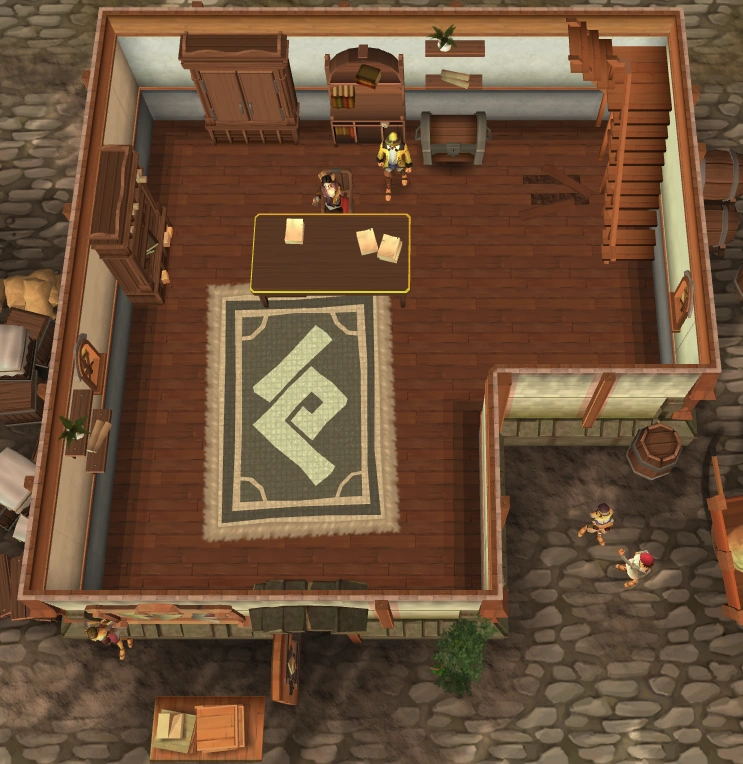
The office, located northeast of the entrance portal, houses Duncan and John Strum after the tutorial. Office upgrades unlock more ships, which can be used to send out more voyages simultaneously. This upgrade affects the Port Upgrades score in the Captain's Log.
| Image | Office Type | Effect | Cost |
|---|---|---|---|
|
Dilapidated office | No bonus | Free |
|
Refitted office | Unlocks an additional ship slot. | 150 [1] |
|
Renovated office | Unlocks an additional ship slot. | 3,000 4,000 |
|
Refurbished office | Unlocks an additional ship slot. | 8,000 10,000 |
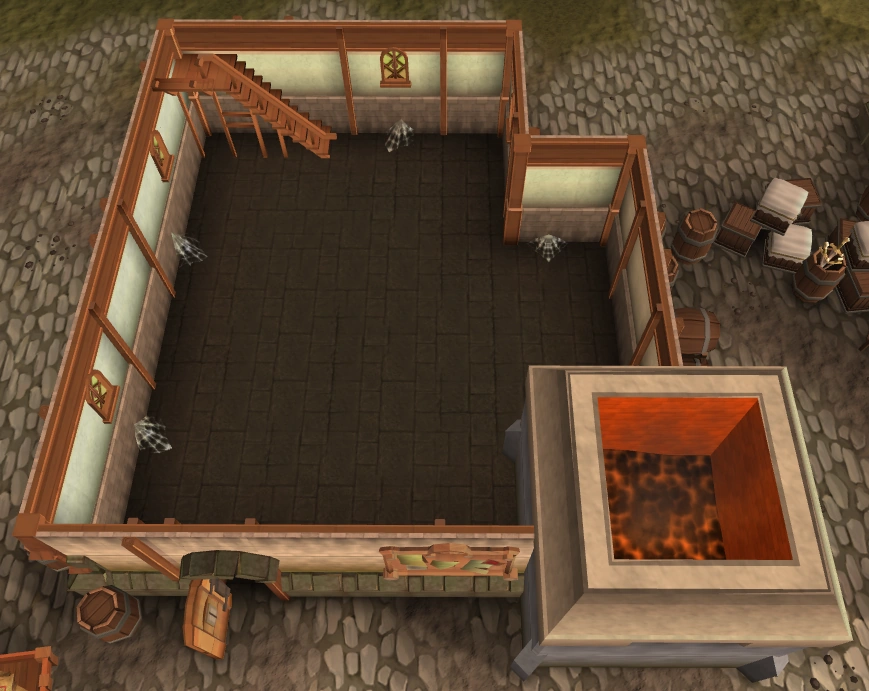
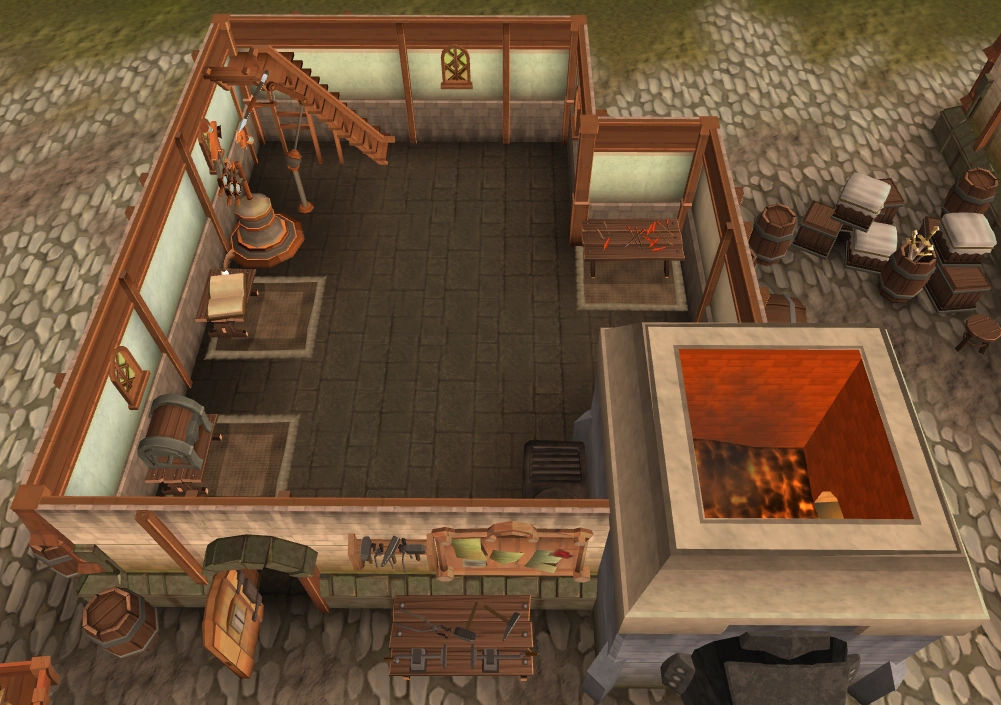
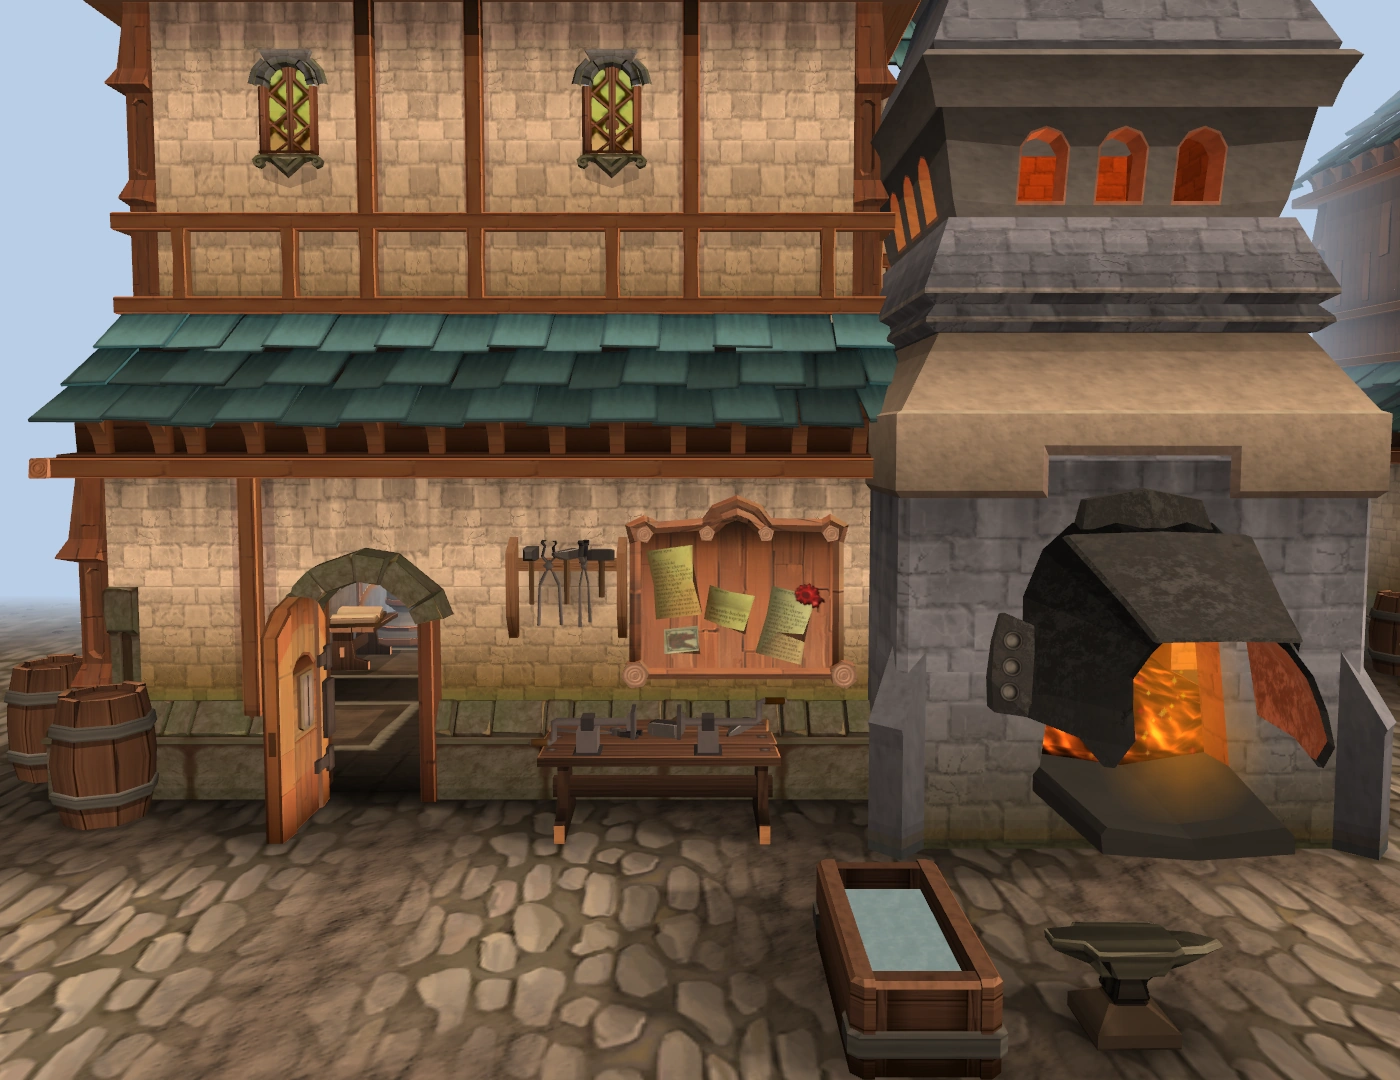
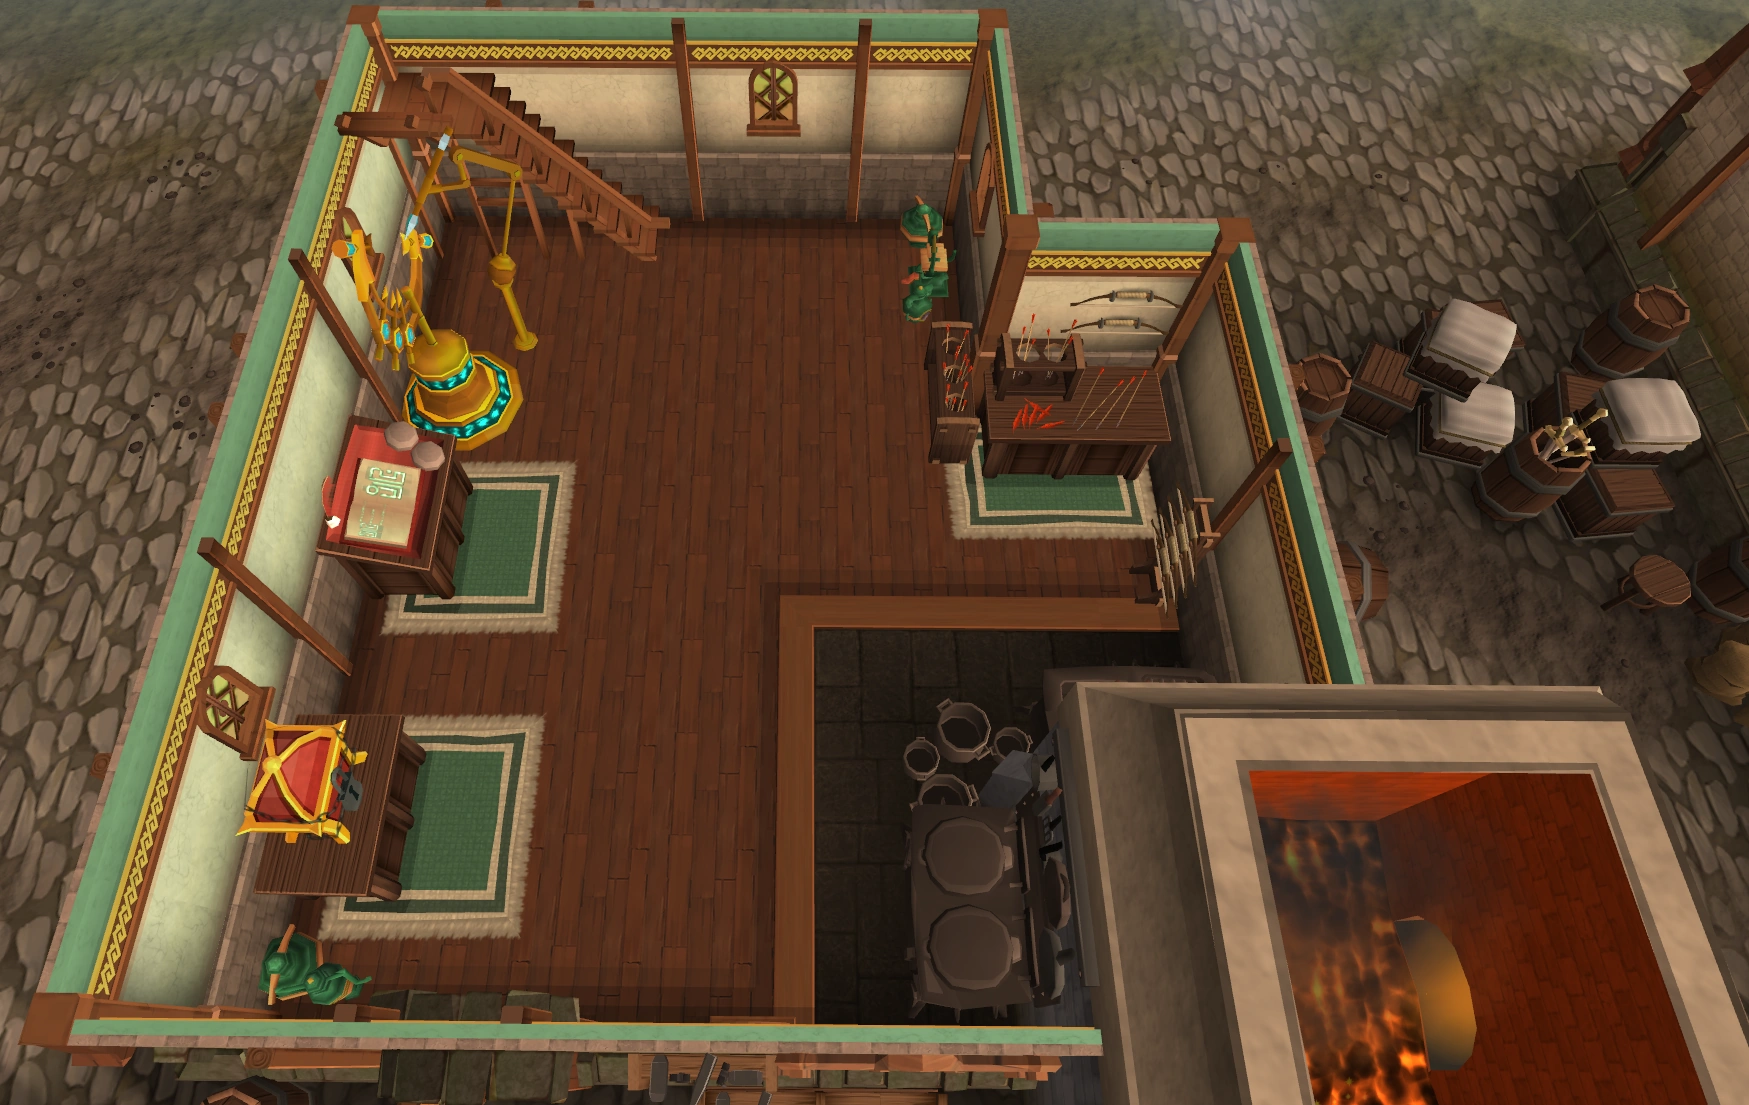
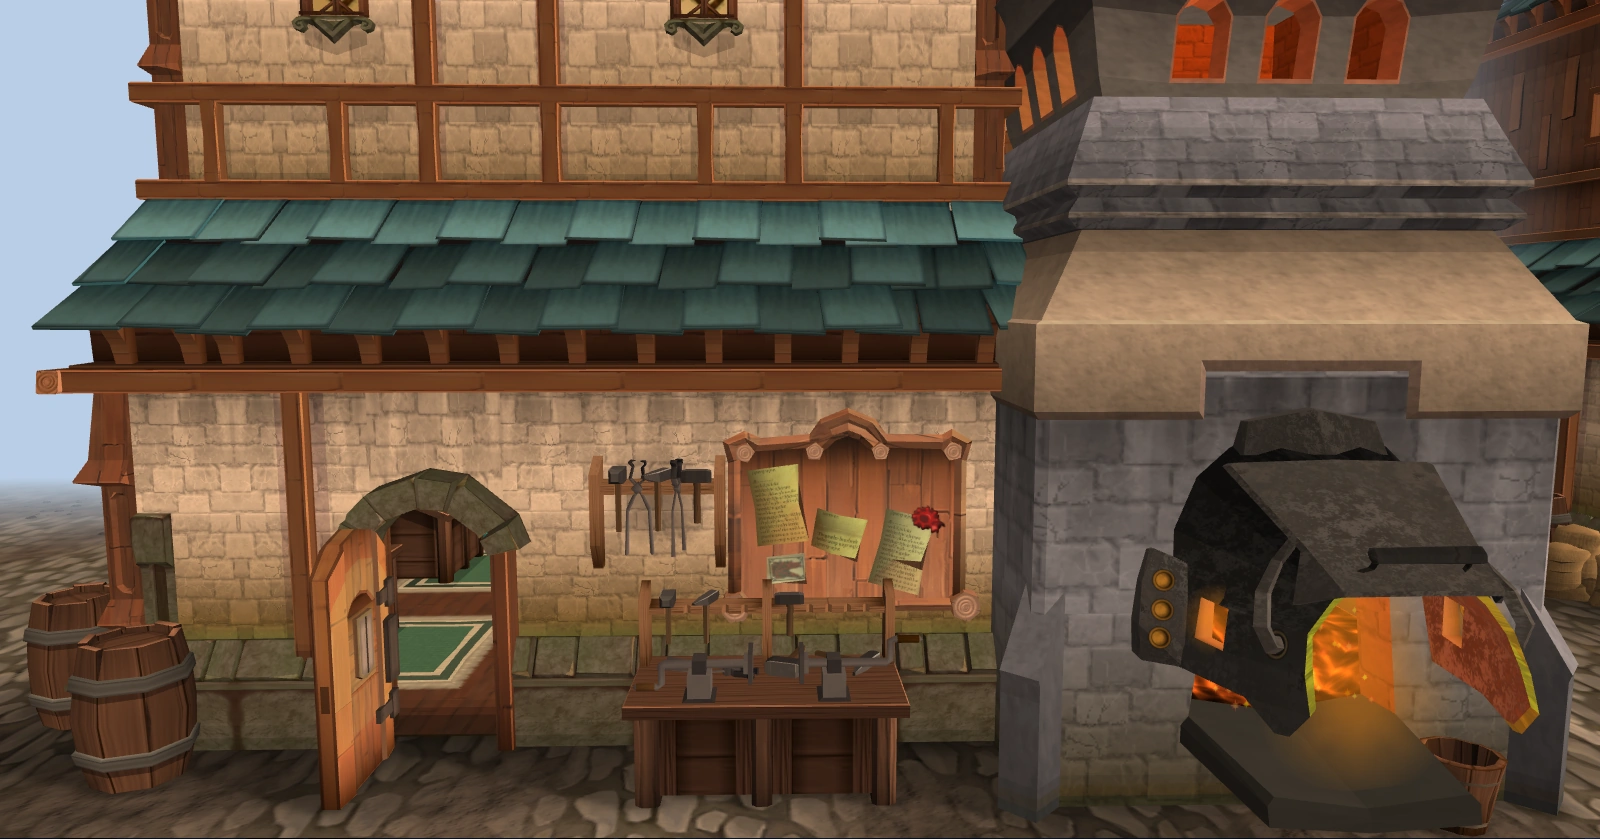
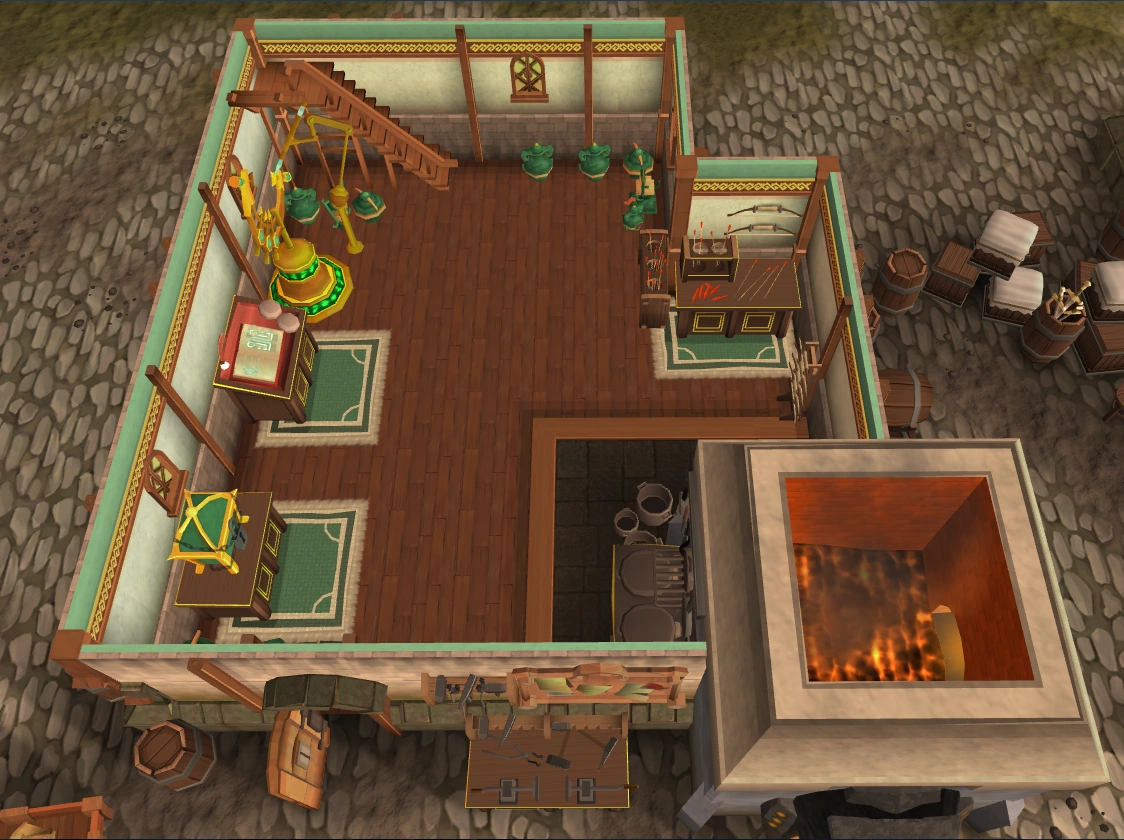
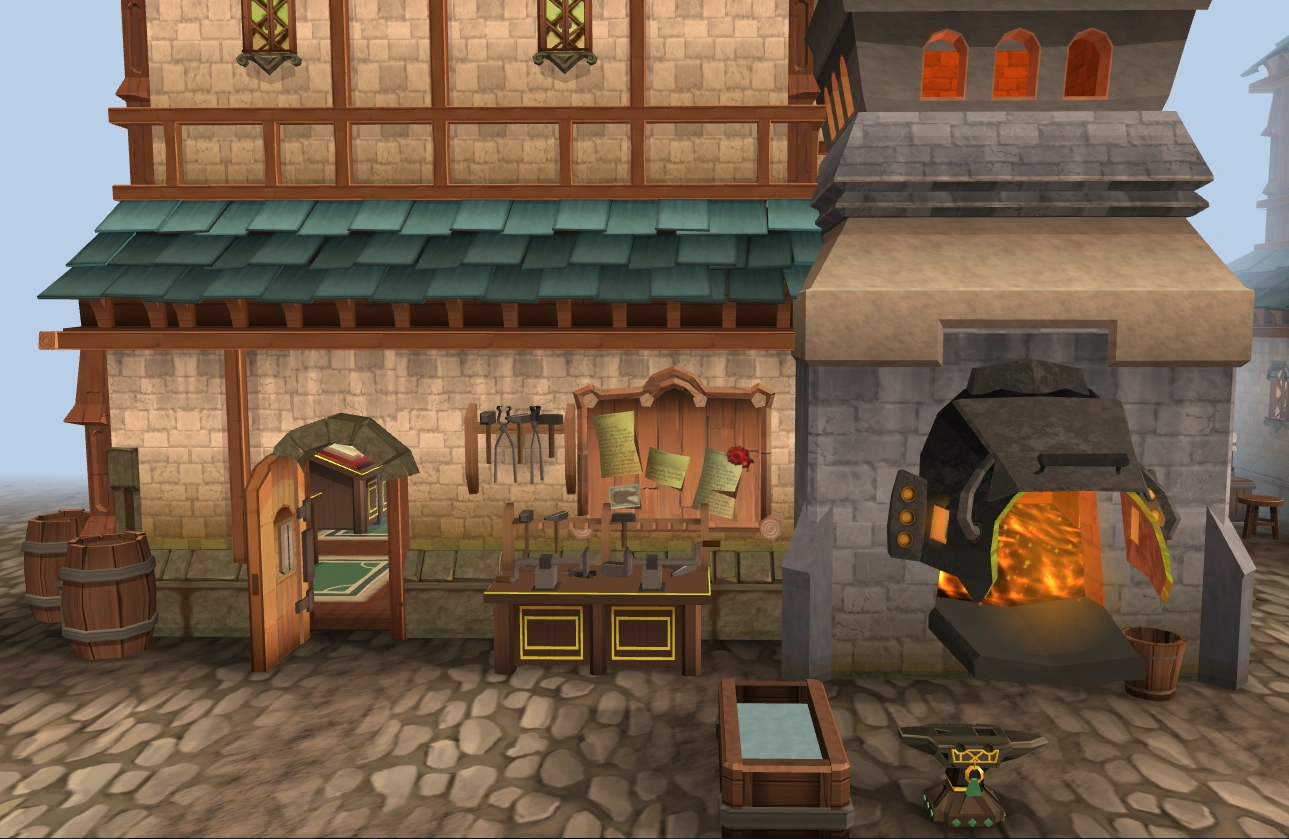
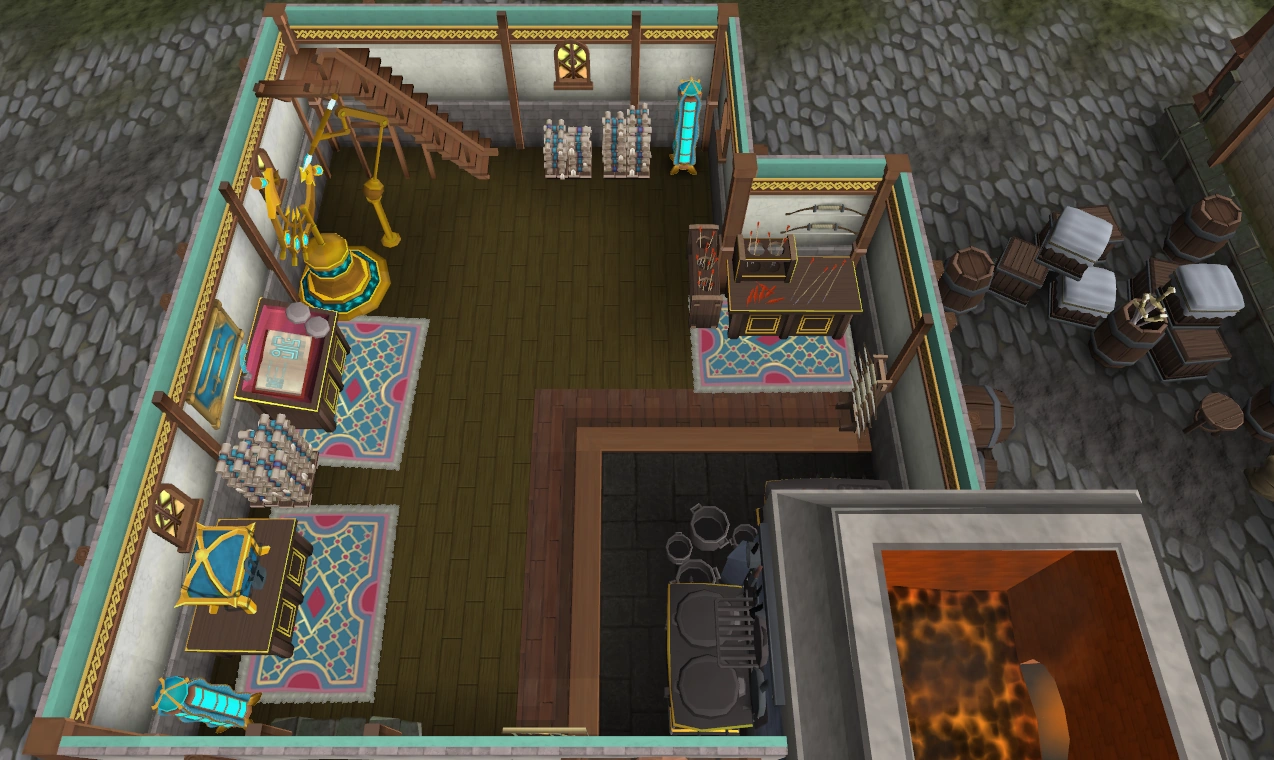
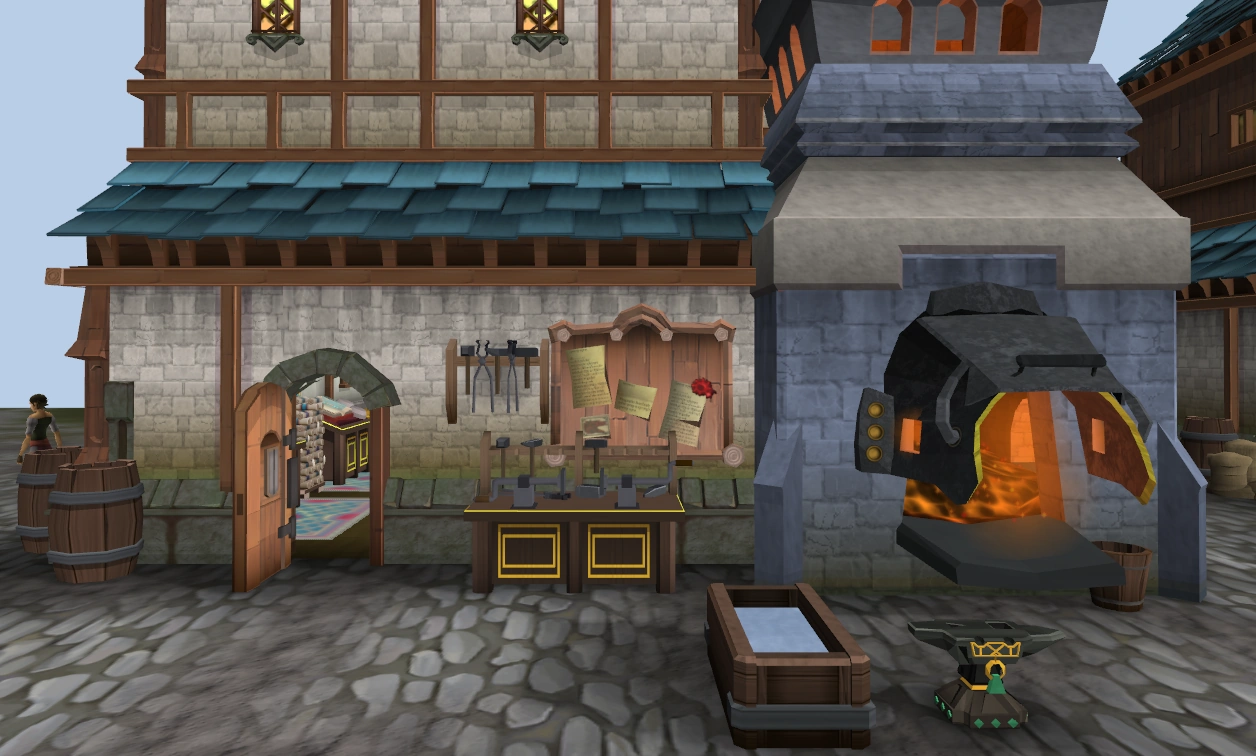
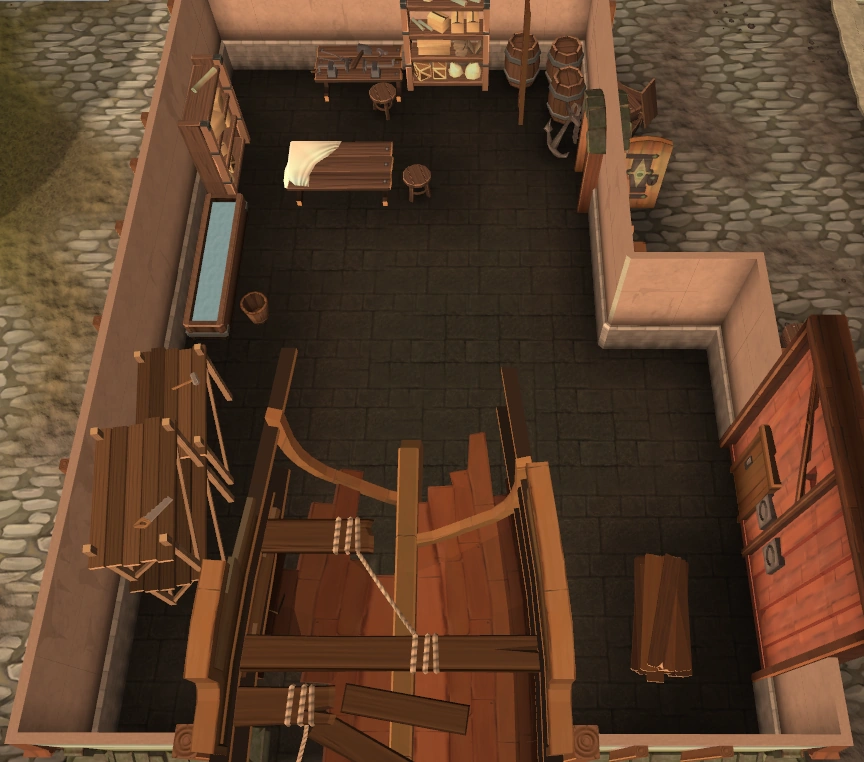
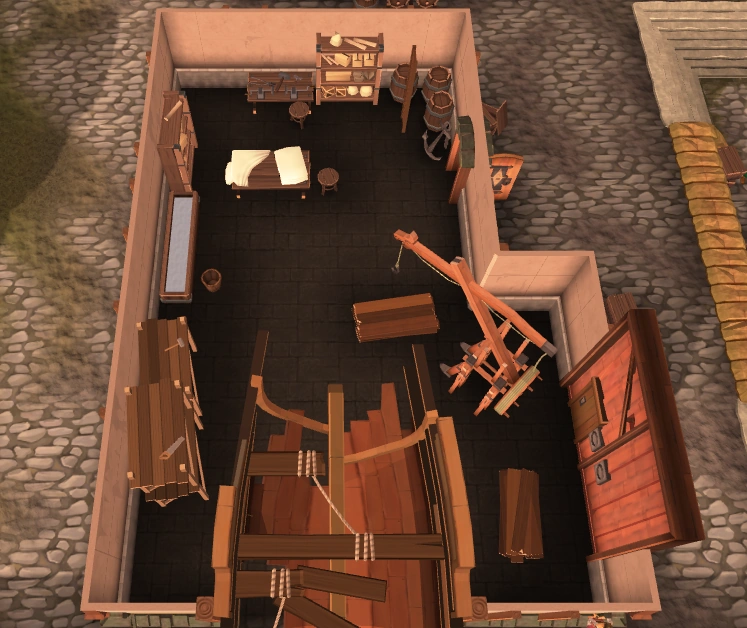
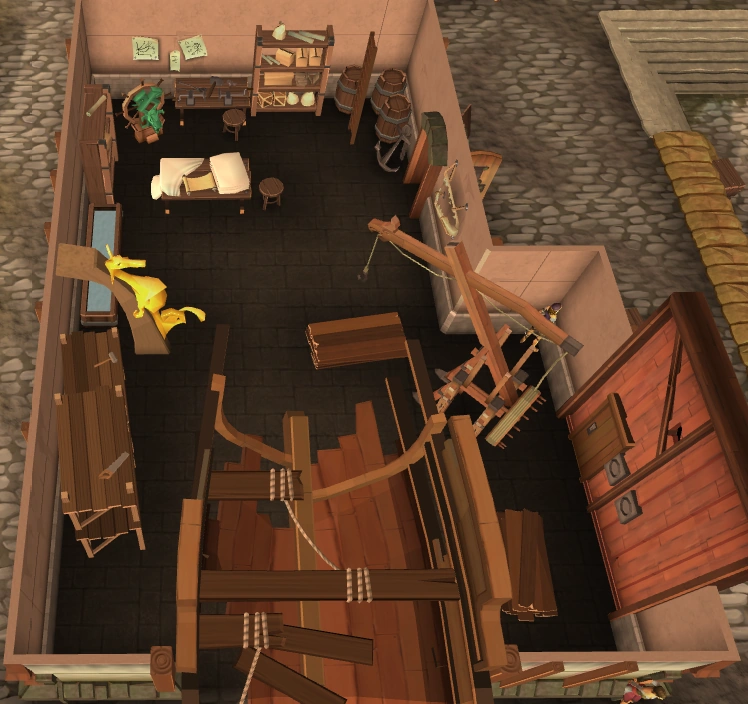
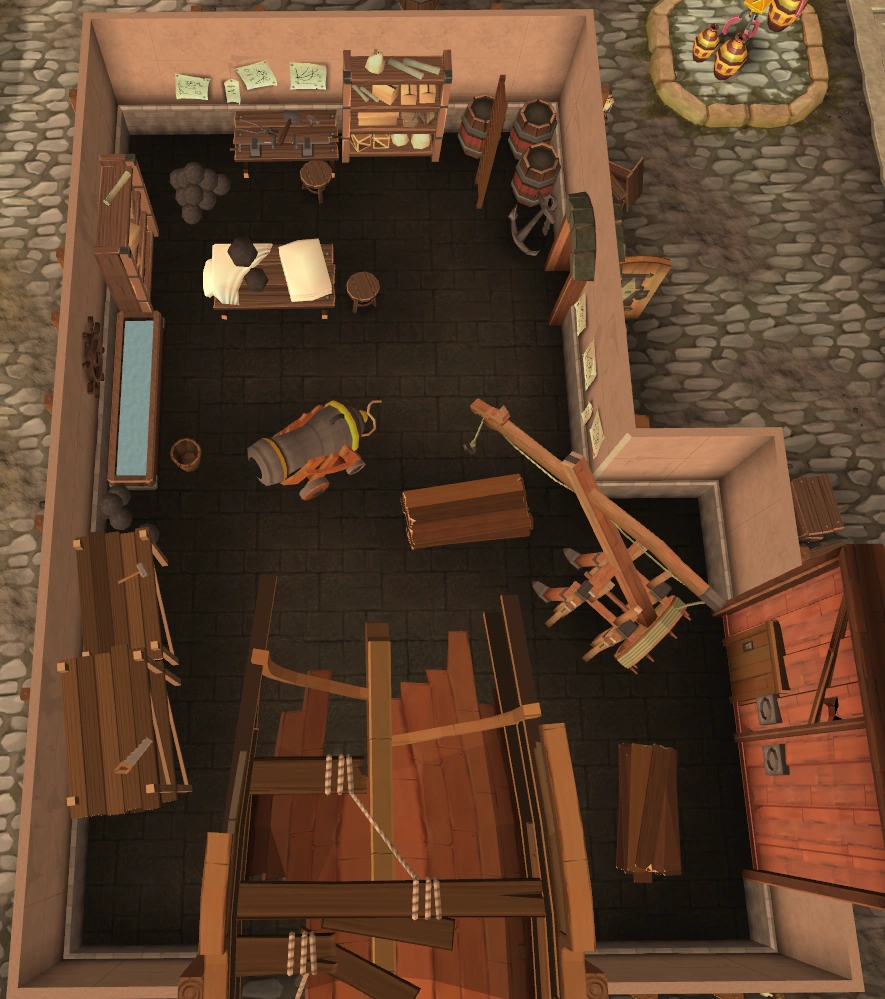
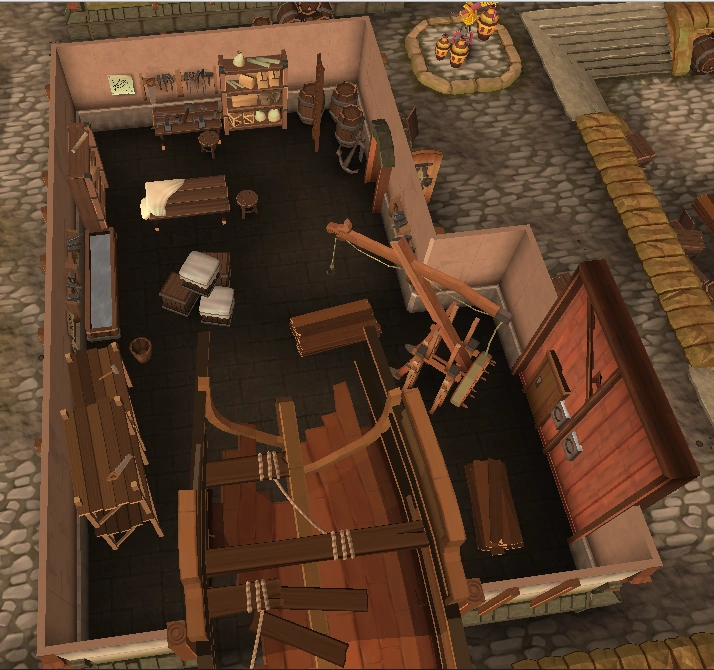
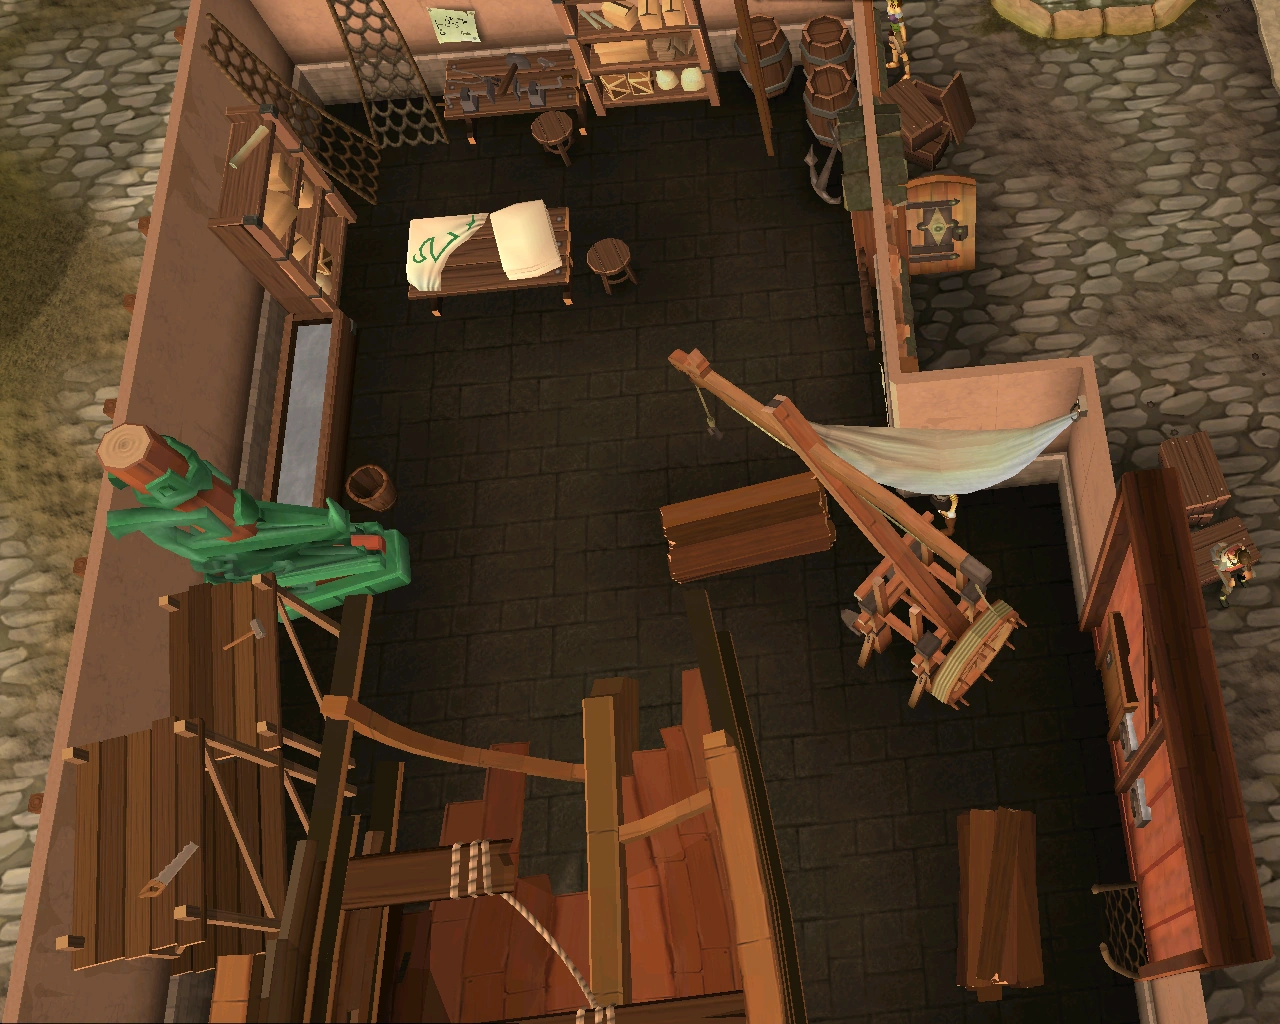
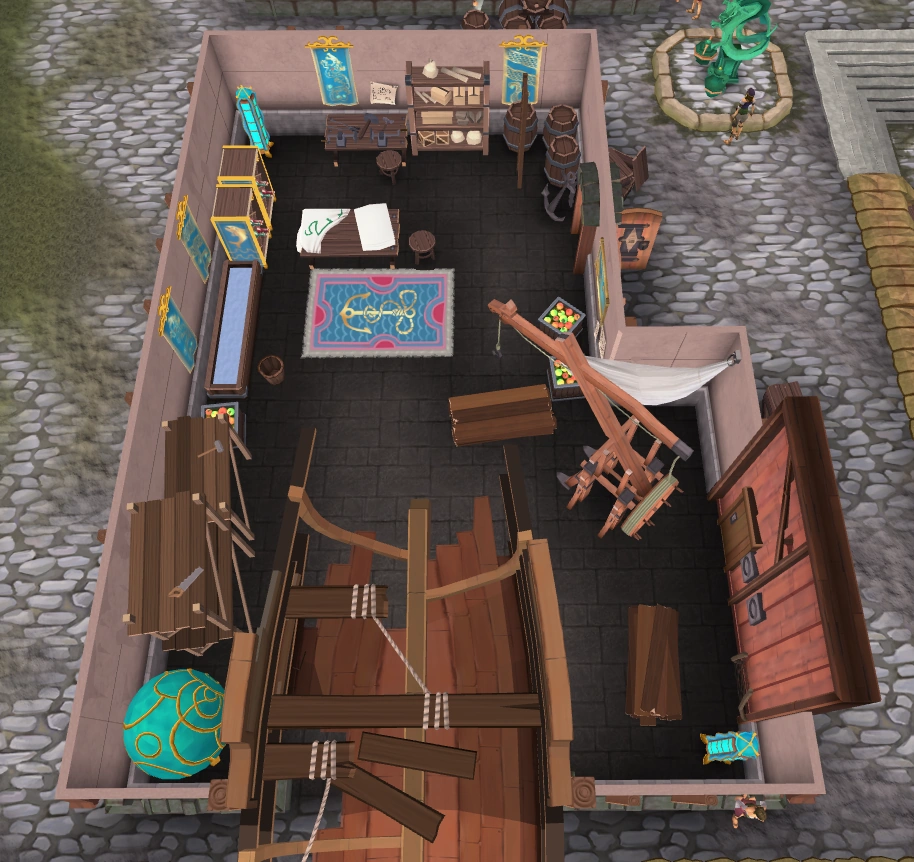
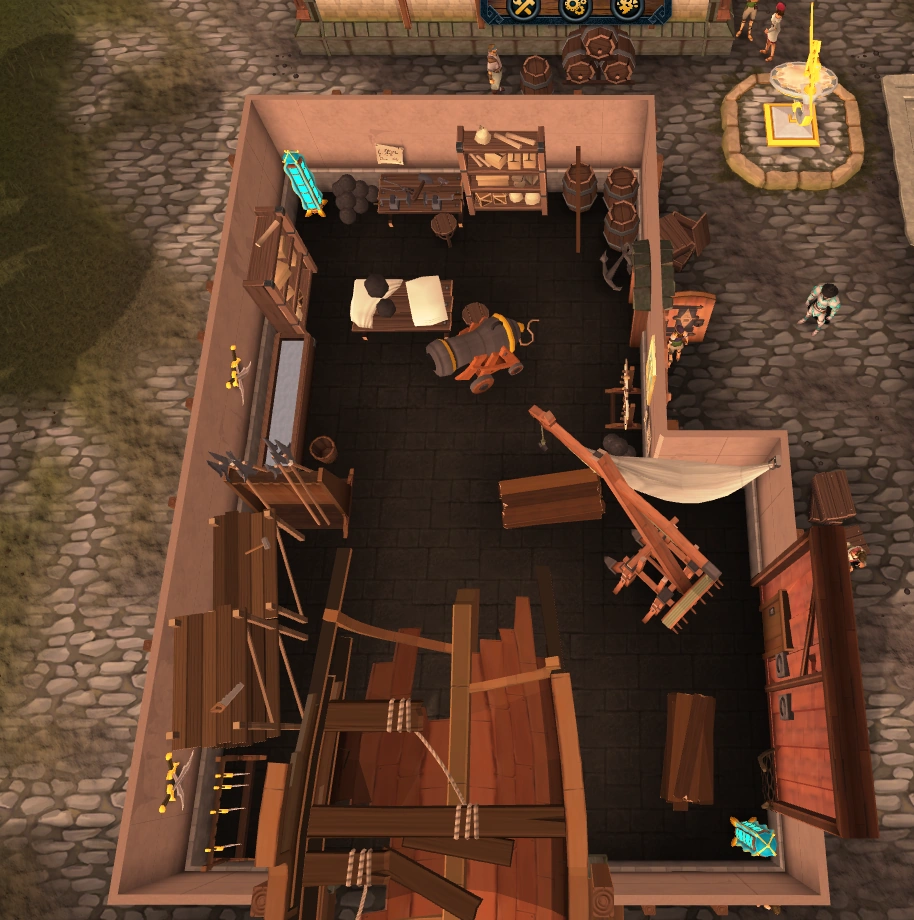
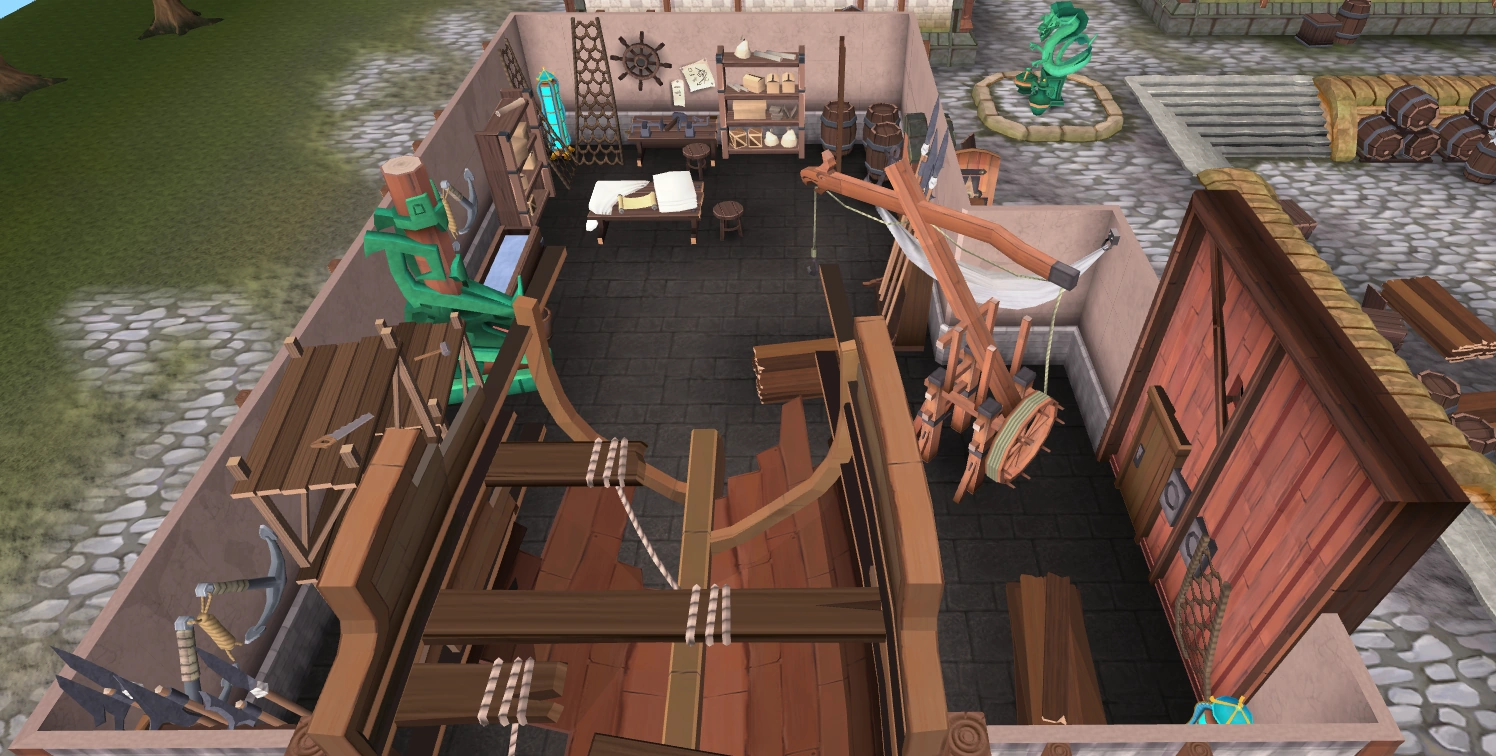
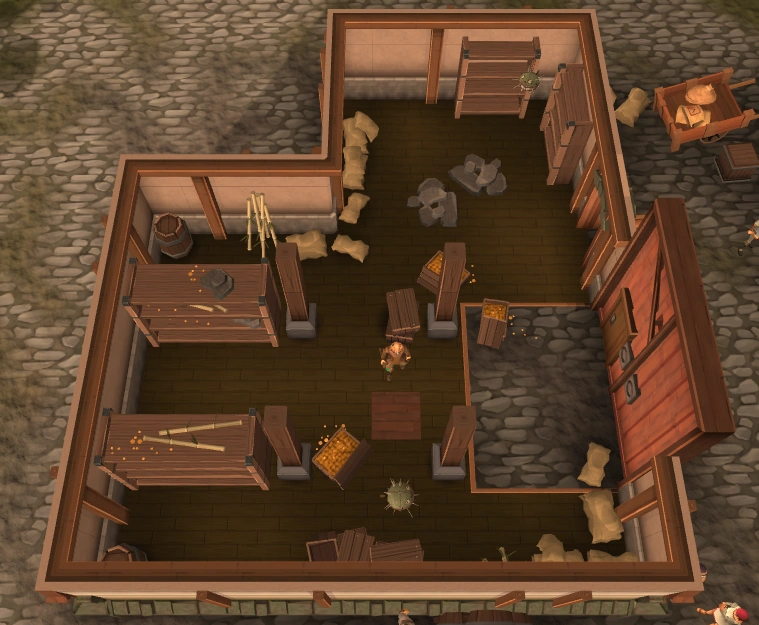
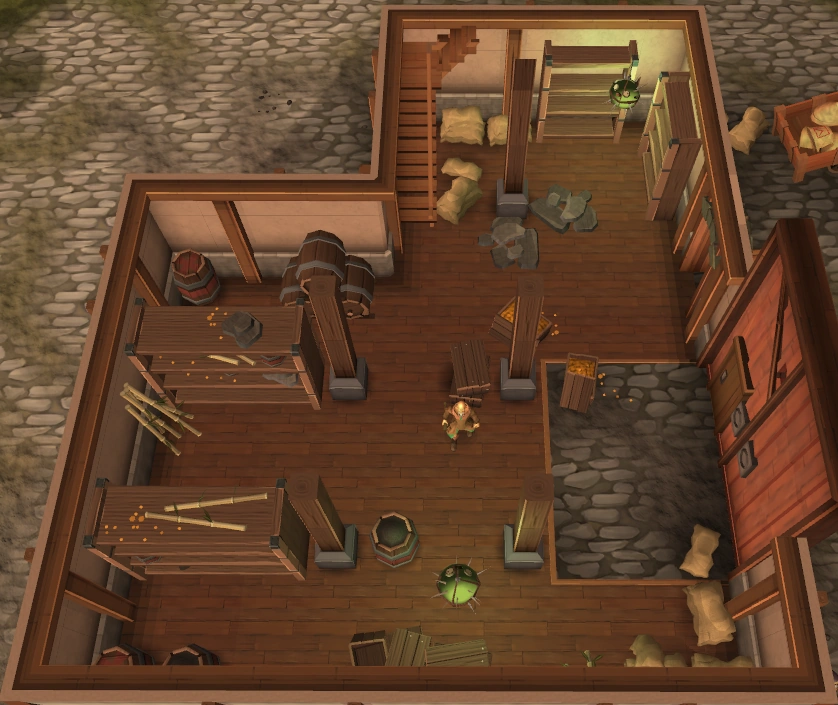
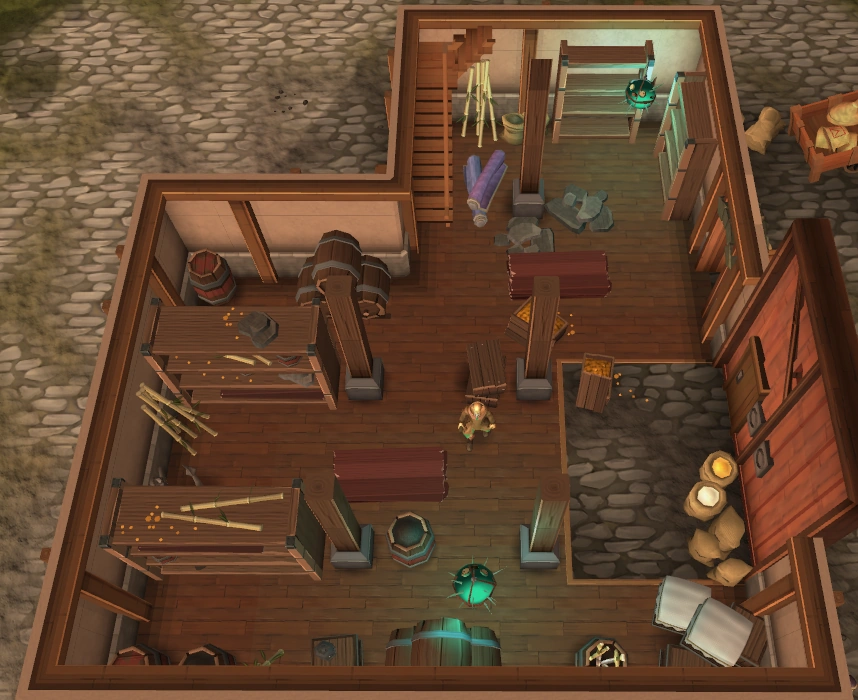
Workshop
The workshop, located in the northeast corner of the port, is unlockable by reaching the Hook region of the Eastern Lands. Once built, the building consists of a workbench, anvil, bank box, scrimshaw crafter, and cooking station. The workbench and anvil can be found just outside the building. This upgrade affects the Port Upgrades score in the Captain's Log.
Note: Experience boosts from upgrades are only applied when making trade good specific items such as bonus smithing experience for making tetsu armour and bonus fletching experience for creating scrimshaws. The boost does not apply to any regular skilling inside of the workshop. In addition, the anvil, workbench and cooking station do not allow one to create anything but the trade good rewards (so you cannot e.g. smith rune bars on the anvil).
| Image | Workshop Type | Effect | Cost |
|---|---|---|---|
|
Dilapidated workshop | No bonus (Building is nonfunctional) | Free |
|
Refitted workshop | 5% increased XP gain while skilling in the workshop Adds a workbench, anvil, bank box, scrimshaw crafter and cooking station |
2,000 500 |
|
Renovated workshop | 10% increased XP gain while skilling in the workshop | 3,000 6,000 |
|
Refurbished workshop | Increases XP earned from workshop skill locations by 15%. | 5,000 10,000 |
|
Revamped workshop | Increases XP earned from workshop skill locations by 20%. | 20,000 |
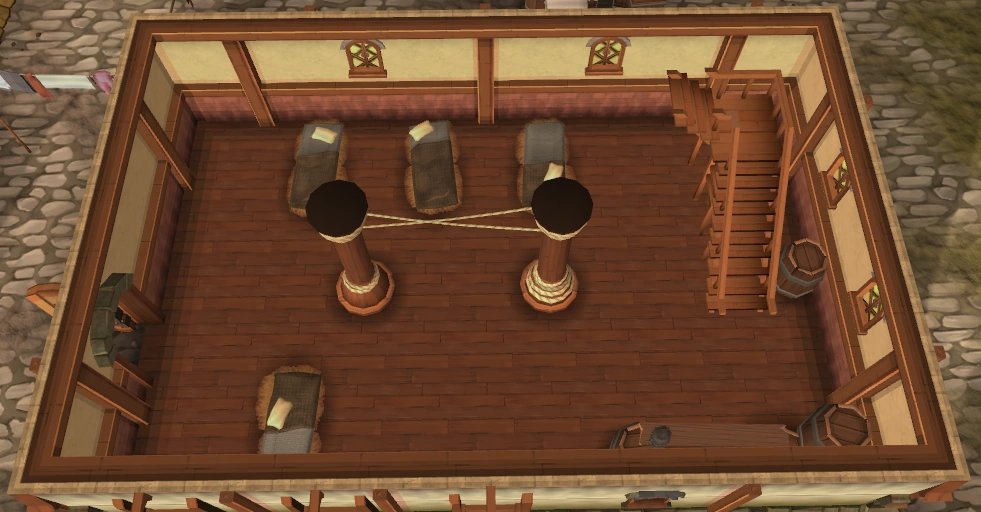
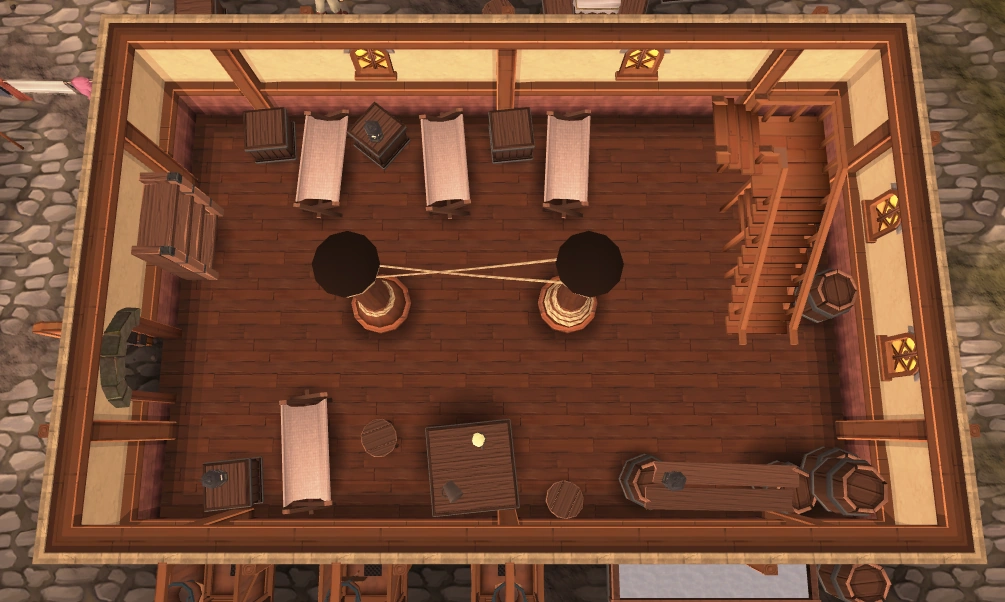
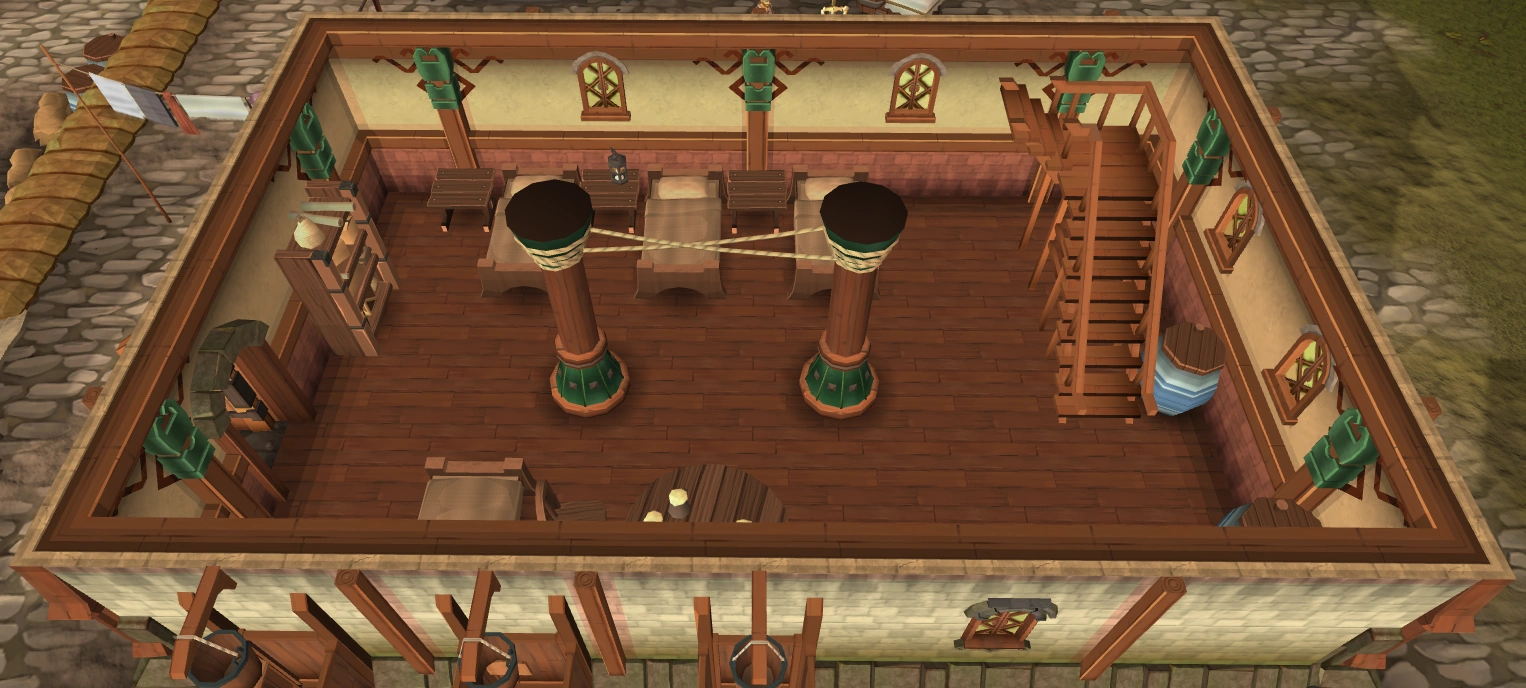
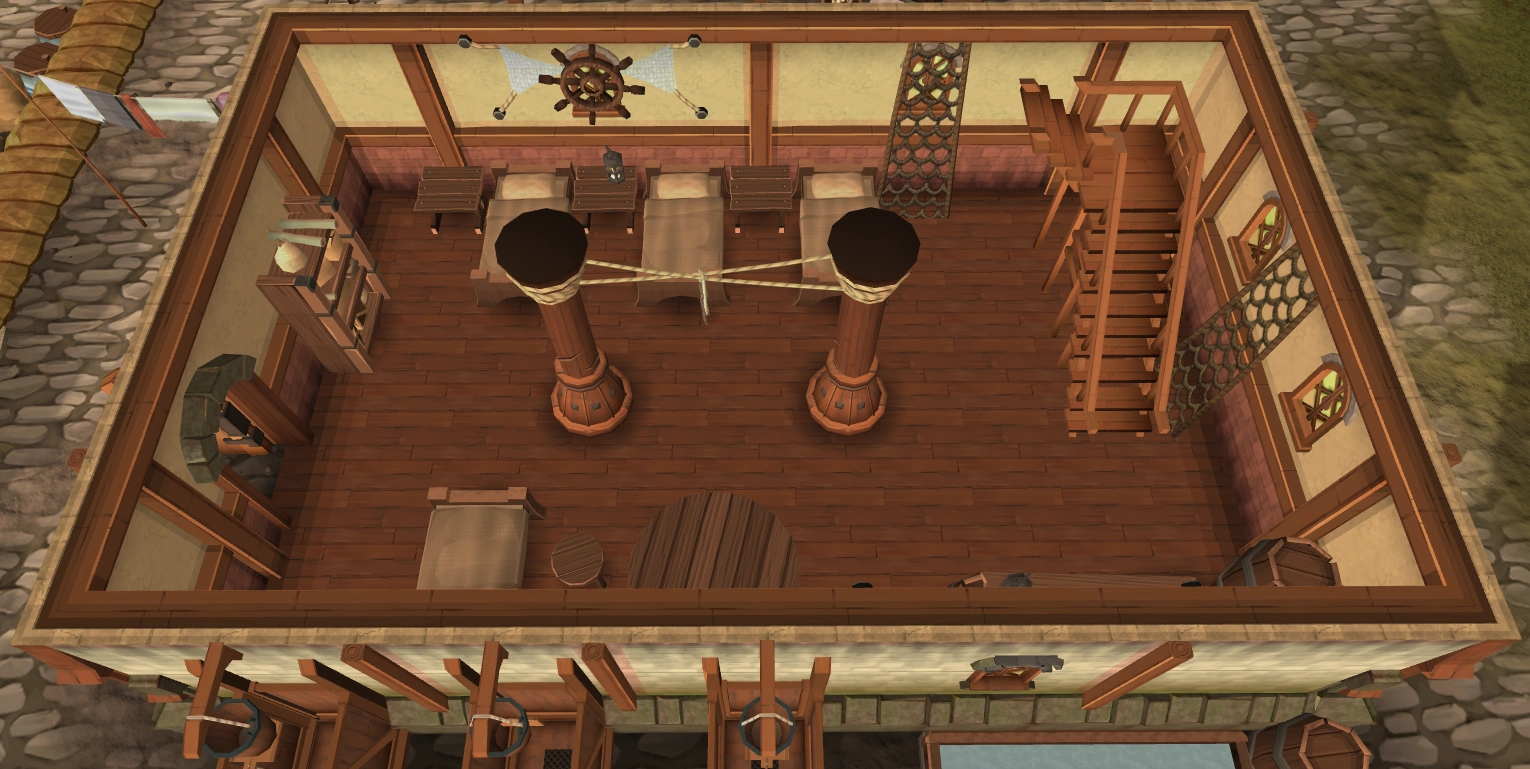
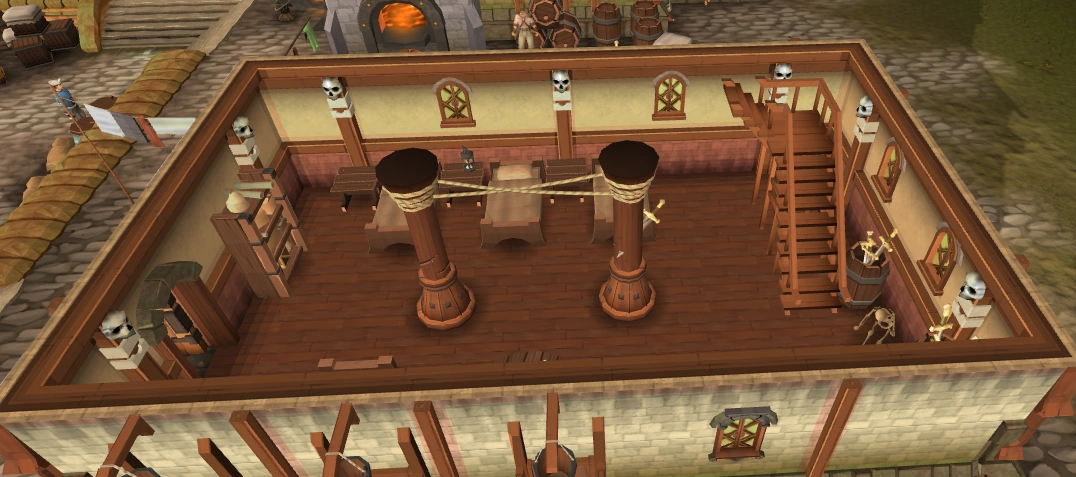
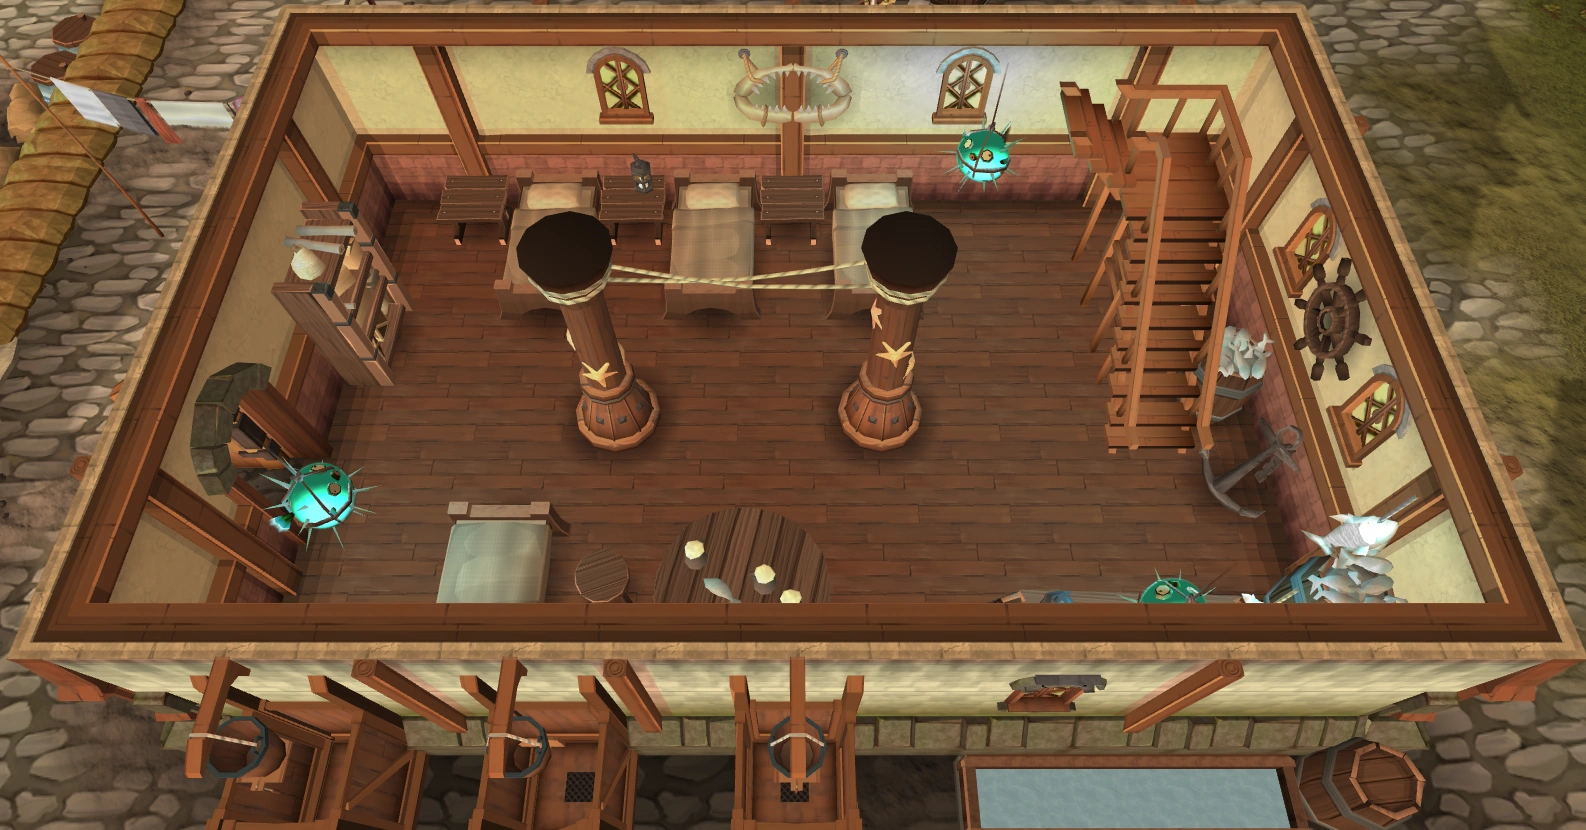
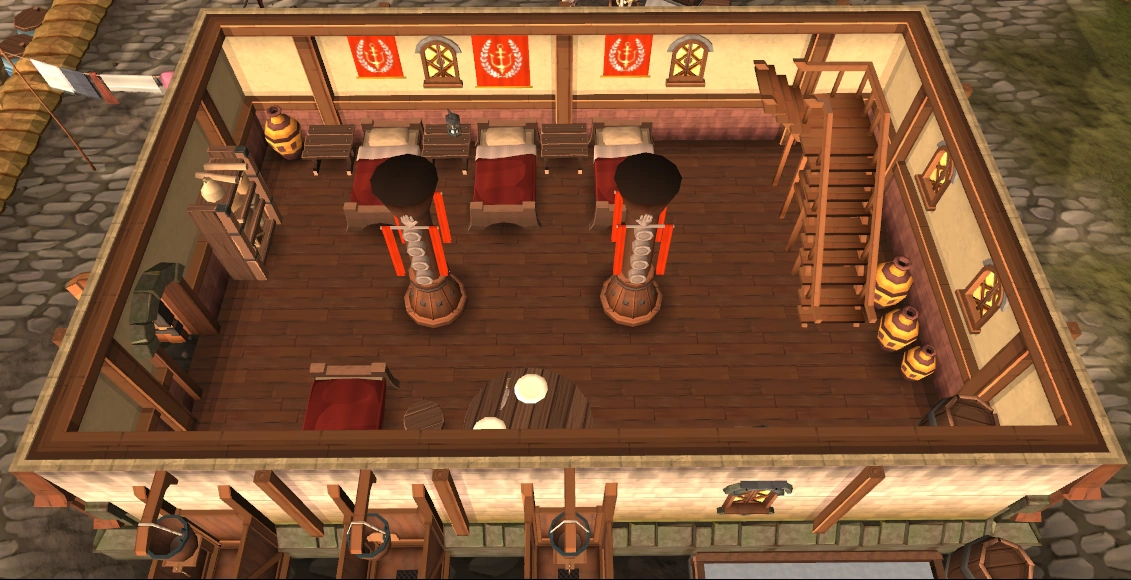
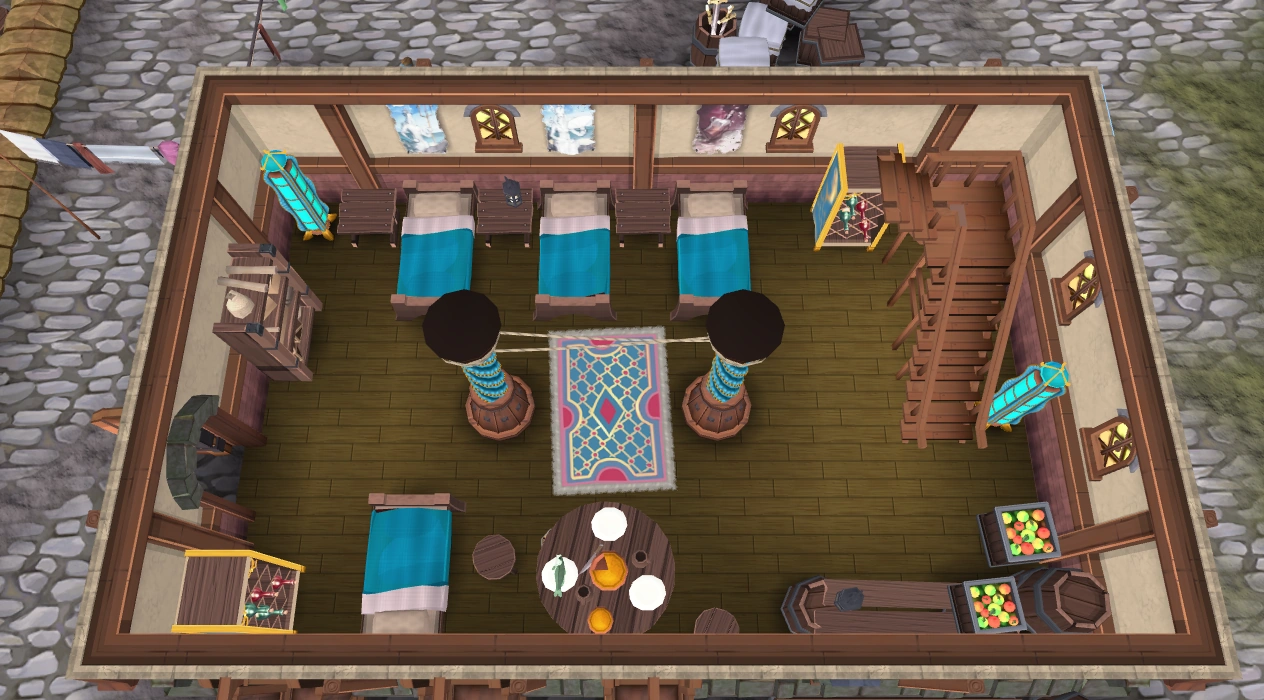
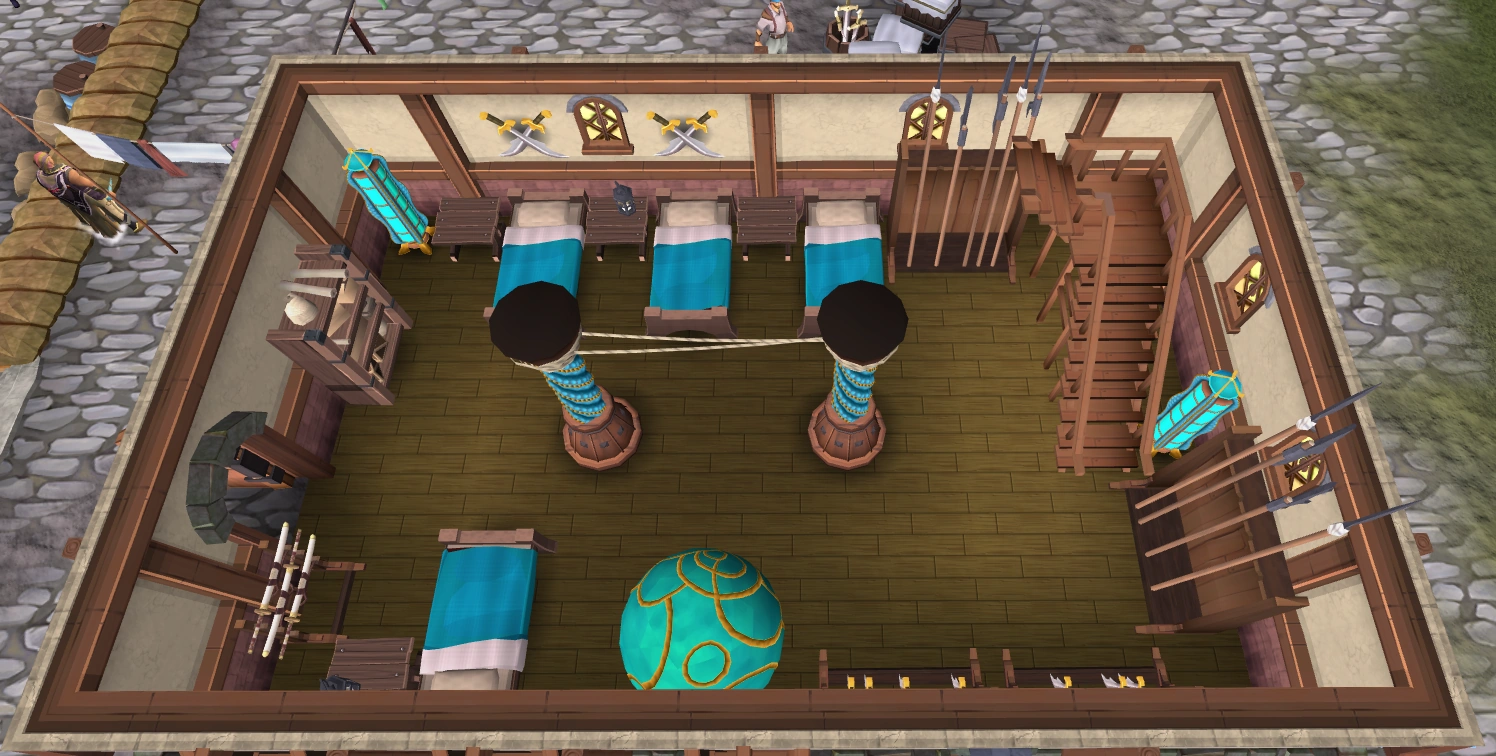
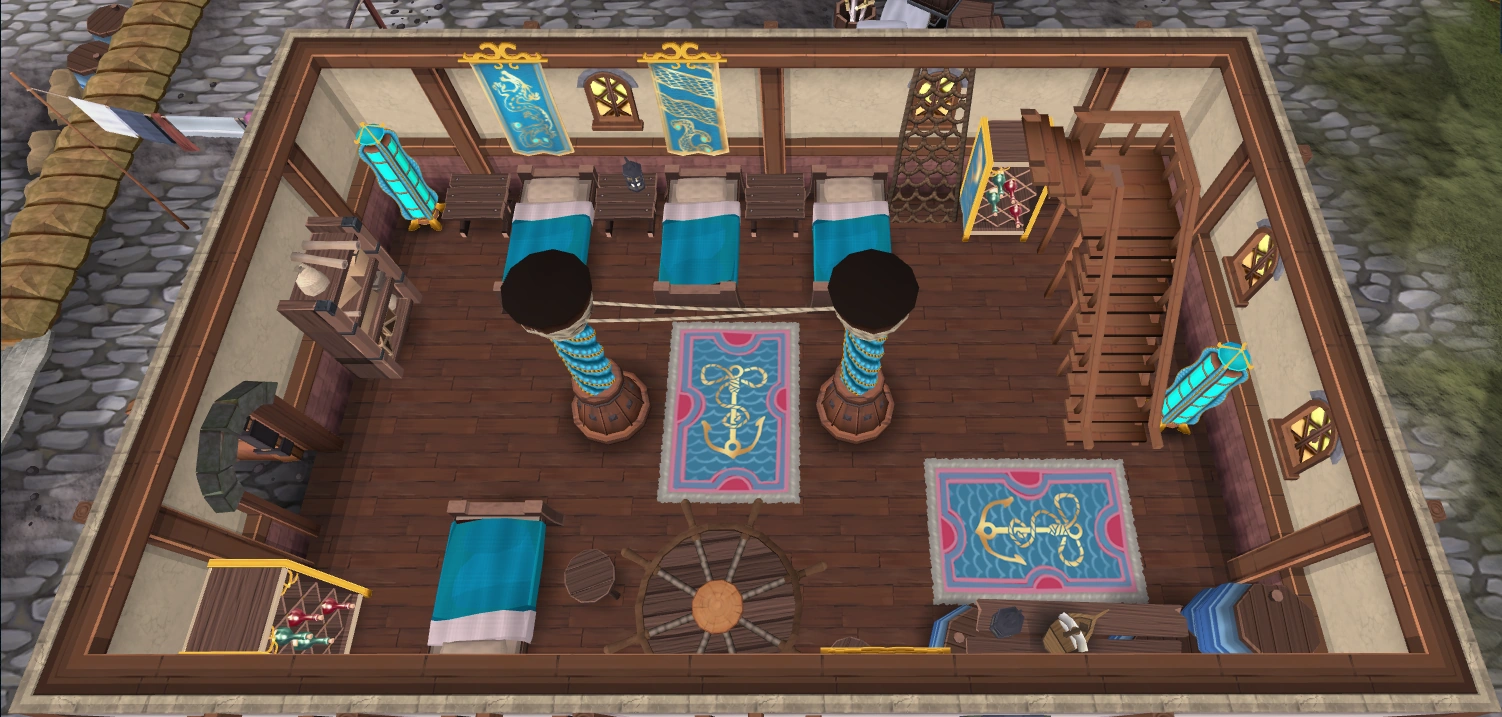
Lodgings
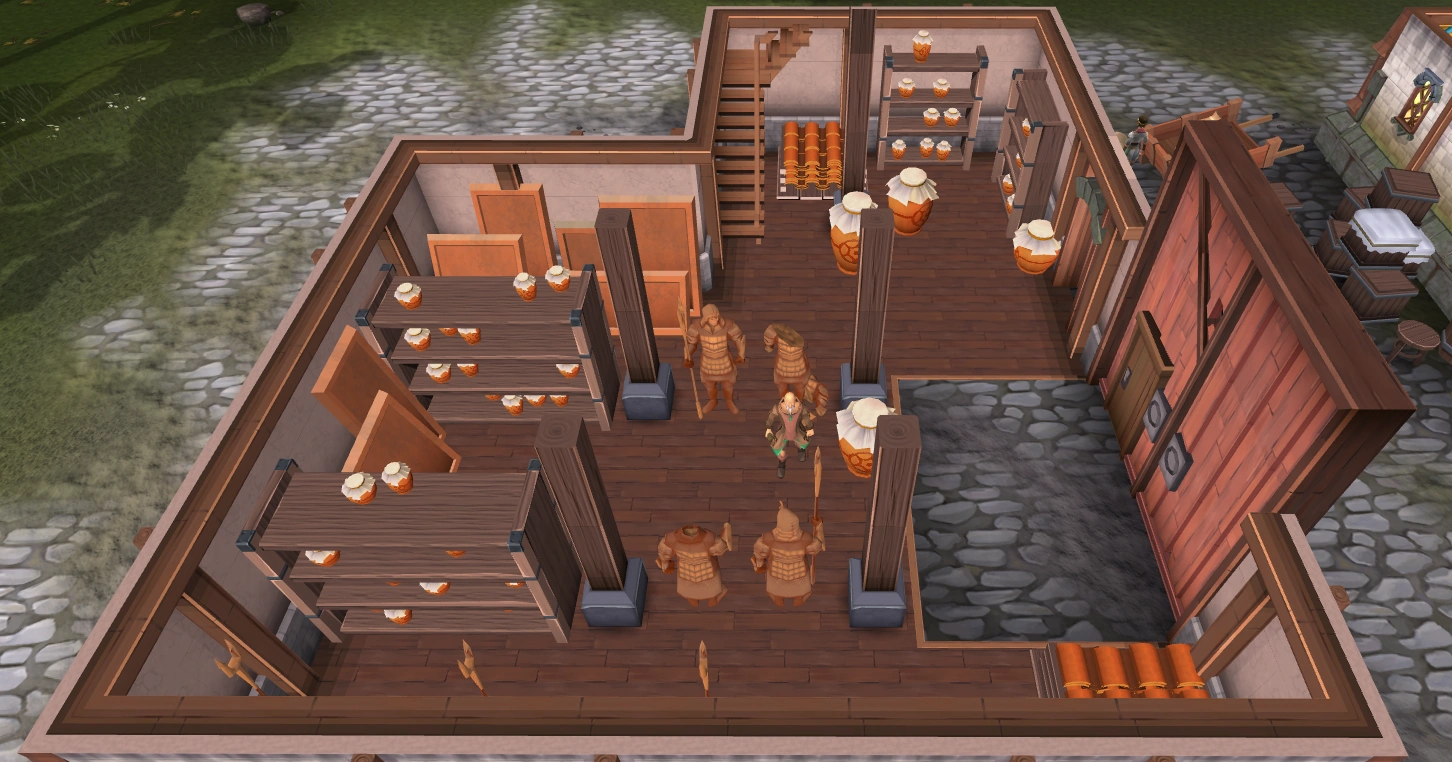
Lodgings, located in the southeast corner of the port, attract better crew members when upgraded. This upgrade affects the Port Upgrades score in the Captain's Log. There are three types of lodgings (cutthroat, nautical, luxurious) in the highest tier of upgrades. A possible 2 upgrade points and 20 port score can be gained from this tier. Players will gain one upgrade point and 10 port score if they build the cutthroat lodgings. Upgrading again to the nautical or luxurious lodgings will reward the player the remaining upgrade point and 10 port score. Alternatively, players can build the nautical or luxurious lodgings first (skipping the cutthroat lodgings) and earn 2 upgrade points and 20 port score at one time, thus saving the player some resources. Upgrading to the cutthroat lodgings after the fact does NOT decrease any scores. However, one upgrade point and 10 port score will be lost if the daredevil lodgings are rebuilt.
| Image | Lodgings Type | Effect | Cost |
|---|---|---|---|
|
Dilapidated lodgings | No bonus | Free |
|
Refitted lodgings | Boosts port attractiveness for higher quality crew by 2% | 1,500 |
|
Renovated lodgings | Boosts port attractiveness for higher quality crew by 4% | 1,000 3,000 |
|
Daredevil lodgings | Boosts port attractiveness for higher quality crew by 5% Boosts port attractiveness for crew with superior speed stats by an additional 2% |
2,000 3,000 |
|
Cutthroat lodgings | Provides a 5% boost to attracting crew of high quality and an additional 2% boost to attract crew with superior Combat stats. | 6,000 3,000 |
|
Nautical lodgings | Provides a 5% boost to attracting crew of high quality and an additional 2% boost to attract crew with superior Seafaring stats. | 6,000 3,000 |
|
Luxurious lodgings | Provides a 5% boost to attracting crew of high quality and an additional 2% boost to attract crew with superior Morale stats. | 6,000 3,000 |
|
Fearless lodgings | Provides a 7% boost to attracting crew of high quality and an additional 3% boost to attract crew with superior Morale stats. | 10,000 |
|
Swashbuckler lodgings | Provides a 7% boost to attracting crew of high quality and an additional 3% boost to attract crew with superior Combat stats. | 10,000 |
|
Mariner lodgings | Provides a 7% boost to attracting crew of high quality and an additional 3% boost to attract crew with superior Seafaring stats. | 10,000 |
Shipwright
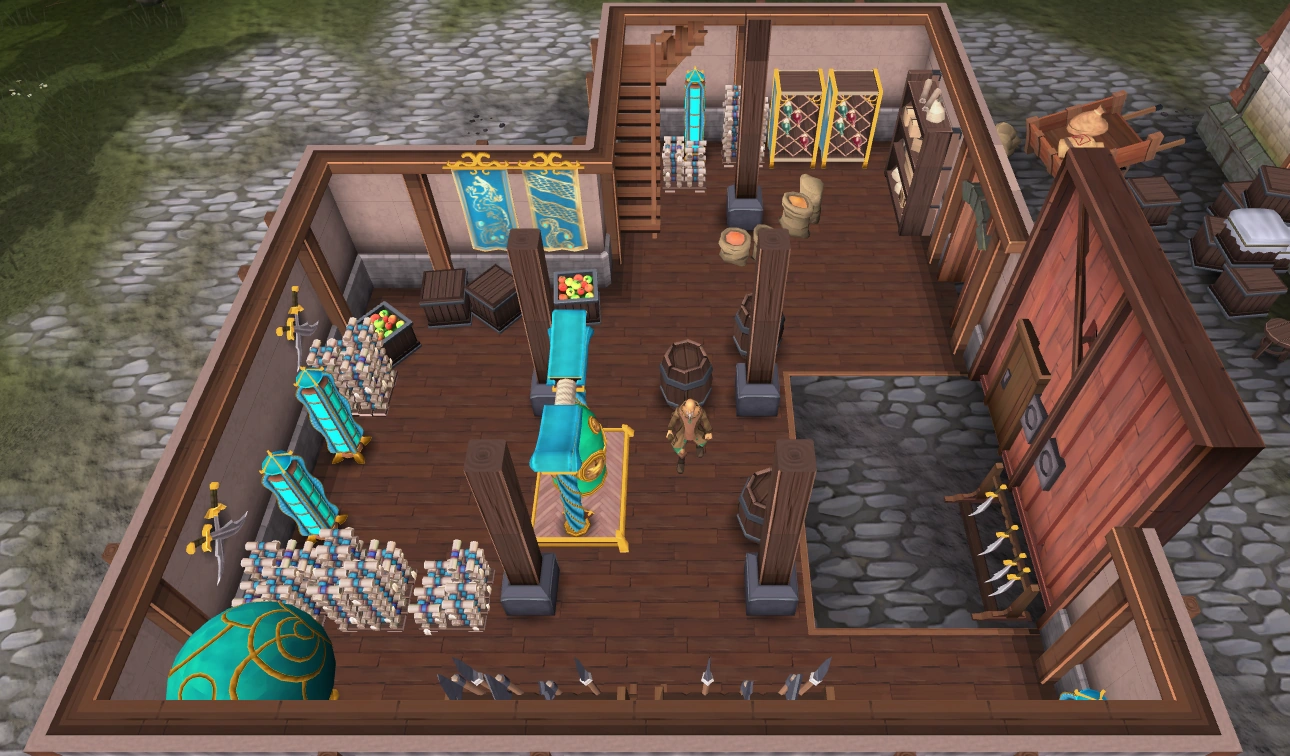
The shipwright, located in the southwest corner of the port, improves the total adversity percentages of all the player's ships. The bonuses are applied to the ship's total stats (including those added by the crew and captain), not just the stats of the ship itself. There are three types of shipwrights (warship, luxurious, sleek) in the highest tier of upgrades. A possible 2 upgrade points and 20 port score can be gained from this tier. Players will gain one upgrade point and 10 port score if they build the warship shipwright. Upgrading again to the luxurious or sleek shipwright will reward the player the remaining upgrade point and 10 port score. Alternatively, players can build the luxurious or sleek shipwright first (skipping the warship shipwright) and earn 2 upgrade points and 20 port score at one time, thus saving the player some resources. Subsequently building a warship or nautical shipwright decreases your building upgrade count and port score by 1 and 10 respectively.
| Image | Shipwright Type | Effect | Cost |
|---|---|---|---|
| File:Delapidated shipwright.png | Dilapidated shipwright | No bonus | Free |
|
Refitted shipwright | Boosts ship stats by 2% | 100 |
|
Renovated shipwright | Boosts ship stats by 3% | 2,000 |
|
Nautical shipwright | Boost ship stats by 3% and Seafaring by an additional 2%. | 5,000 |
|
Warship shipwright | Boost ship stats by 3% and Combat by an additional 2%. | 6,000 3,000 |
|
Luxurious shipwright | Boost ship stats by 3% and Morale by an additional 2%. | 6,000 3,000 |
|
Sleek shipwright | Boost ship stats by 3% and Speed by an additional 2%. | 6,000 3,000 |
|
Ostentatious shipwright | Boost ship stats by 5% and Morale by an additional 3%. | 10,000 |
|
Battleship shipwright | Boost ship stats by 5% and Combat by an additional 3%. | 10,000 |
|
Maritime shipwright | Boost ship stats by 5% and Seafaring by an additional 3%. | 10,000 |
Warehouse
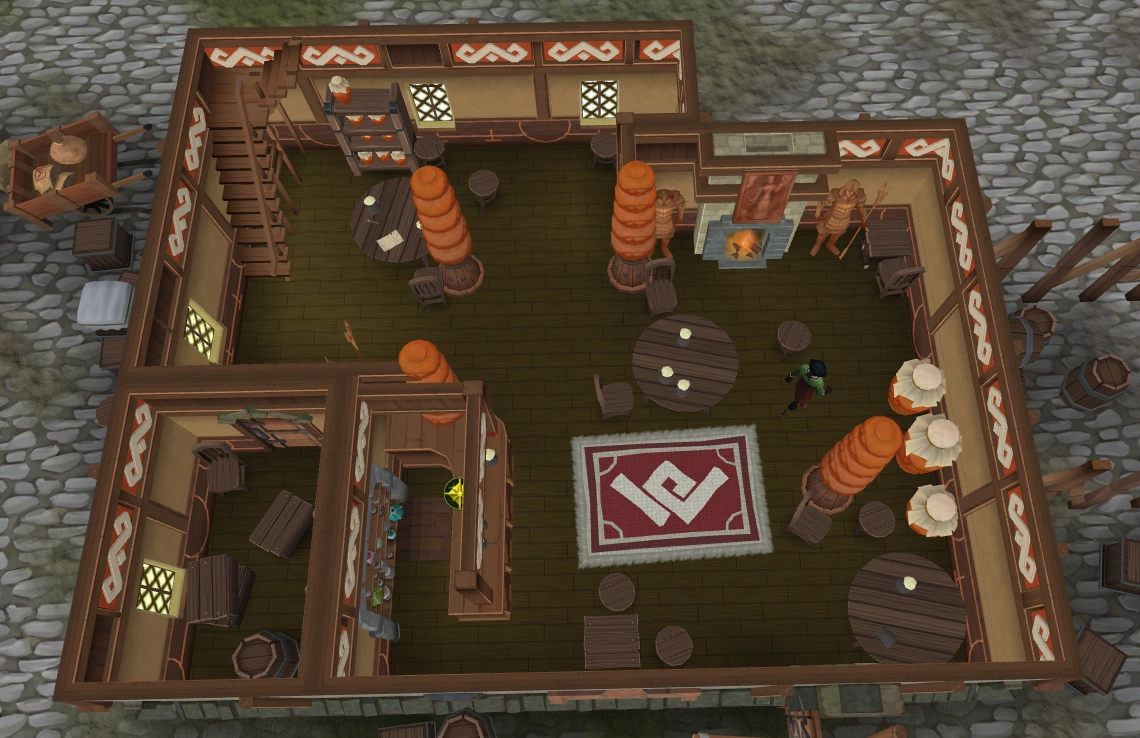
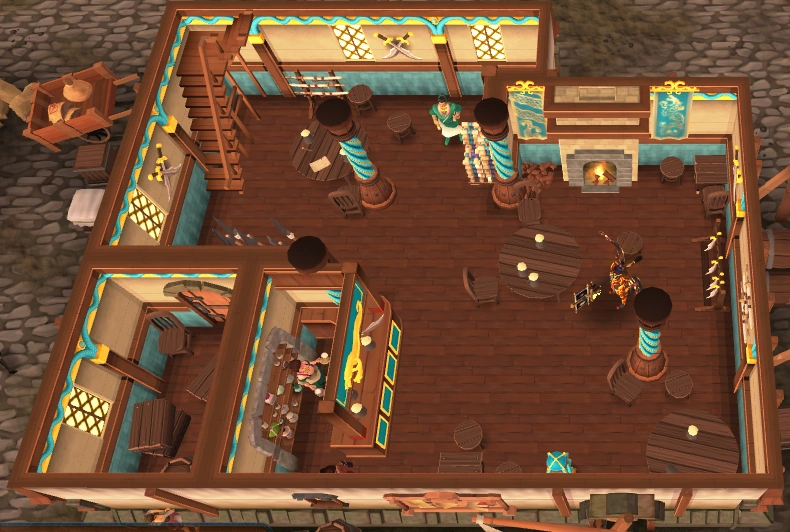
The warehouse, located in the northwest corner of the port, is the storage building for all of the player's goods. Upgraded warehouses give greater bonuses to voyage rewards. This upgrade affects the Port Upgrades score in the Captain's Log. The warehouse also is home to Felix The Black Marketeer, who allows players to spend gold coins on resource goods such as Bamboo and Chimes. He can also repair ships instantly, negating the normal waiting period.
| Image | Warehouse Type | Effect | Cost |
|---|---|---|---|
| File:Dilapidated warehouse.jpg | Dilapidated warehouse | Boosts chime rewards by 2% | Free |

|
Refitted warehouse | Boosts chime rewards by 3%
Boosts bamboo rewards by 5% |
200 80 |
|
Renovated warehouse | Boosts chime rewards by 4% Boosts bamboo rewards by 10% Boosts gunpowder rewards by 5% |
1,200 500 |
|
Refurbished warehouse | Boosts chime rewards by 5% Boosts bamboo and gunpowder rewards by 10% Boosts slate rewards by 5% |
2,000 1,000 |
|
Spacious warehouse | Boosts chime rewards by 6% Boosts bamboo, gunpowder, and slate rewards by 10% Boosts cherry wood rewards by 5% |
3,000 2,000 |
|
Pristine warehouse | Boosts chime rewards by 7% Boosts bamboo, gunpowder, slate, and cherry wood rewards by 10% Boosts jade rewards by 5% |
8,000 4,000 |
|
Imperial warehouse | 8% boost to chimes. 10% boost to bamboo, slate, gunpowder, cherrywood and jade. 5% boost to stainless steel. |
10,000 15,000 |
|
Dynastic warehouse | 9% boost to chimes. 10% boost to bamboo, slate, gunpowder, cherrywood, jade and stainless steel. 5% boost to terracotta. |
15,000 25,000 |
|
Sovereign warehouse | 10% boost to chimes. 10% boost to bamboo, slate, gunpowder, cherrywood, jade, stainless steel and terracotta. 5% boost to azure. |
20,000 50,000 |
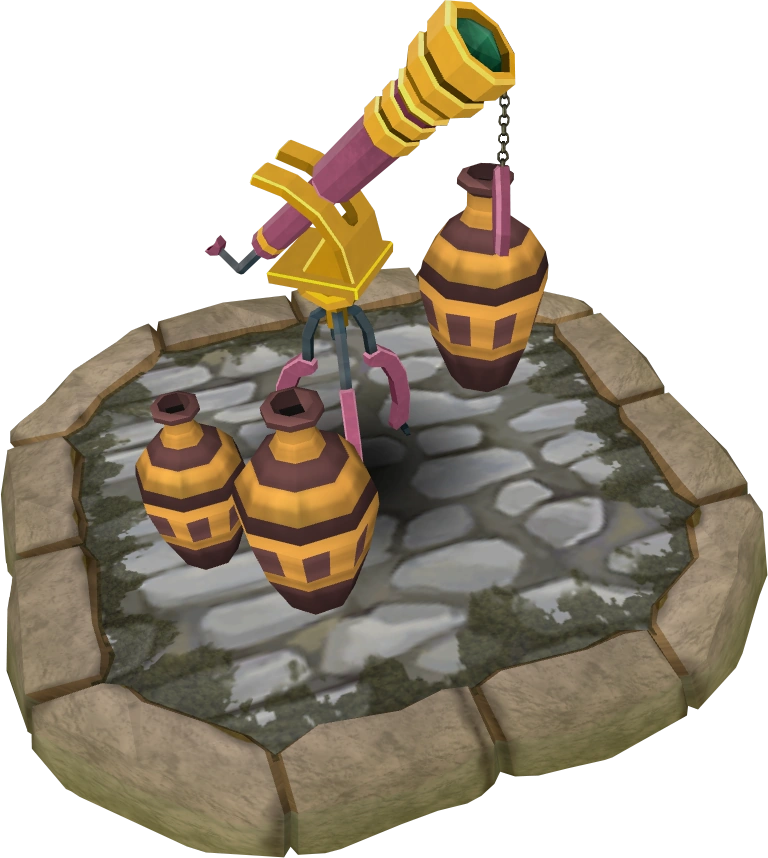
Totem hotspots
There are five types of totems that can be built in any of the four hotspots. Each type of totem provides a unique bonus to the port. Players can build more than one of each type, and the effects DO stack. This upgrade does NOT affect the Port Upgrades score in the Captain's Log.
- Totem hotspot 1 is located west of the portal.
- Totem hotspot 2 is located south-east of the warehouse.
- Totem hotspot 3 is located between the bar and office.
- Totem hotspot 4 is located west of where Umi stands.
| Image | Totem Type | Effect | Cost |
|---|---|---|---|
|
Telescope | Increases the chance of receiving scroll voyages.
|
3,000 2,000 |
|
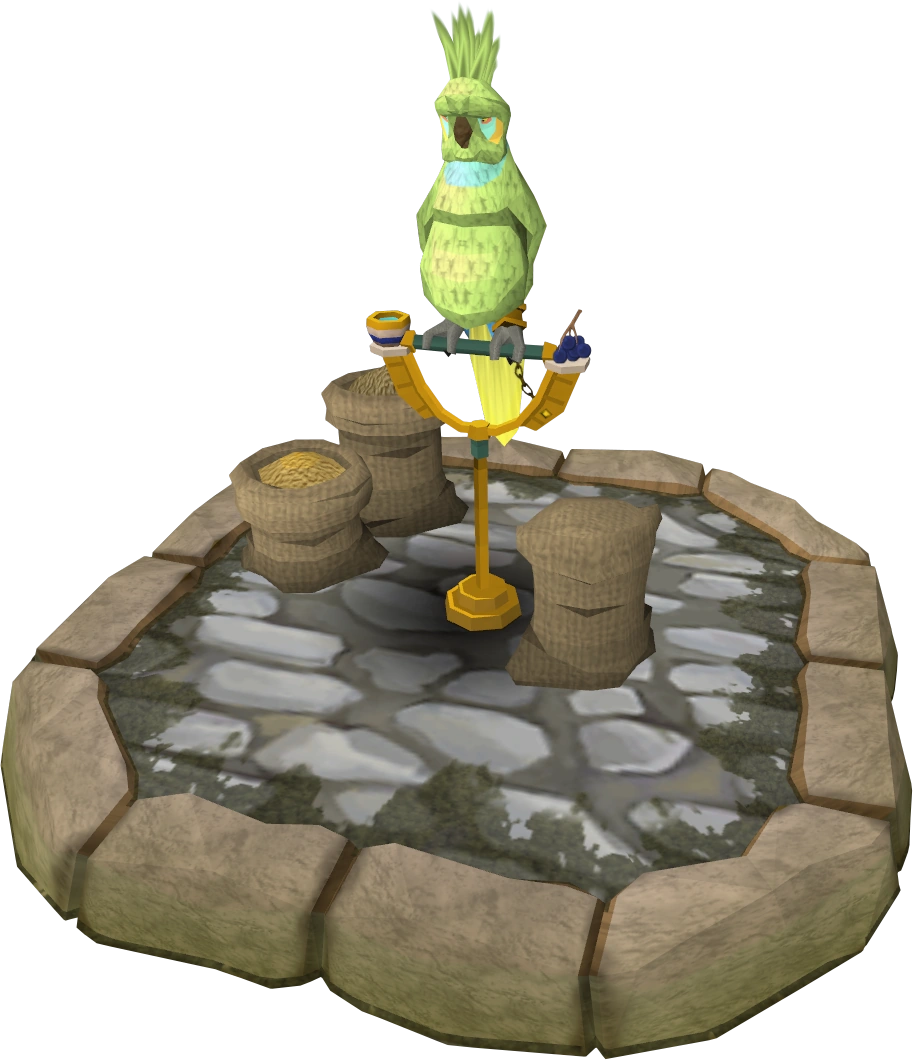
Parrot | Increases the chance of receiving XP voyages.
|
3,000 2,000 |
|
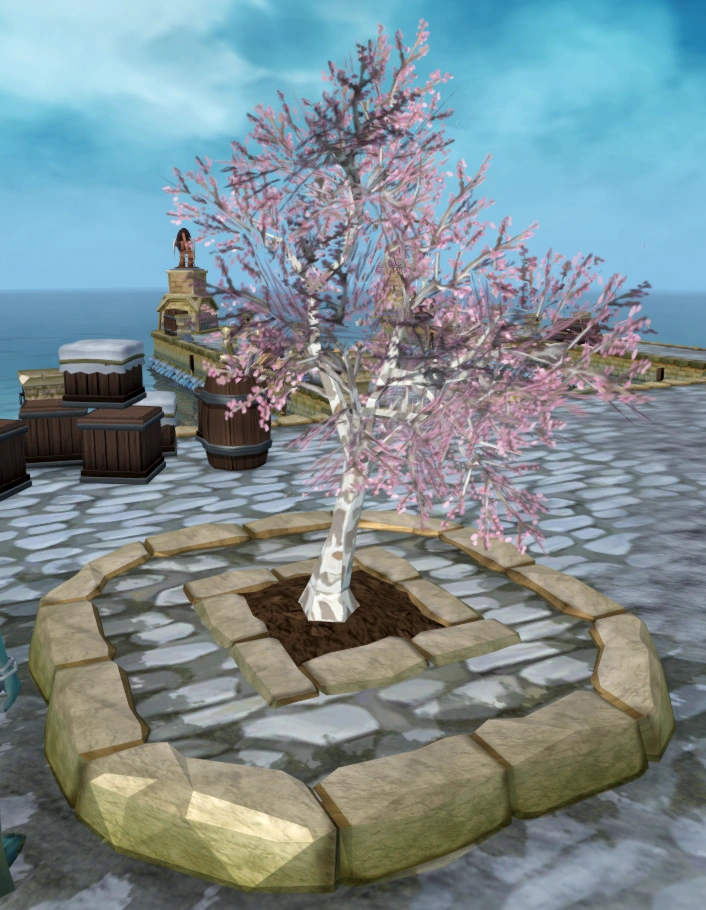
Cherry tree | Increases the amount of resources rewarded from a voyage. Does not apply to trade goods.
|
3,000 2,000 |
|
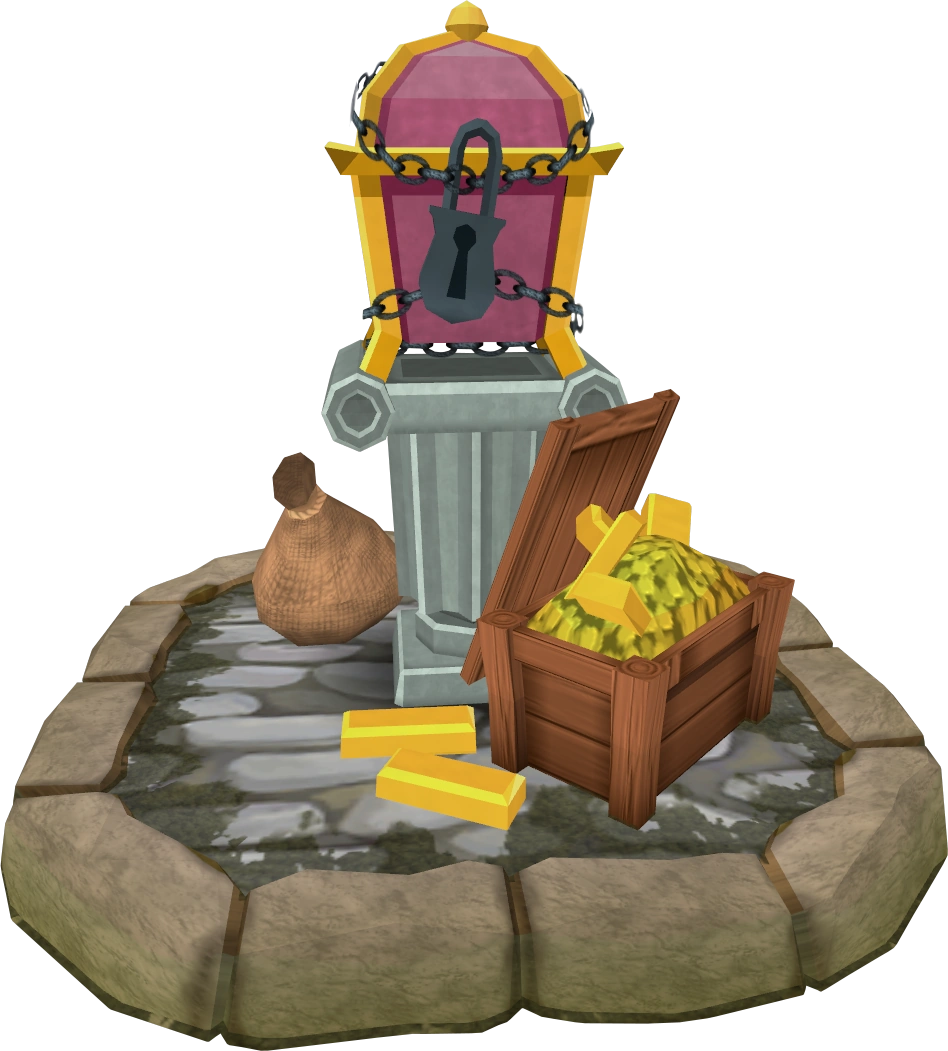
Pandora's Box | Increases the chance of receiving a random event in the port.
|
3,000 2,000 |
|
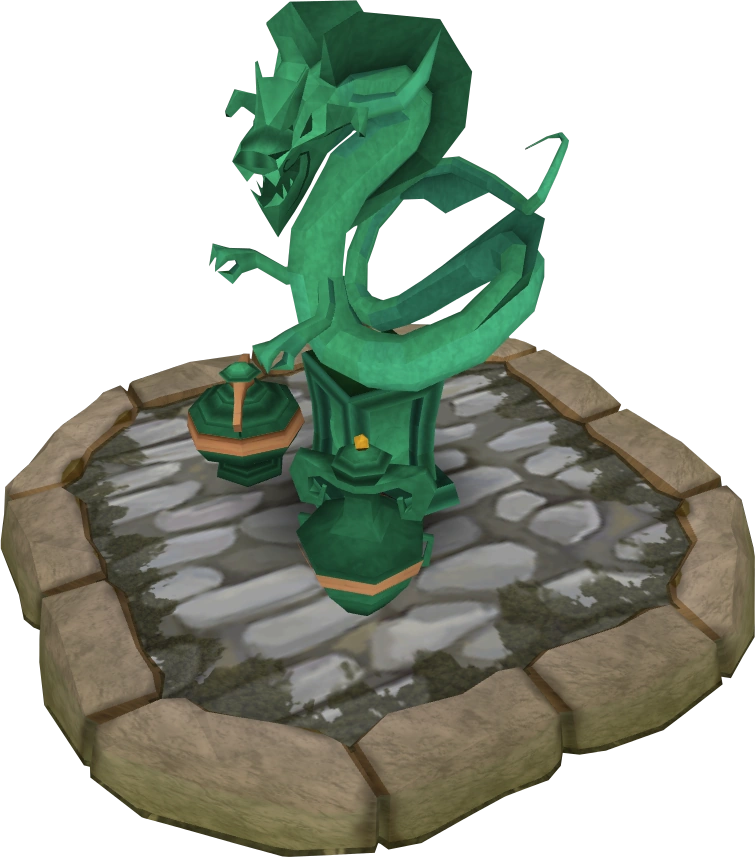
Jade statue | Increases the chance of receiving trade good voyages.
|
3,000 2,000 |

|
Map table | Increases the chance of receiving clue voyages and allows the player to receive hints for where to send a current visiting adventurer on their clue trail.
The information given in clue hints can be used by talking to the adventurer in the bar before sending them out on a clue voyage, in order to target the correct island for their search. The hint received on a particular day may be for a later stage of that adventurer's clue trail, so saving a note of hints for later voyages is recommended. Note: It is possible to receive 2 hints at once if two clue-voyage-giving adventurers are in port on a day your map table provides clues. In this situation, two hints will be given, one for each adventurer. (It appears that the first hint matches the adventurer shown first on the Visiting Adventurers list, and the same for the second[source needed].) |
3,000 2,000 |
Icon hotspots
The three icon hotspots, at the south ends of the three piers, increase the chance of attracting different adventurers to the port. Each icon costs 1000 chimes to build. The player may build more than one of the same kind of icon. However, it is unknown at this time if the bonus chance stacks for more than one. This upgrade does NOT affect the Port Upgrades score in the Captain's Log. Note that to build a certain adventurer's icon, not only do you need the corresponding skill, but also to have successfully completed that adventurer's first story mission ("Meet the... adventurer").
- Icon Hotspot 1 is located on the west pier.
- Icon Hotspot 2 is located on the middle pier.
- Icon Hotspot 3 is located on the east pier.
| Image | Icon Type | Effect | Requirement |
|---|---|---|---|
|
Whale skull trophy | Attracts The Whaler | 90+ Fishing |
| Mammoth head | Attracts The Biologist | 90+ Herblore | |
| Occult artefact | Attracts The Occultist | 90+ Runecrafting | |
| Human skull | Attracts The Assassin | 90+ Slayer | |
| Stocks | Attracts The Convict | 90+ Thieving | |
| Saradominist symbol | Attracts The Missionary | 90+ Prayer | |
| Trap | Attracts The Trapper | 90+ Hunter | |
| Cooking pot | Attracts The Chef | 90+ Cooking | |
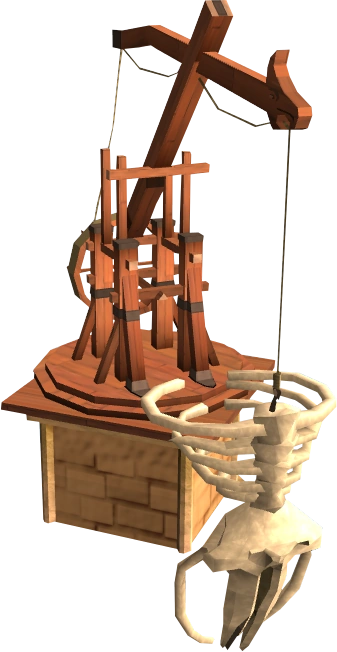
| Ornate arch | Attracts The Architect | 90+ Construction | |
| Torn bag | Attracts The Exile | 90+ Dungeoneering | |
| Butterfly | Attracts The Memory | 90+ Divination | |
| Tengu mask | Attracts The Tengu | 90+ Agility |
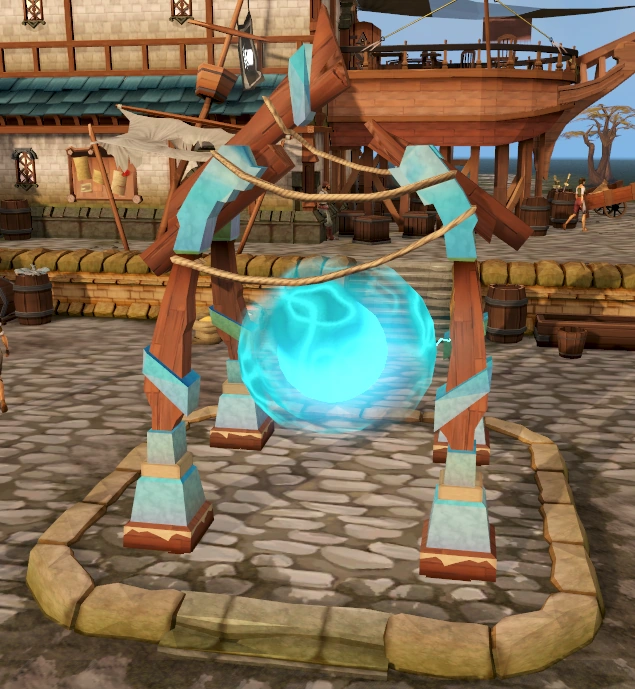
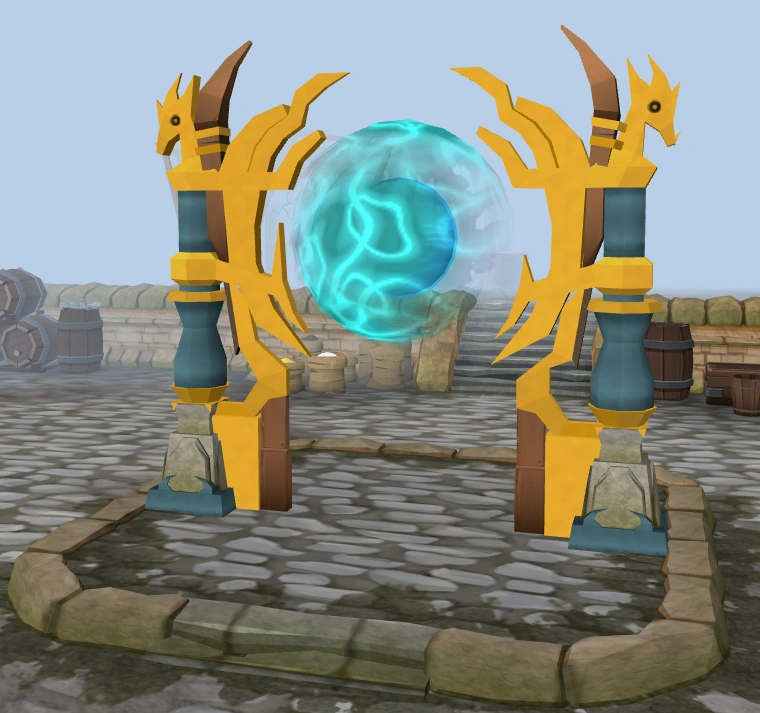
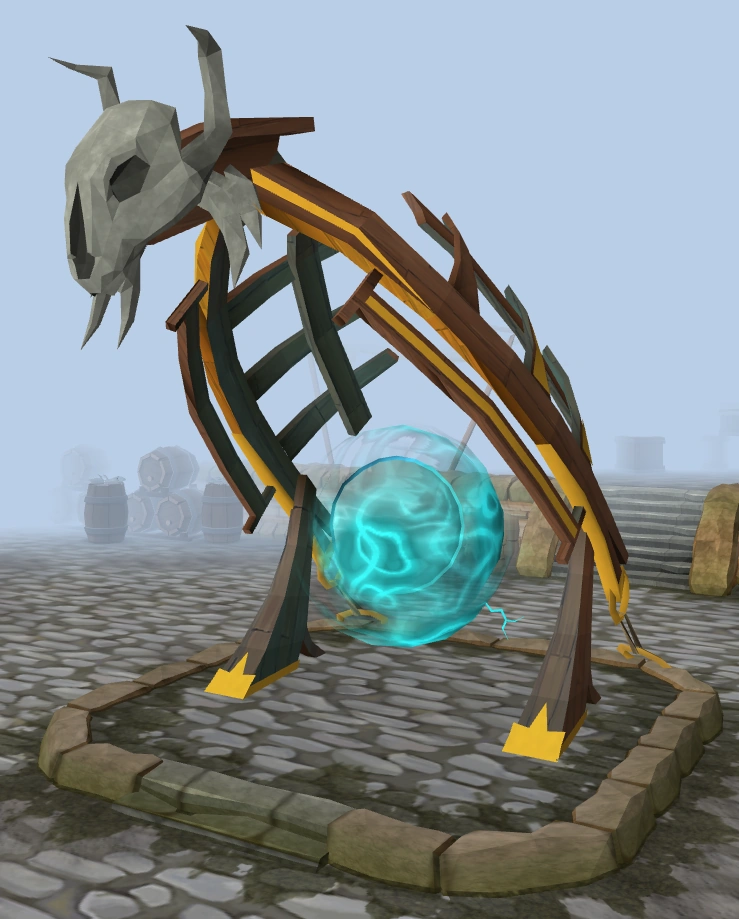
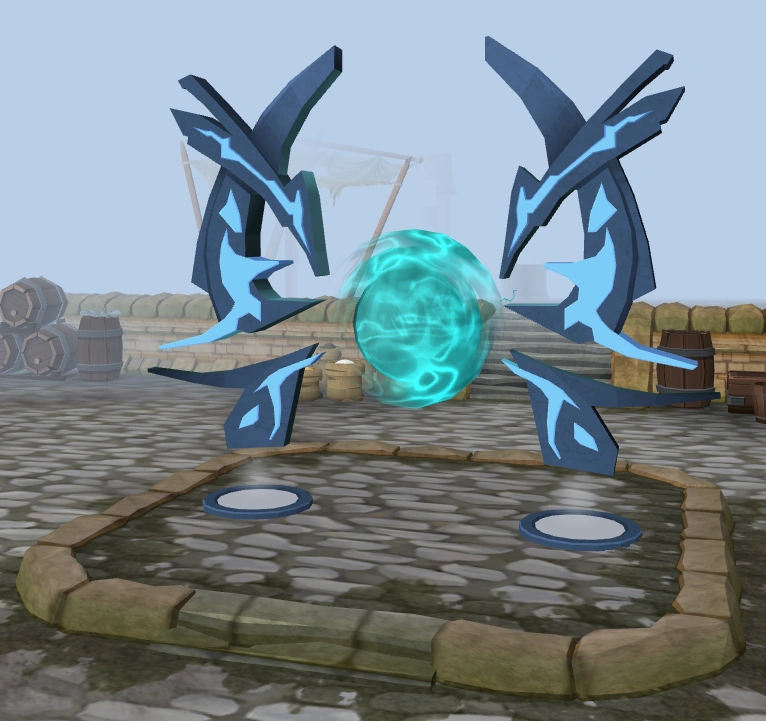
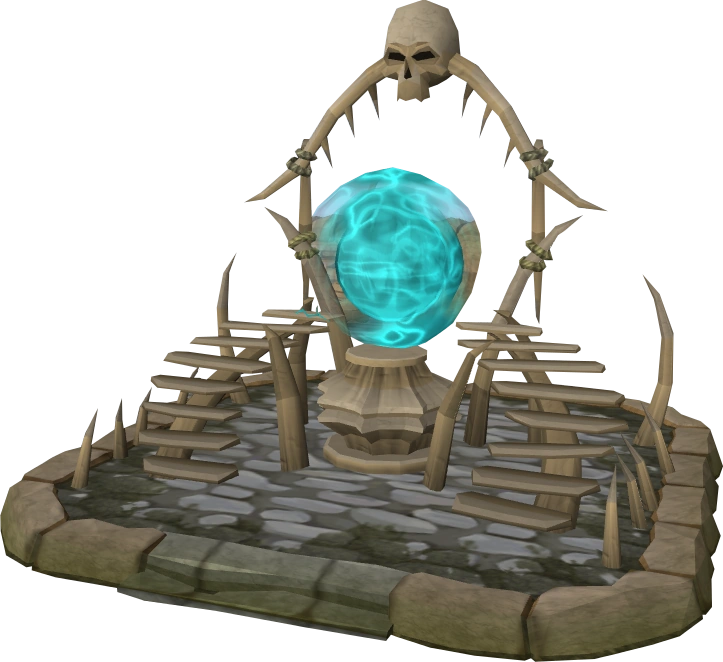
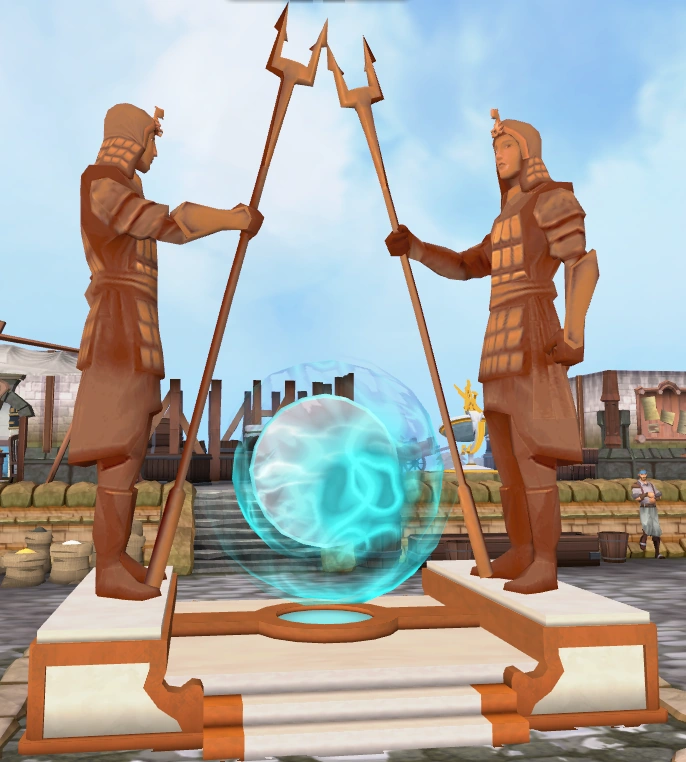
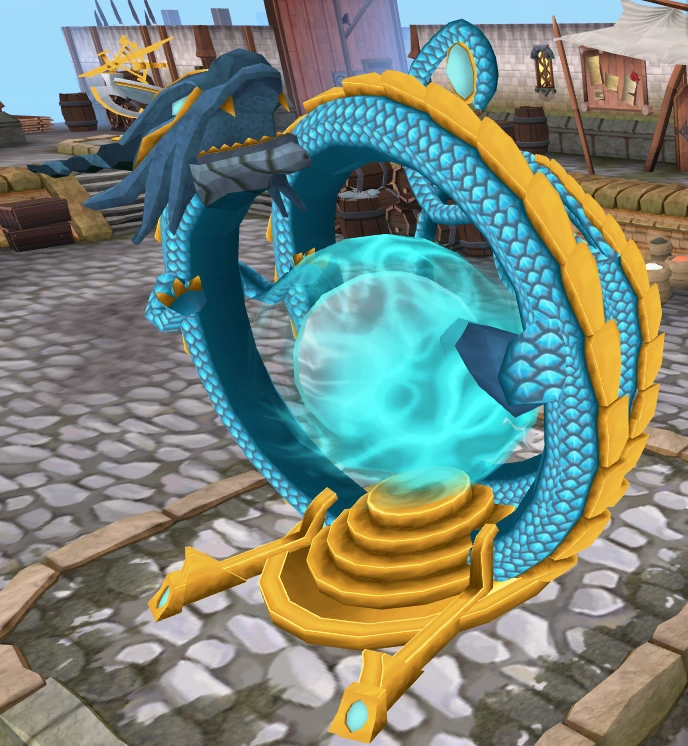
Portal hotspot
Portal upgrades change the look of the portal both inside the port and outside in Port Sarim. These changes are cosmetic only and have no effect on the performance of the port. Buying a certain cosmetic style does NOT unlock it for unlimited use. For example, if you purchase the Ornate Portal for 250 bamboo and then switch back to the Standard Portal design, it will cost you 250 bamboo once again to switch back to the Ornate Portal design. This upgrade does NOT affect the Port Upgrades score in the Captain's Log.
| Image | Portal Type | Cost |
|---|---|---|
|
Standard | Free |
|
Ornate | 250 |
|
Nautical | 1,000 |
|
Mystical | 2,000 |
|
Skeletal | 5,000 |

|
Jade | 15,000 |
|
Terracotta | 20,000 |
|
Legendary | 25,000 |
Trivia
- The examine text of the trap icon is "It's a trap!", referencing the well-known Star Wars quote from Admiral Ackbar.