This article provides information for members about effective ways to train Attack, Strength, and Constitution through melee combat. It contains some general training tips and suggestions for suitable monsters to kill for a wide range of levels. In this article, monsters are sorted according to the level of the skill being trained, not the recommended overall combat level.
This article assumes that players are training Attack, Strength, and Constitution more or less equally. If not, see the pure melee guide.
General training notes
- Use the best equipment you have and a weapon that has a style the monster you are fighting is weak to. (For example, moss giants are weak to slash attacks so it is a good idea to attack them with weapons such as the abyssal whip or the dragon 2h sword rather than weapons using crush or stab).
- Complete Slayer tasks whenever possible in order to train Slayer while training other combat skills. (+10% att/str bonus while wearing a black mask or slayer helm when on a task). However, remember that Slayer tasks may give you monsters with weaknesses to ranged or magic, rather than melee.
- Wear a ring of wealth whenever fighting a monster that drops items on the rare drop table if you are interested in valuable drops rather than slightly faster experience rates from rings with combat-related stats.
- An emergency teleport that can be activated with one click can be useful to avoid death. A simple house teleport tablet is cheap and could end up being a lifesaver.
- Use of potions to boost skill levels is essential to maximise experience rates. A super set (consisting of super attack, super strength, and super defence potions) is recommended.
- Completing some of the easier quests such as Fight Arena, Holy Grail, Waterfall Quest, Scorpion Catcher, and Tree Gnome Village gives efficient combat experience if done at a low combat level.
Abilities
- Healing abilities are a must have for extending the length of a training trip. The Resonance ability is a basic level Defence ability, that causes the next hit to heal instead of damage you. Rejuvenate is an ultimate Defence ability that restores 40% of your life points over several seconds. Regenerate is a basic Constitution ability that uses whatever adrenaline you have left to restore your health if you're not in combat.
- Although the Resonance and Rejuvenate abilities require a shield to be equipped, you only need to equip the shield for as long as it takes to activate the ability if you prefer to dual wield or use two-handed weapons.
- Another great healing ability is Guthix's Blessing, which will heal you 8% of your maximum lifepoints every two seconds, up to ten seconds. This ability should only be used when not in direct combat with a monster as the summoned butterfly can be attacked and killed, ending the effect prematurely.
- Consider using threshold abilities instead of ultimate ones; the damage done by thresholds is lower, but they use less adrenaline, meaning more than one can be used in a row.
- Set up your action bar before you go into combat, making sure all the abilities you want to use are on there, and that all the abilities are ones you can use with the weapons you have. Remember that you can have multiple bars set up at once, and there is no penalty for changing which one you're using.
Common equipment, accessories, and setups
Weaponry
- Each melee weapon can train attack, strength, and defence. Just click on the abilities button and choose the skill you wish to train.
- Jot down monster weaknesses and utilise them. Using a crush weapon against a monster weak to crush gives a much higher chance to hit against that monster, and significantly higher hits. Avoid monsters who have a weakness to ranged attacks, as they will have a very high defence to melee attacks.
- Always use the best tier of weapons you can wield and afford. Better weapons ensure higher damage output and a higher chance to hit.
- The abyssal whip is a popular weapon for combat training due to its rapid attack speed and low cost. It can be upgraded to the abyssal vine whip (a level 75 weapon) however this requires level 80 slayer. The non-degradable off-hand equivalent for an abyssal vine whip is the enhanced excalibur .
- The next best weapons above whip vine/excalibur are chaotic (level 80) and Drygore weaponry (level 90). However chaotic and drygore weaponry degrade with use and will incur a maintenance cost.
- Main hand: Drygore weaponry > Chaotic weaponry > Korasi's sword/Abyssal vine whip > Abyssal whip
- Off-hand: Drygore weaponry > Chaotic weaponry > Jessika's sword > Enhanced excalibur > Off-hand dragon claw
- Two-handed: Chaotic maul/Chaotic spear > Godswords > Barrows weapons
Armour
For extended combat training, consider wearing high defence and lifepoint armour (such as Barrows armour). This allows for prolonged training in one sitting. However, a better choice for training would be to use offensive armour (such as Bandos armour), as it will allow you to increase your damage output and kill at a faster rate.
Barrows armour is a cheaper alternative to Bandos armour, and can be used with the corresponding weapons for powerful set effects. The tradeoff, however, is that it degrades with use, meaning that it will incur a maintenance cost. Alternatively, the Void knight melee armour (from the Pest Control minigame) has a set effect of increasing your attack and strength bonuses, but at the cost of having low defensive stats. This is a viable way to train melee fast due to the increased damage output, if you are willing to use extra food or, if available, Soul Split.
Sacred clay equipment, a reward from Stealing Creation, gives a set amount of bonus experience that is rewarded as players train. This allows players to wear any armour, while still receiving the bonus experience. However, you can normally earn more experience from killing monsters than from the time it takes to get a piece of sacred clay equipment. Therefore most players choose to use their Stealing Creation on skills that cost money to train rather than combat, which is usually profitable.
Armour types:
- High Defence: Tetsu armour > Barrows armour > Dragon armour > Rune Armour
- Attack Bonus: Torva armour > Bandos armour > Void knight melee set > Rock-shell Armour
Accessories and other equipment
Having a good set-up overall includes using the best accessories too, such as capes, rings and amulets. These items are typically the best to use:
- Cape: Completionist cape > Max cape > TokHaar-Kal > Fire cape > (Trimmed) skill cape > Obsidian cape
- Gloves (Offensive): Razorback gauntlets > Torva gloves > Bandos gloves > Rockshell gloves
- Gloves (Defensive): Pneumatic gloves > Culinaromancer's gloves (10)
- Boots: (Offensive): Torva boots > Bandos boots > Rockshell boots
- Boots (Defensive): Steadfast boots > Dragon boots
- Ring: Warrior ring (i) > Sixth-Age circuit > Warrior ring > Berserker ring > Ring of wealth
- Amulet: Brawler's knockout necklace > Saradomins whisper > Amulet of fury > Amulet of glory > Amulet of power
- Aura: Vampirism > Equilibrium
Healing
After the Evolution of Combat, food is much less necessary than it was before. Generally speaking, most of the time you will not need food if you use healing abilities such as Rejuvenate, an ultimate ability which restores 40% of your health (but requires a shield, and can only be used once every 300 seconds, due to a recent update), Regenerate, which can be used outside combat to convert remaining adrenaline into health, and Resonance, which makes the next attack that hits you heal instead of dealing damage.
Other methods of healing include:
- Using food
- Guthan the Infested's equipment has excellent defence bonuses, a feasible two-handed weapon, and a set effect, which players can use to heal themselves. However, use of Guthan's has a few downsides. Use of Guthan's helm prevents the use of other head-slot items, such as a slayer helm or face mask. In addtion, though Guthan's spear is a good training weapon, it pales in comparison to stronger weapons such as Godswords and chaotic/Drygore weaponry.
- Bones to Peaches is a spell unlocked at the Mage Training Arena which allows players to convert bones and big bones into peaches, each of which heals 80 life points. Players who have not unlocked this spell can instead buy and use bones to peaches tablets.
- Soul Split requires 92 Prayer and access to the Ancient Curses. It heals its user 10% of the damage dealt if it is activated during a successful hit against a monster. Because of its rapid drain rate, many players use the prayer flashing technique to drastically reduce, or outright nullify, Prayer point drain.
- The Saradomin godsword's passive effect, Healing Blade, has a 25% chance of healing the player 3% life points and 3% prayer points every hit.
- Auras such as vampirism help by healing the player by 5% of damage dealt with every hit.
- Healing familiars such as the Bunyip and Unicorn stallion.
Potions
- Potions are well worth the extra cost. They increase your training xp/hr rate significantly.
- It can help to get 96 Herblore for overloads which makes training much faster. Other extreme potions such as extreme attack, strength, and defence are also worth the added cost.
- If unable to create overloads or extremes due to a low Herblore level, super sets work well too.
- Regular combat potions are more cost effective than attack potions and strength potions because they combine the effects of both while being cheaper than the two individual items combined.
Suggested training monsters
Note: These level guidelines are for all three styles, Attack, Strength, and Defence.
Level 1-40
| Image | Name | Experience | Pros | Cons | Notes | ||
|---|---|---|---|---|---|---|---|
| | Goblins | Level 2 | 100 |
33 XP |
|
If you do not pick up the drops it will go even faster. You will have level 30 in about an hour or so. Keep experience on Balanced. | |
| Troll Brute | Level 2 |
50 |
40 XP |
|
|
They can be seen in the northern most cave in Burthorpe. There are also Troll mages that have slightly better drops. |
Level 40-60
| Image | Name | Experience | Pros | Cons | Notes | ||
|---|---|---|---|---|---|---|---|
|
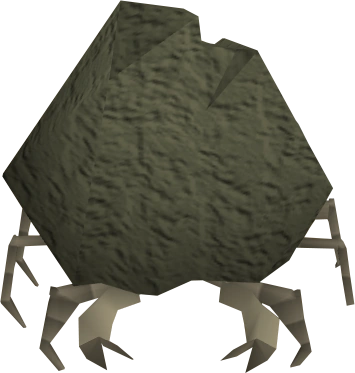
Rock Crab | Level 71 | 2,550 |
293 XP |
|
|
|

|
Dagon'Hai monk | Level
77 |
2,500 |
252 XP |
|
|
|
|
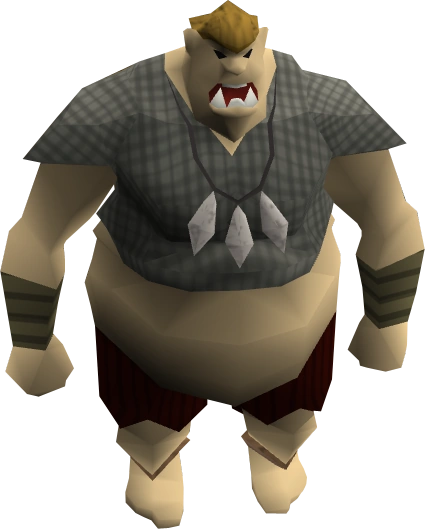
Ogre | Level
67 |
4,800 |
303 XP |
|
|
- Note: Requires the Biohazard quest, in order to access. After the quest, the Ogres within the Combat Training Camp can be accessed and killed by entering the loose railing in the cage, or hit with a halberd. The Ogres are for ranged combat only, making this ineffective for any melee attacks. At lower levels, these may not be advised, as they can hit much higher than some monsters, but as you become higher level, these can be excellent, as they can be quickly killed, and their spawnpoints are within a few squares of each other, as well as not being able to walk out of distance.
Level 60-70
| Image | Name | Experience | Pros | Cons | ||
|---|---|---|---|---|---|---|
| Fight Caves | TzHaar Fight Caves | Varies depending on the creature. |
Varies depending on the creature. |
Varies depending on the creature. |
|
|
|
Pest Control | Varies depending on the creature. | Varies depending on the creature. | Varies depending on the creature. |
|
|
|
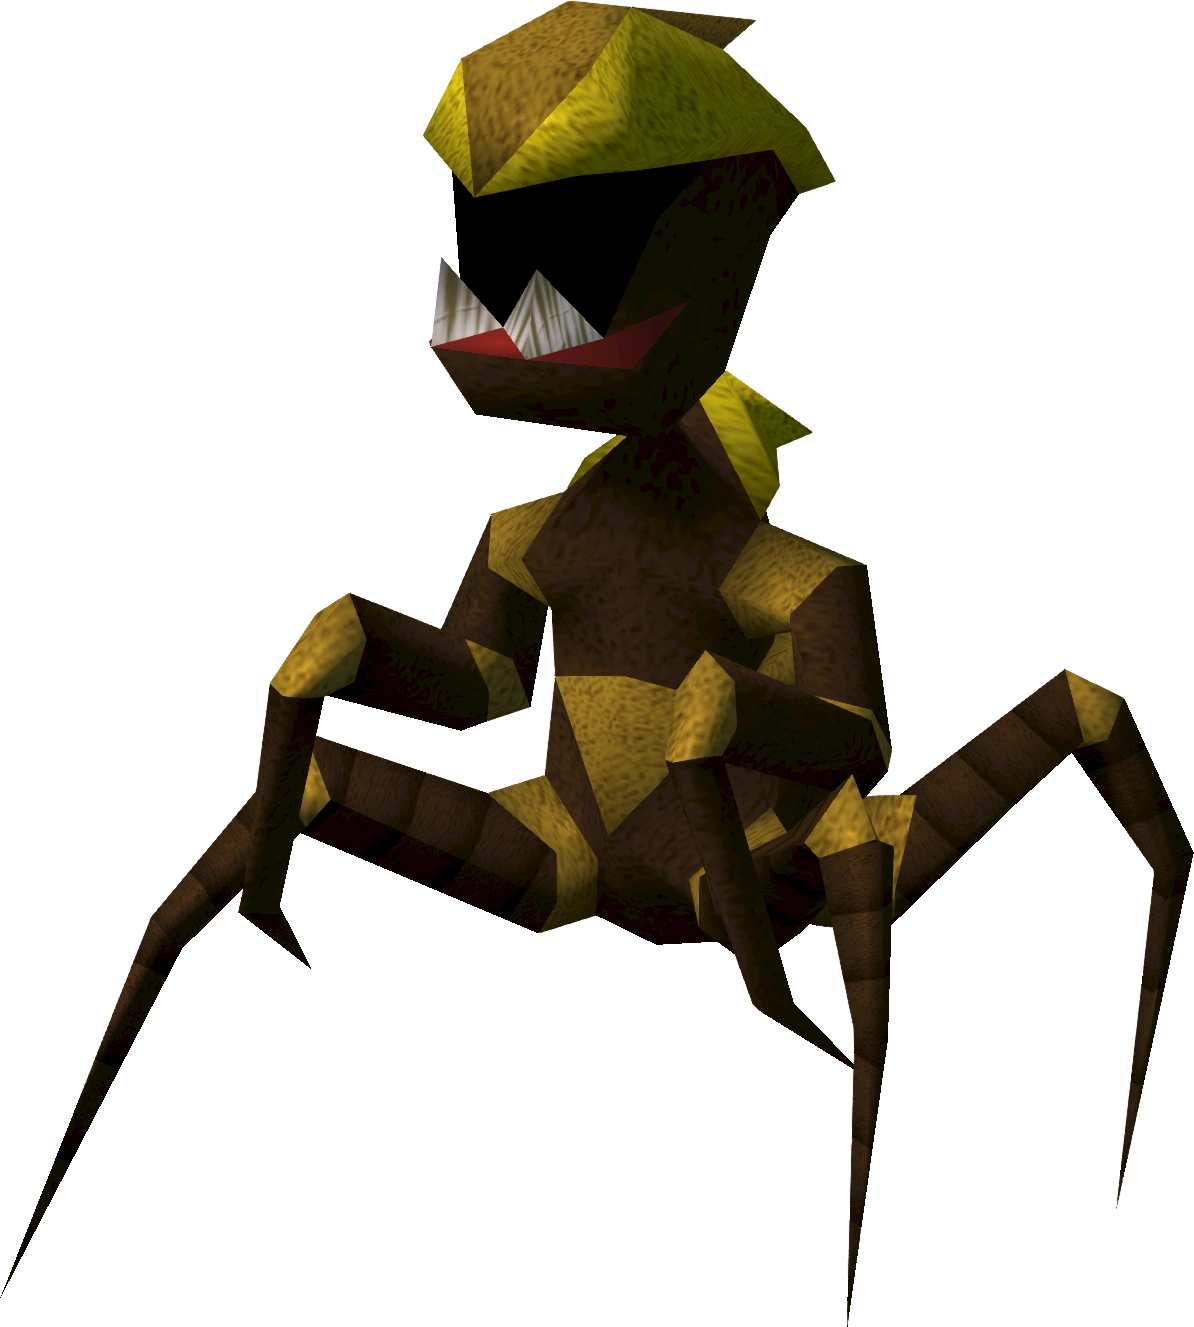
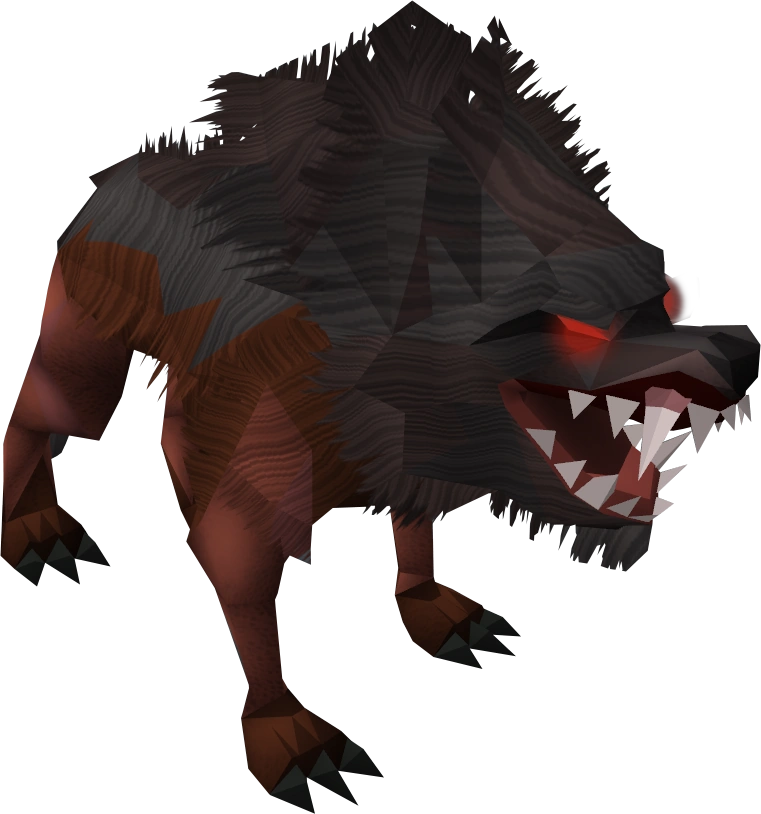
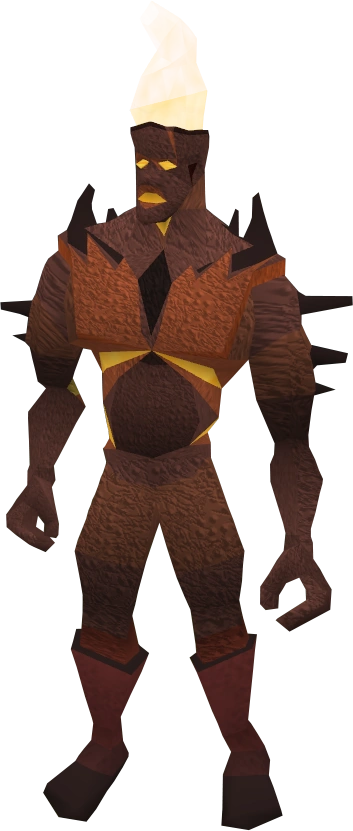
Hellhounds | Level 92 | 3,300 |
361 XP |
| |
|
Fire Giants | Level 85 | 6,700 |
424.8 XP |
|
|
| Deadly Red Spider | Level 95 | 3,400 |
399 XP |
|
Level 70-80
| Image | Name | Experience | Pros | Cons | ||
|---|---|---|---|---|---|---|
| Fight Caves | TzHaar Creatures | Varies depending on the creature. |
Varies depending on the creature. |
Varies depending on the creature. |
|
|
|
Dagannoth | Level
110 and 112 |
2,750 |
295 and 310 XP |
|
|
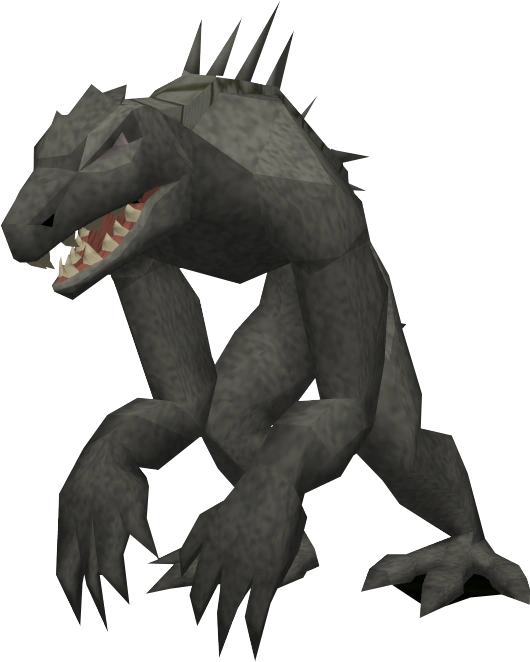
| Dust Devil | Dust Devils | Level 85 | 8,000 |
446 XP |
|
|
|
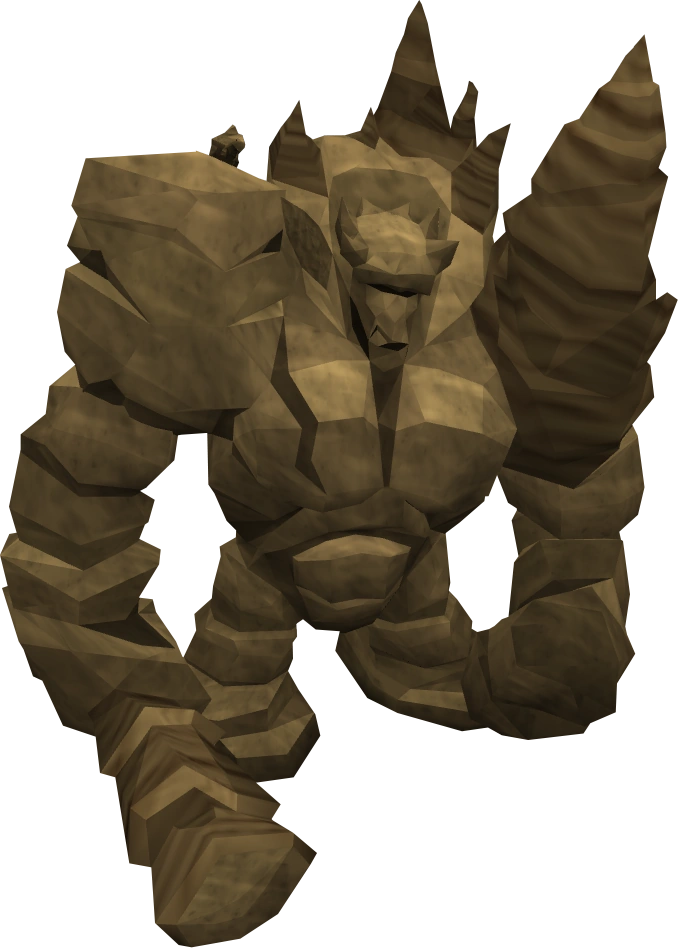
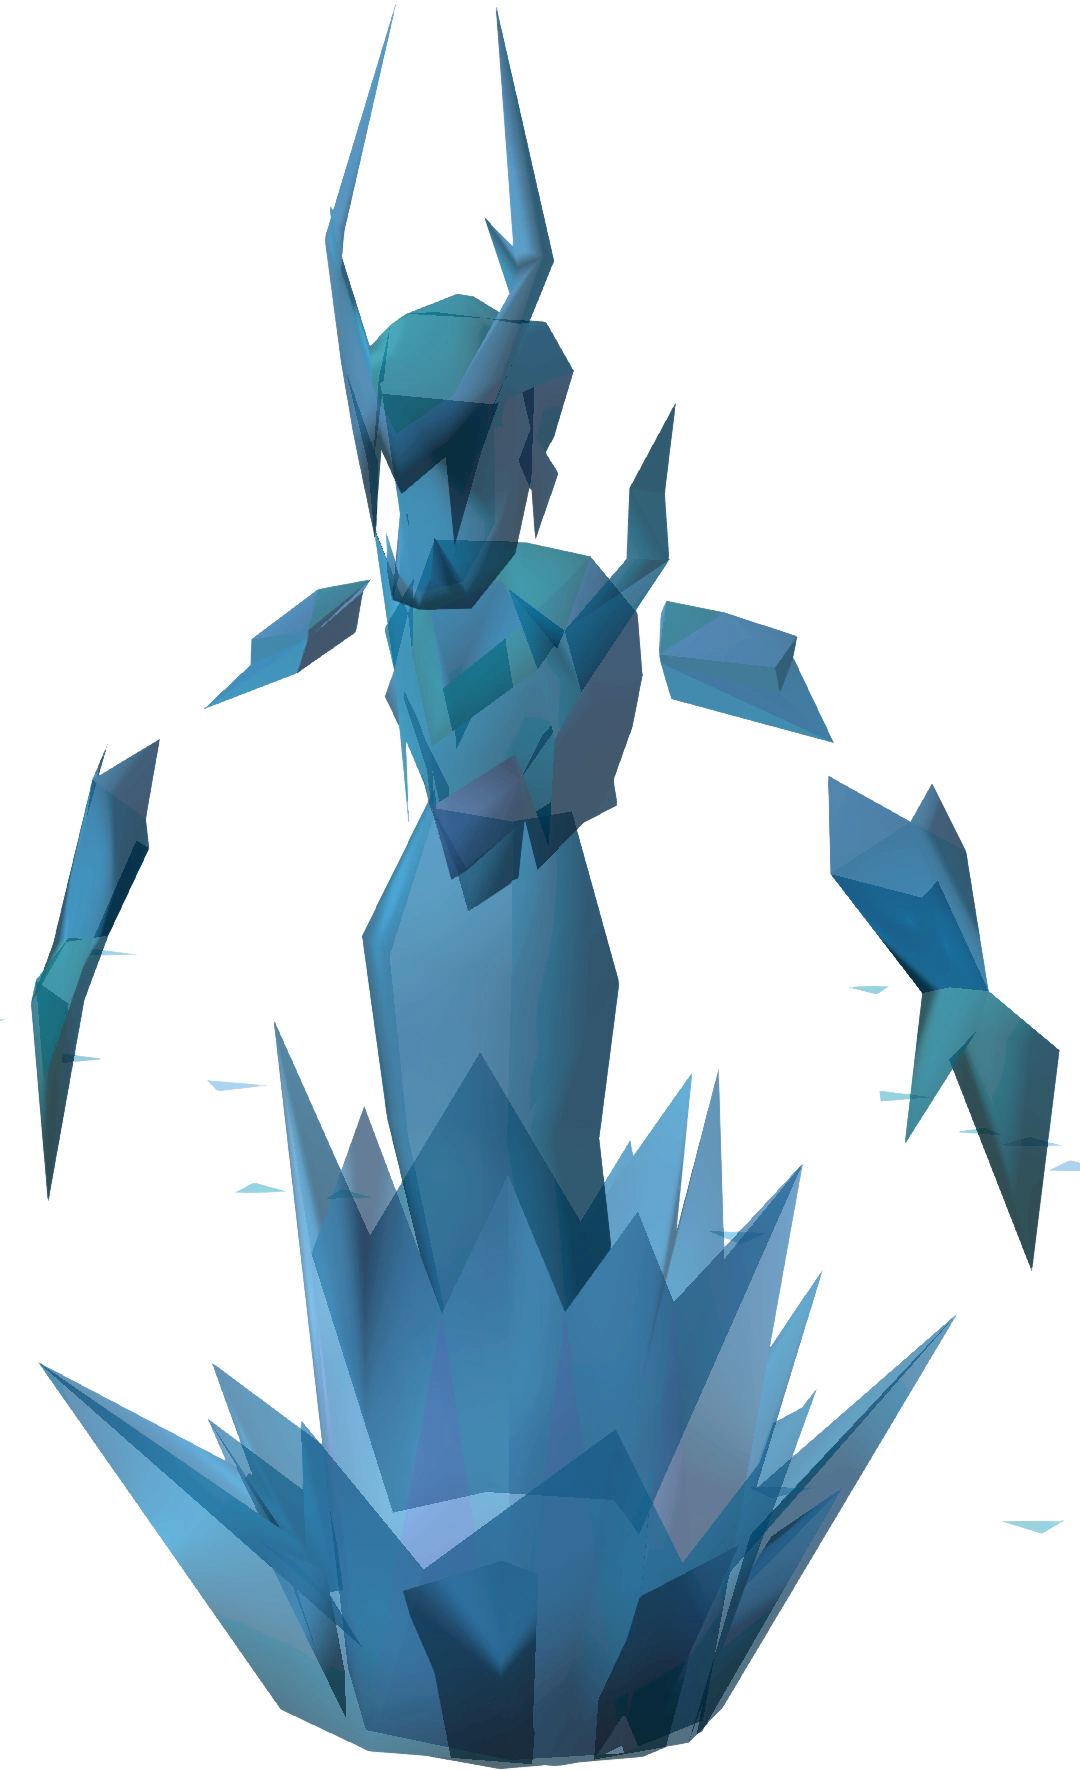
Living Rock Creatures | Varies depending on the creature. | Varies depending on the creature. | Varies depending on the creature. |
|
|
| Frost Dragons | Level 112 | 8,500 |
1141.2 XP |
|
| |

|
Armoured Zombies | Level 86 | 6,200 |
469 XP |
|
|
Level 80-90
| Image | Name | Experience | Pros | Cons | ||
|---|---|---|---|---|---|---|
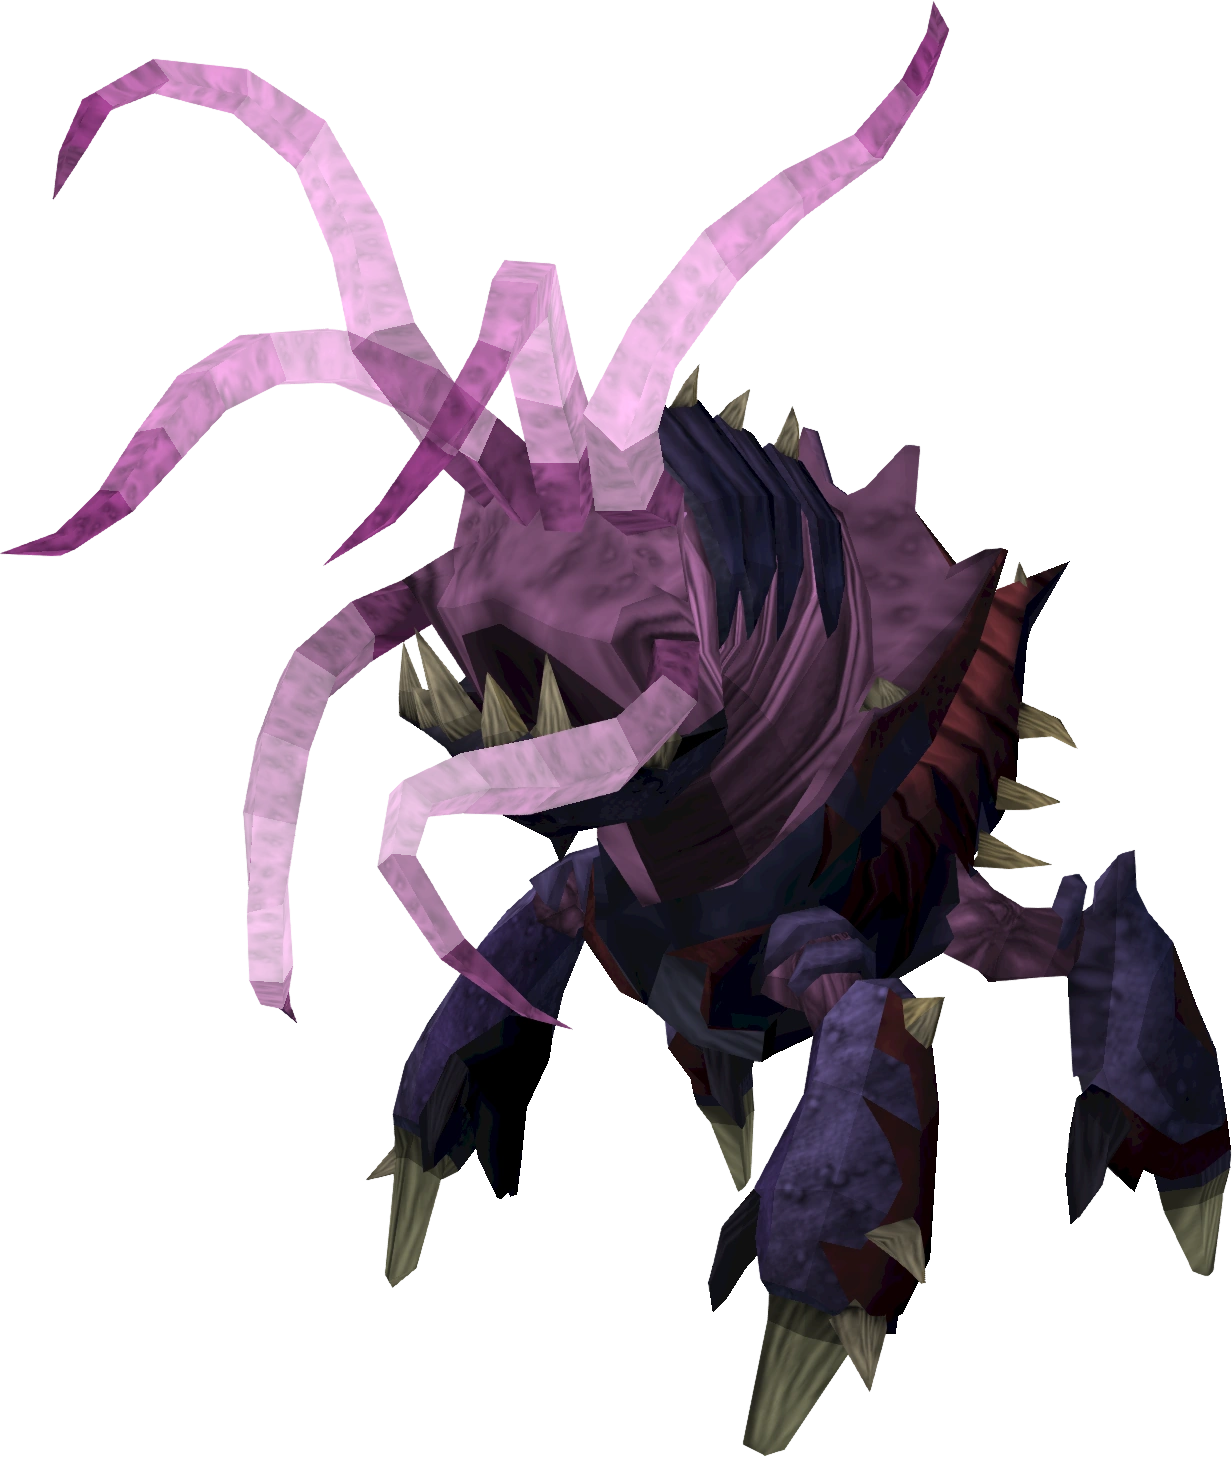
| Mutated jadinkos | Baby:134 | 3350,
6000, 6000 |
379.8,
569.9, 646.3 |
|
| |
|
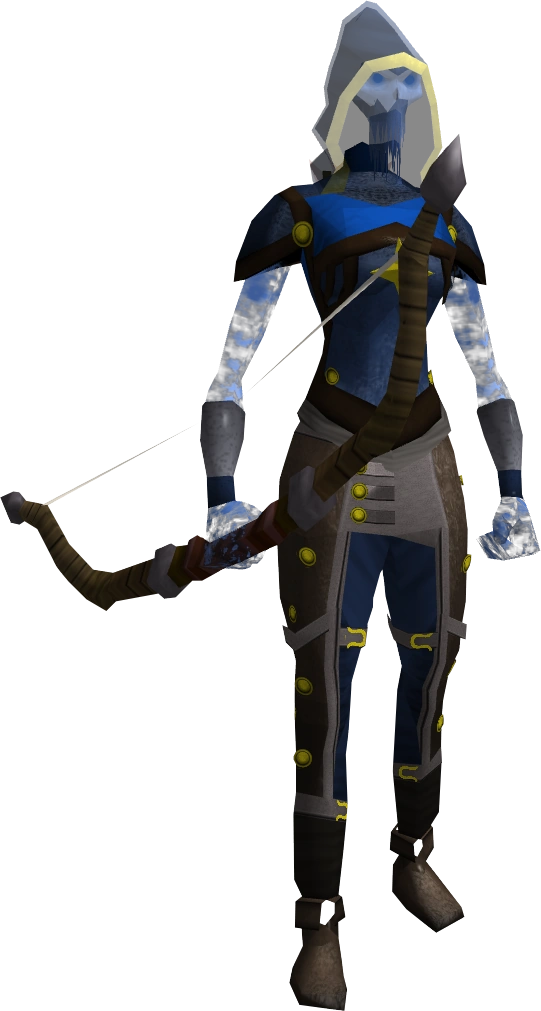
Spiritual Rangers | Level 140 | 7,000 |
661 XP |
|
|
|
Fight Cauldron | Varies depending on the creature. | Varies depending on the creature. | Varies depending on the creature. |
|
|
|
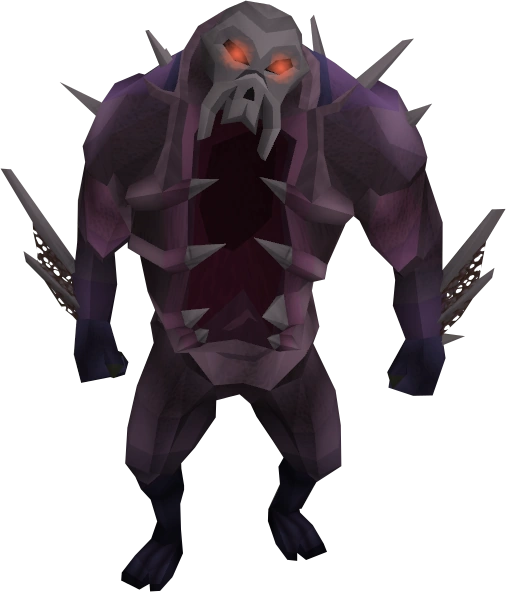
Nechryael | Level 138 | 8,000 |
661 XP |
|
|

|
Exiled Kalphite Guardians | Level 140 | 7,000 |
693.9 XP |
|
|
|
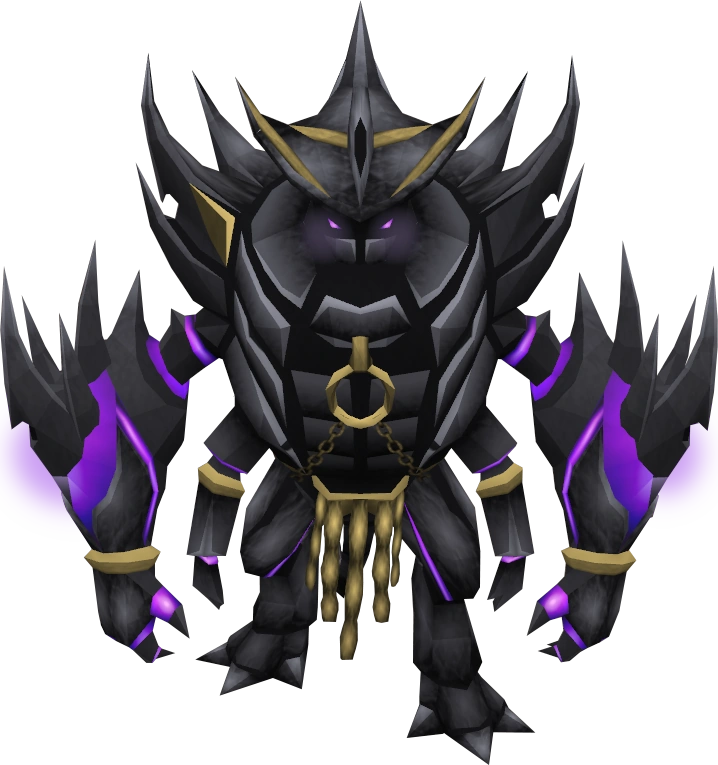
Abyssal demons | Level 140 | 8,500 |
693.9 XP |
|
|
Level 90-99
At this level, almost any monster that you wish can be killed, but some of the more preferred ones are listed below.
| Image | Name | Experience | Pros | Cons | ||
|---|---|---|---|---|---|---|
|
Waterfiend | Level 107 | 8,000 |
934 XP |
|
|
|
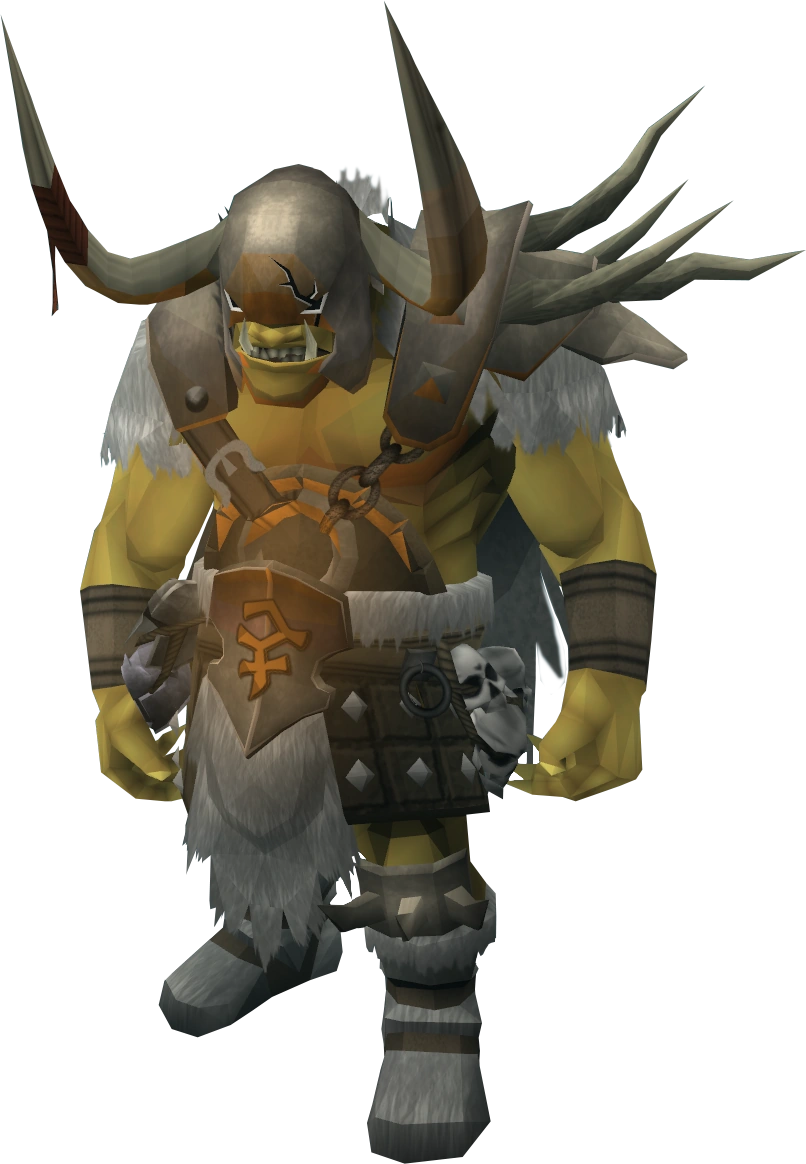
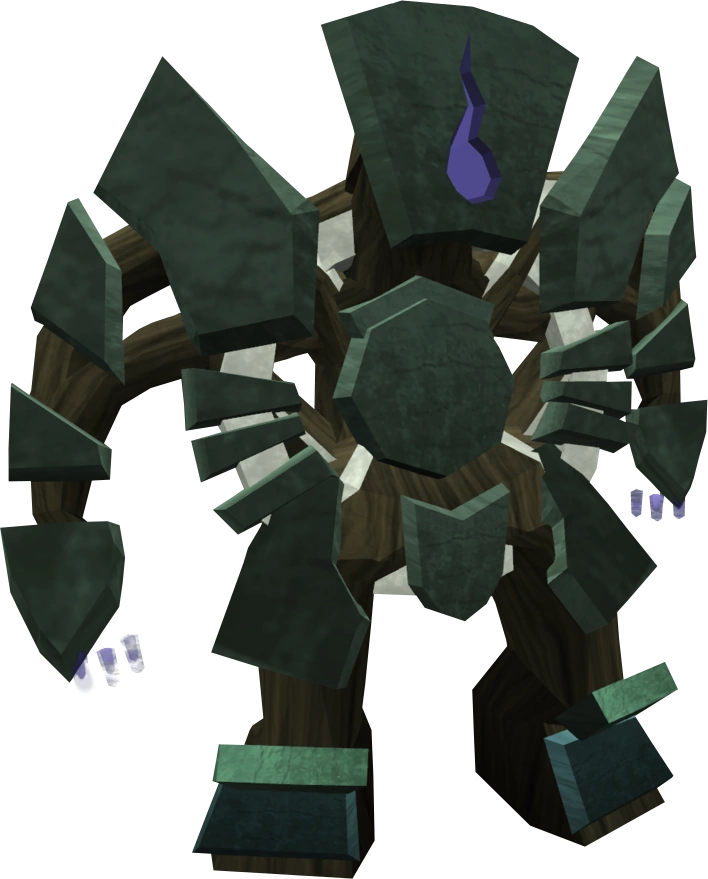
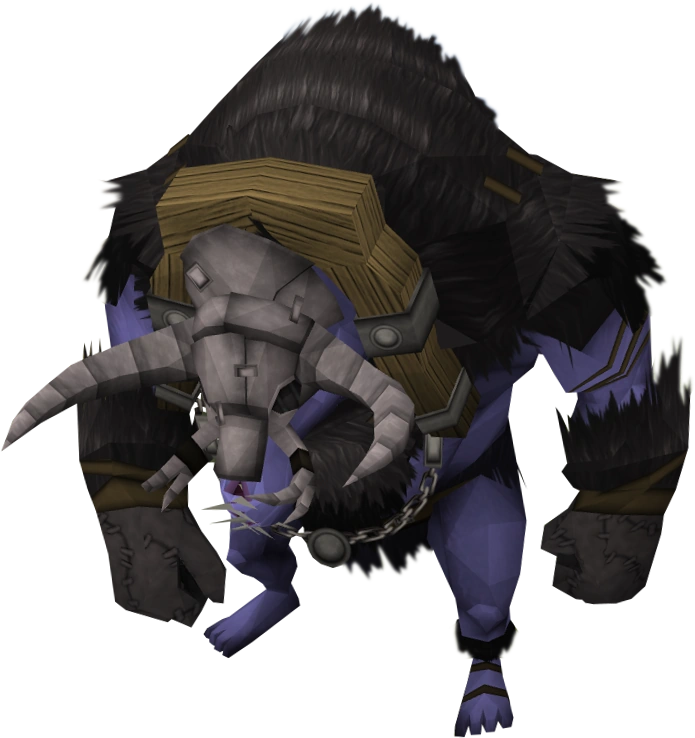
God Wars Dungeon Bosses (excluding Nex) | Level
210 |
40,000 to 75,000 | 4,430 to 5,630 XP |
|
|
|
Automaton Tracer | Level
115 |
20,000 |
1,261 XP |
|
|
|
Airut | Level 122 | 16,875 |
1,980 XP |
|
|
| Free-to-play guides | |
| Members' guides |
|