To begin the quest, speak to Gossip outside the Sinclair Mansion. He will explain to you that the Sinclairs have packed up and left after incriminating Anna as Lord Sinclair's murderer. This is, however, not the same person you proved to be guilty in Murder Mystery (unless Anna was the murderer in Murder Mystery). Gossip will explain that one of the family members provided new evidence to prove Anna's guilt. He will then go on to explain that King Arthur and his knights disappeared at the same time as the family's departure.
Agree to investigate, and you will start the quest.
Now speak to the guard in the Sinclair Mansion garden, who suspects that the Sinclairs have something to do with the mysterious disappearance of the king of Camelot and his knights. He suspects that since Lord Sinclair gave King Arthur the castle, the disappearances may be part of a bigger plot to reclaim Camelot. The guard will explain that the Seers' Council has forbidden anyone to enter Sinclair Mansion or Camelot to investigate and so will pass on the investigation to you.
Investigating
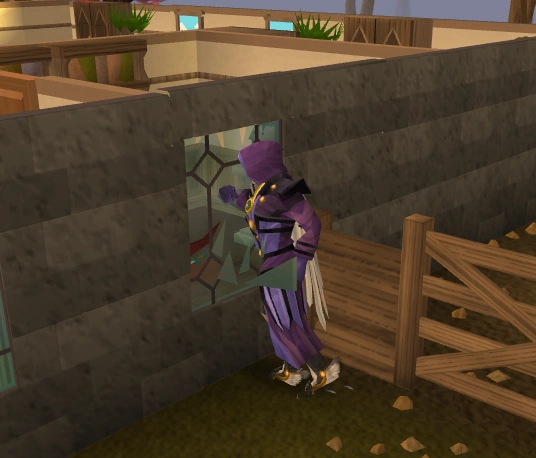
Breaking in through the window.
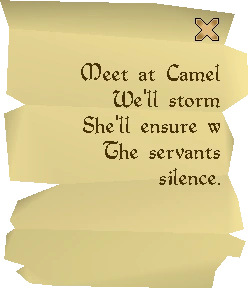
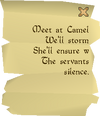
Scrap paper
Break the window on the east side of the mansion, and you should be inside.
Take the scrap paper from the dining room on the ground floor near the fireplace. Note: If you don't see the scrap paper, and also cannot see the criminal's dagger and the pungent pot, log out and log back in to reset the items. You should now be able to see the scrap paper just south of the fireplace. The paper contains incomplete scribblings about Camelot.
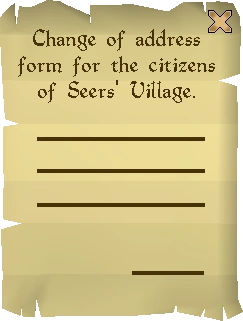
Take the stairs up to the first-floor library, and take an address form that was never filled out, proving that the Sinclairs left for good and never intended to tell anyone where they were moving.
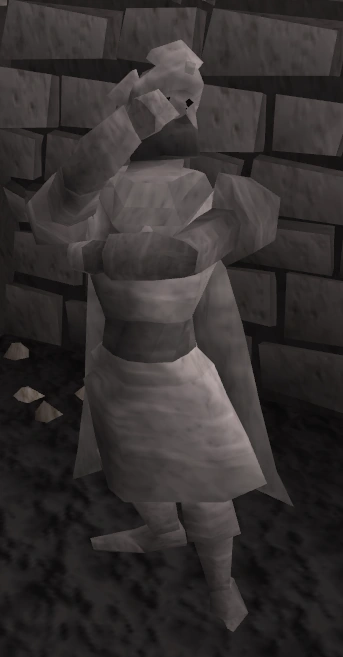
While in the library search the bookcases to find a black knight helm, which cannot be worn.
Address form
Return to the guard and present to him all three pieces of evidence. The guard will agree that there is enough evidence to prove bad intent towards King Arthur. He says that since he has to follow proper proceedings that he will have to wait a month before presenting the evidence. You will offer to avoid the bureaucracy. He will then recommend that you learn more about the Sinclair family history, suggesting that town gossips know much about history.
Note: To leave the mansion, you must go back to the window and select the "Break Smashed Window" option again.
Family history
Talk to Gossip. There are three options to ask. Ask all three to learn the Sinclair history.
The first conversation is about the family history. Gossip will explain Lord Sinclair was a good friend of King Ulthas and did many good things for Kandarin. His children, however, were spoiled-rotten brats, but Gossip admits he didn't think they would commit murder.
The second is about the mansion. He will explain that originally the Sinclairs lived in Camelot (then under a different name). Lord Sinclair agreed to hand the castle over to King Arthur and his men. They packed up and built the Sinclair Mansion. His children were furious.
The third option is about Anna. Gossip will tell you that she is in the courthouse in Seers' Village, giving a really hard time to the authorities. Gossip is positive Anna will receive a guilty verdict.
Run back to Seer's Village. Head to the courthouse in Seers' village (south of the bank), and speak to the clerk. Ask him if you can talk to Anna. Talk to the guard. Ask him if you can speak to the prisoner. Then you can begin the dialogue with Anna. She will say that the original murderer you suspected set her up. She will go on to explain that no one will believe her. She says the new evidence against her was forged. You will then ask her where her family has gone; she will say she does not know since she has been locked up. As you go to leave, she will make a deal to help you get into Camelot in exchange for help in receiving a not-guilty verdict. She will then hand you the criminal's thread that you found on the window in Murder Mystery. Anna will suggest that the servants may be able to provide testimony in her defence.
(All steps from here until The Trial are purely optional, for storyline. You may head straight downstairs to trial.)
Return to the mansion and once again enter via the broken window. The purpose of this trip is to learn what the various servants will state during the trial.
The first question will explain what happened the night of the murder.
The second question will ask if they saw the person suspected in the crime.
The third question will ask if they saw someone handling the knife.
The fourth question will ask about the thread.
The fifth question will explain how poison was used around the house
After talking to every servant, head back to the Seers' Village courthouse and go down the stairs to begin the trial.
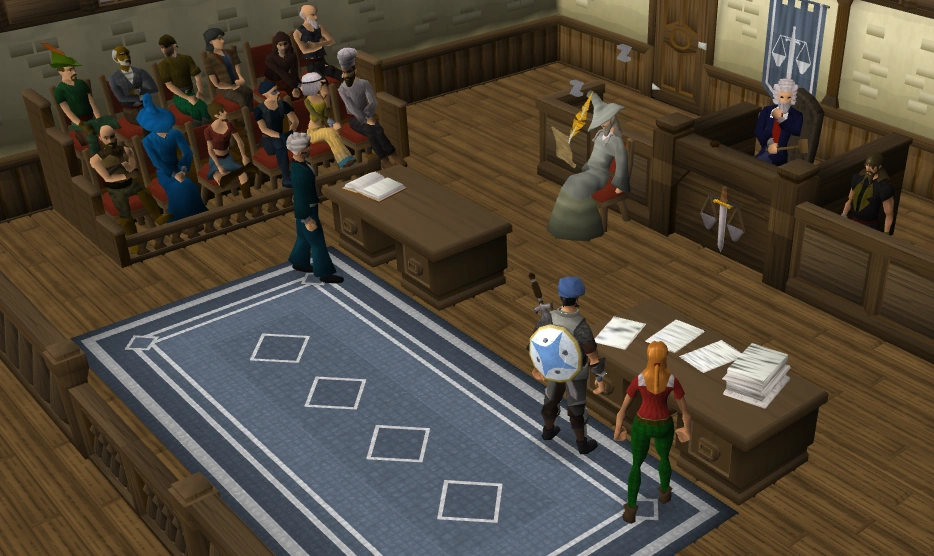
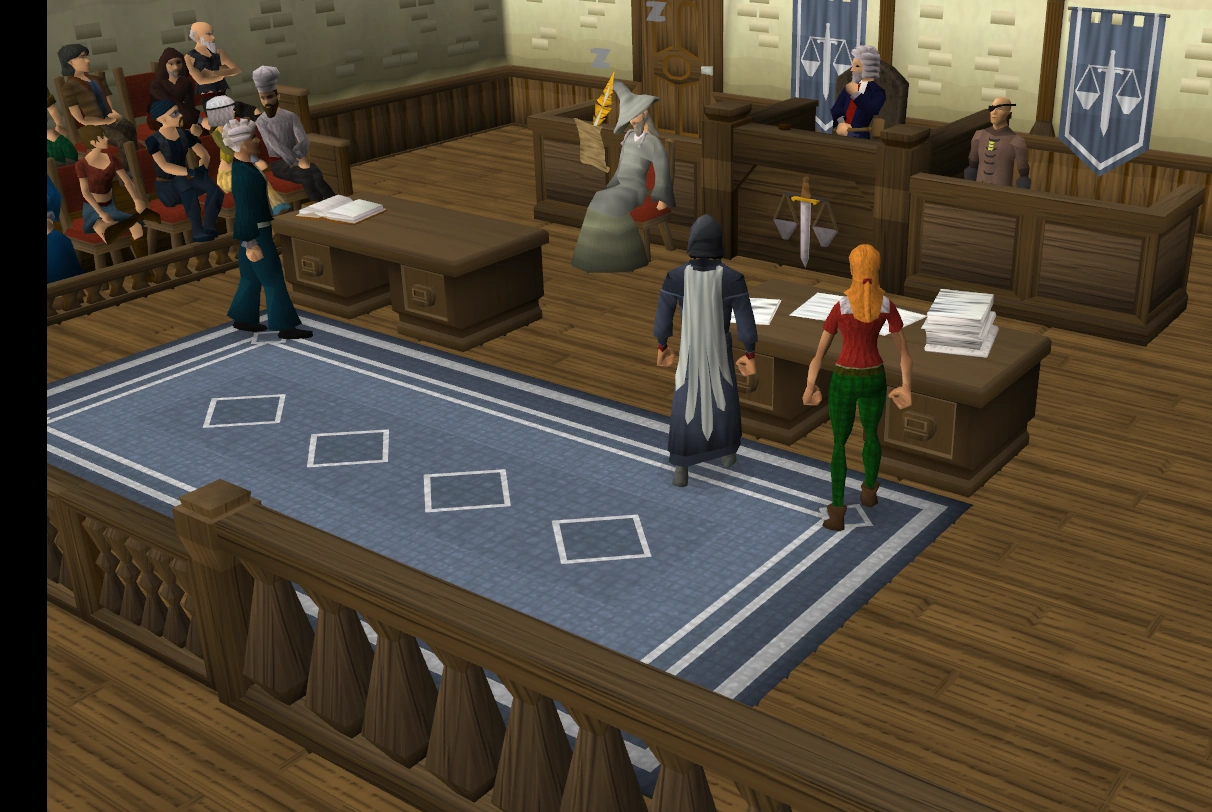
The trial
The trial
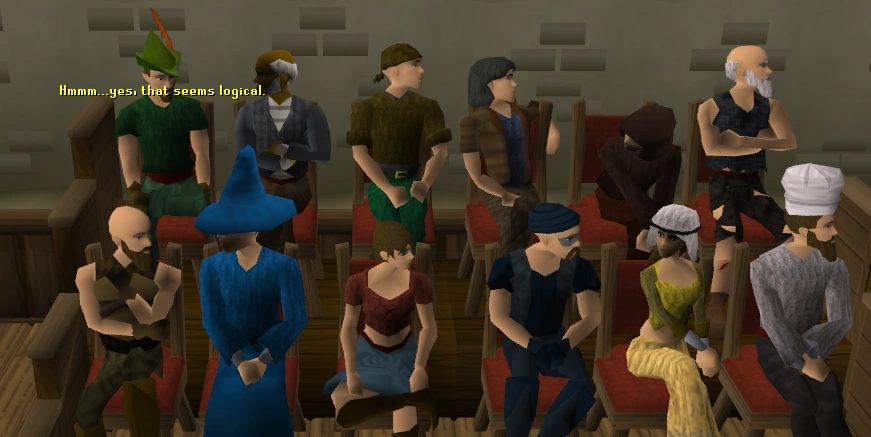
The jury
Note: You may leave the trial at anytime and restart. If you leave the courtroom or logout, all your progress will be lost.
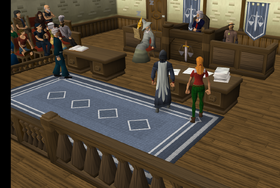
During the trial, you will call witnesses by talking to the Judge and question the witness by talking to the witness. The questions you may ask correspond to those asked while in the mansion. To get a not-guilty verdict, you must rebut the evidence given by the Prosecutor:
Anna's fingerprints on the dagger
Anna having bought poison and not used it
A thread from Anna's clothing being found at the crime scene
Anna being at the scene of the crime
To successfully clear Anna of the charges, you must rebut this evidence without accidentally providing more incriminating against Anna (for example, bringing out testimony which puts Anna near Lord Sinclair's meal before he died). To do this, call the following witnesses with the following questions. Ask each the following question then ask the judge to call another witness, do not continue asking questions from the same person:
Call the Dog Handler as a witness and ask him about the poison.
The judge will end the trial and ask for a verdict. The jury will provide a not-guilty verdict against Anna. At this point party balloons are released.
Exit the courtroom by clicking on the gate.
Back to business
Secret passage
Talk to Anna in her cell. She will go back to being rude again but will tell you how to enter Camelot. (Note: You must complete the entire dialogue with Anna or you will not be able to get into Camelot)
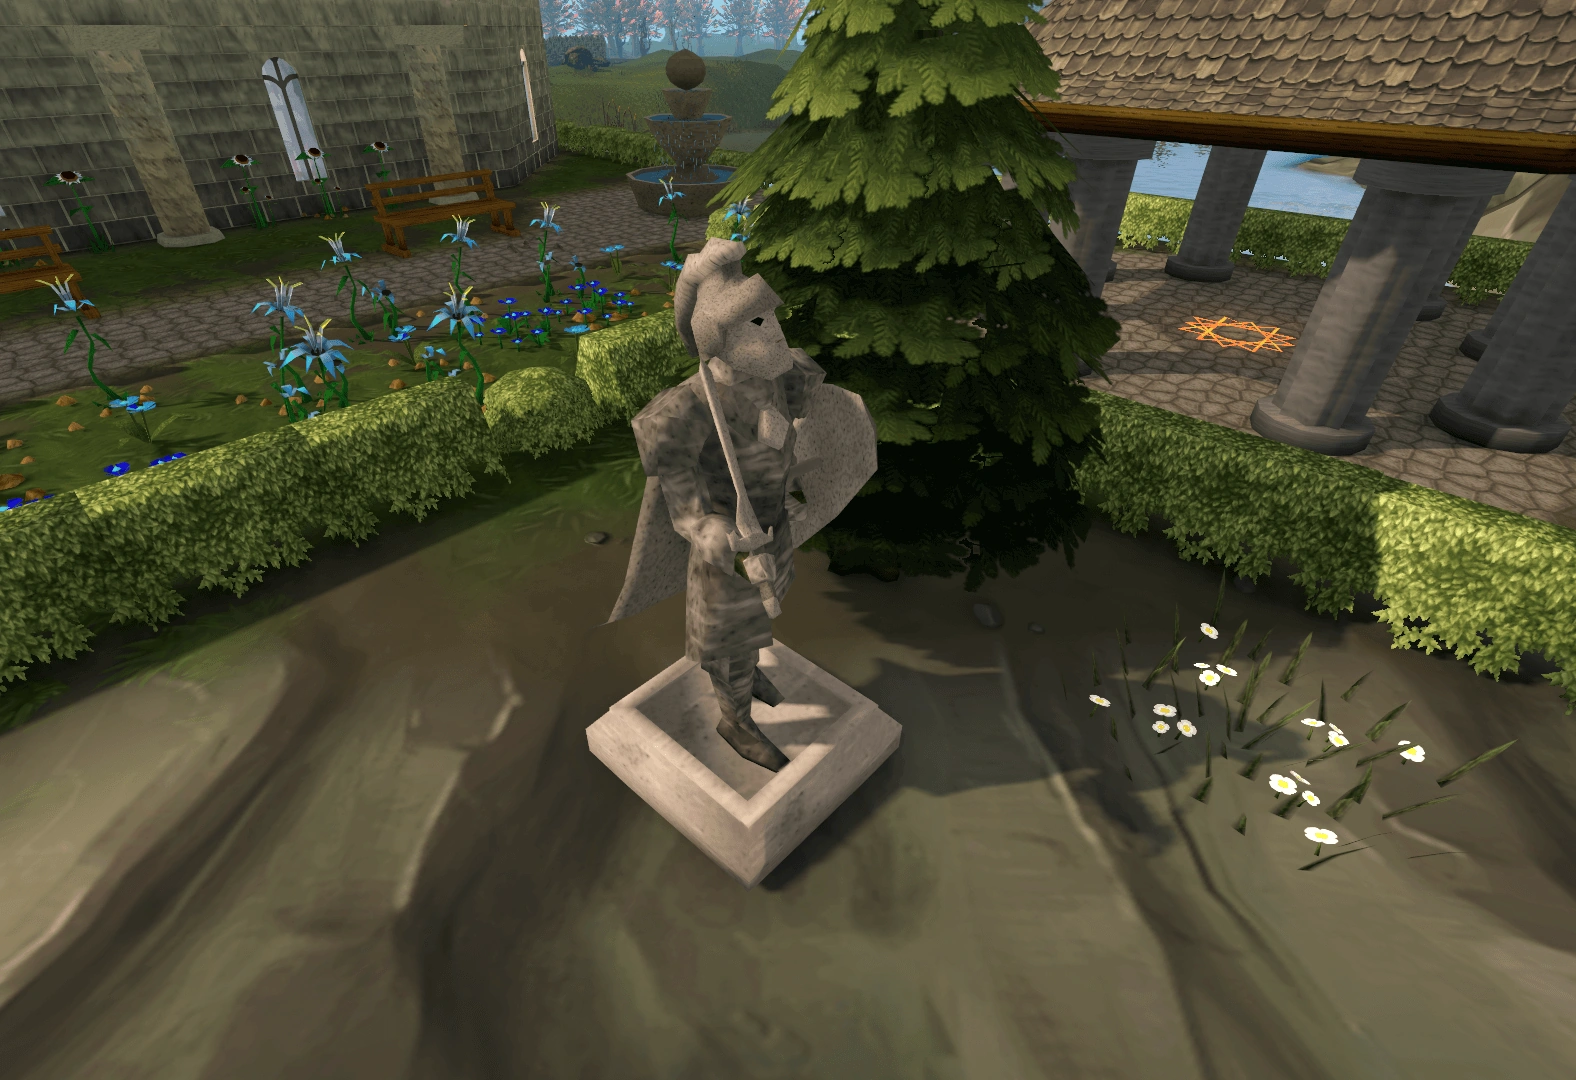
Head to the north-east side of Camelot castle and search the statue near the temple.
You will now see a cut scene of Anna talking to David. The siblings were both responsible for Lord Sinclair's death and set you up to trap you. They will explain they have no intention to help you and suddenly Morgan Le Faye will appear. She will then knock you out with her staff.
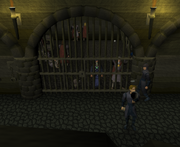
In Jail
The player in the jail
After being knocked out by Morgan Le Faye, you will wake up in a jail with Arthur's Knights and Merlin.
Note:If you leave the jail it is possible to get back by going back to the statue outside of Camelot, or by attempting to enter the grounds of Camelot through the main gate.
Freeing Merlin
Freeing Merlin
Ask Merlin what to do. Follow all of the available conversations.
Reach the vent at the top of the wall opposite the jail gate. A funny animation will show Merlin escaping with the help of all the knights making a pyramid, allowing him to reach the vent.
Note: Do not try to escape through vent, otherwise you will appear at Keep Le Faye, and will have to get your way back to prison.
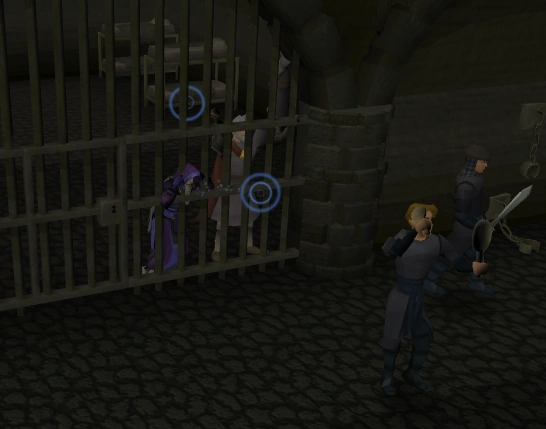
If you received a lockpick, use it on the jail lock; otherwise, use Telekinetic Grab on the guard fixing his hair outside the cell to obtain a hair clip. Use the hair clip on the lock.
You may want to just bring a lockpick if you are on Lunar Spells or Ancient Magicks. You may not receive a lockpick, and not being on the Standard Spellbook, you cannot use Telekinetic Grab on the guard.
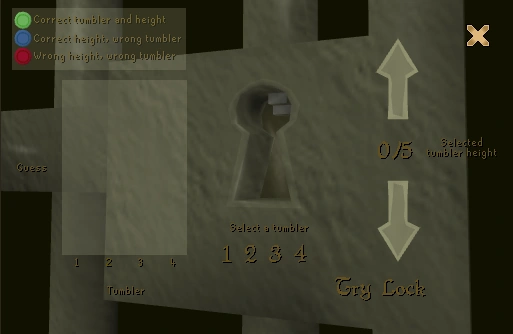
You will need to solve a puzzle to unlock the jail lock. The puzzle very closely resembles the popular game Mastermind.
Puzzle
Puzzle
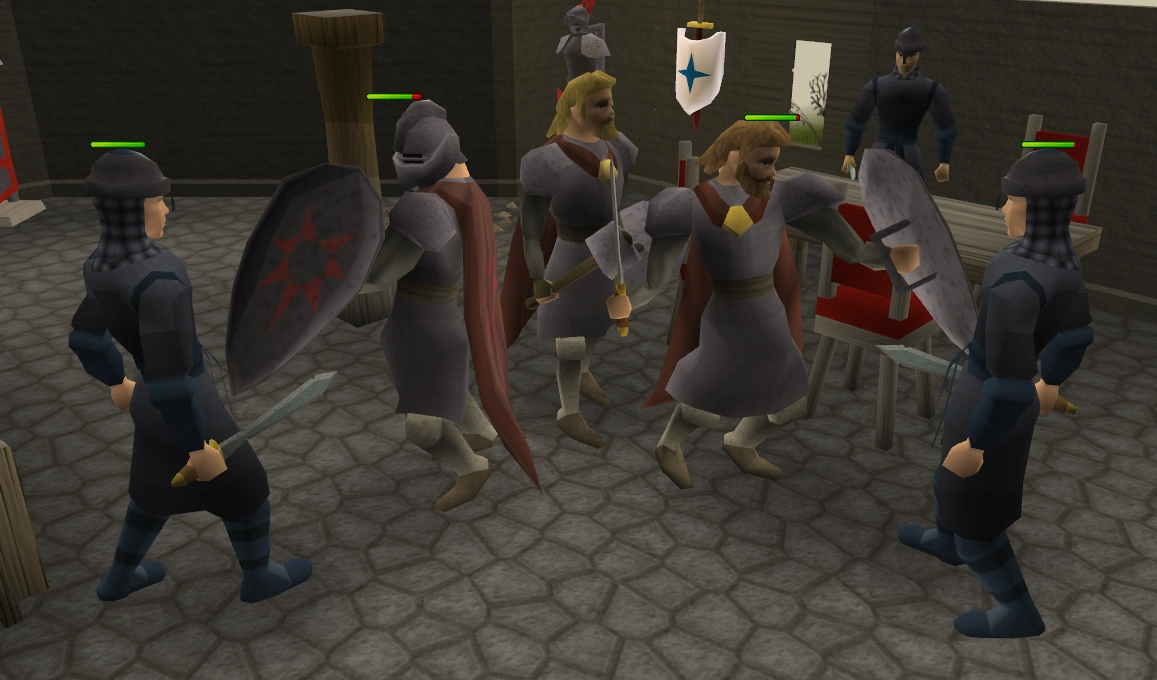
The renegades battle with the Knights of the Round Table.
To complete this puzzle, you must set each of four tumblers to the correct height. The most foolproof way to do this (although not necessarily the quickest) is to set all tumblers to the lowest height and try the lock. If a tumbler shows a green circle, do not change that tumbler anymore. Ignore blue and red circles. For all the other tumblers, increase the height by one and try again. Continue until the lock unlocks. This method will take at most six attempts.
You will emerge on the ground floor of the Keep Le Faye. Arthur's knights will be engaged in battle with the Renegade Knights. Note: Do not try to leave through the front door, as Morgan Le Faye will put you back in jail.
Finding the Holy Grail
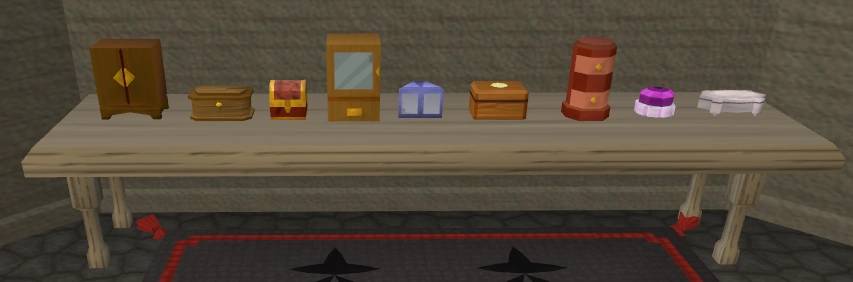
Table of containers
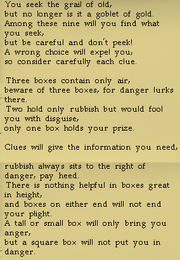
Head to the top floor and search on the table to the north. You will now have to solve a riddle (click on show riddle) and choose the correct container holding the Holy Grail.
Note: The correct box is the purple and pink cylinder 2nd in from the right/east. You can also kill Sir Mordred whilst you are there.
Riddle to the Holy Grail
Remark: If you choose the wrong box you will take 50 damage and be teleported outside south-west Ardougne. To continue the quest, you will have to walk back to Keep Le Faye. When you try to open the door, Morgan Le Faye will appear and will teleport you back to jail. There you do not need to solve the door puzzle again, you just have to open the door and walk back to the top floor. An easier choice is to teleport back to Camelot and attempt to enter the main gates, where Morgan Le Faye will appear to teleport you back to jail. You may also use the Catherby Lodestone then run to the Candle Shop and try to get into the crate, used during the quest Merlin's Crystal. Morgan Le Faye will appear to teleport you back to jail.
Freeing King Arthur
You must now free King Arthur from his stone prison.
Head to Wizard Cromperty in the north-eastern part of East Ardougne. After acquiring the Grail, you can intentionally search the table again and select an incorrect item to be teleported just north-west of the Kandarin Monastery. The ardougne lodestone is equally close after factoring home teleport animation time.
Cromperty will explain you need to free King Arthur like you did the girl during One Small Favour, although this time you also need to unravel Morgan's spell. He will give you an animate rock scroll you will need to use on King Arthur once you have both the Holy Grail and some granite in your inventory.
On the first day of release when you clicked to see the rewards you got the message: I object! No spoilers will be released until one day's term has been served.
After both Gossip and the Guard tell you that Arthur and his knights are missing, up until the time you end up imprisoned, you can still see the knights walking around inside Camelot.
During the update the Party Room was moved from Seers' Village to Falador to make room for the courthouse. This is referred to in the quest when after the trial is over, balloons fall down from the ceiling and the Judge mentions the Dancing Knights.
Upon the completion of this quest, one's Adventurer's Log will read: "After freeing the Knights of the Round Table, I got a spell from Wizard Cromperty that freed King Arthur from his stone prison in the Black Knights' Fortress."
After completing the quest, if you talk to Juna, your character will say, "...And after I had used the spell to free King Arthur, I disguised him as a guard so he could escape."
When disguised as a guard, King Arthur's name loses the title "King", becoming just "Arthur".
The music track unlocked during the quest called 'Lore and Order' is a play on the judicial phrase "Law and Order".
The black knight helm found in the bookcase at the beginning of the quest did not receive a graphical update when all other armours did. Similarly, when King Arthur dons his disguise, he still appears in the old graphics, despite the fact you have give him armour that has been updated. The helmet icon however has been updated since then, although the bookcase still holds the outdated version.
If you mouseover an NPC inside Camelot while the Sinclair children are inhabiting it, you will find that the knights are still there.
After the release of The Death of Chivalry quest and Black Knights' Fortress update, the fortress' guards' comments about king Arthur are voiced over. However the basement where the statue was located hasn't received graphical update as the rest of the building.


")
")
")