Hellhounds have a low defence for their levels, but make up for this with a high strength level. The level 92 and 95 hellhounds have maximum hits of 224 and 272, respectively. All hellhounds are weak to slash attacks, except for the hellhounds in the God Wars Dungeon, which are weak to water spells.
Locations
| Location | Recommended | Suggested skills/items | F2P/P2P | Notes |
|---|---|---|---|---|
| Taverley Dungeon | At least 70 |
A very popular location for killing hellhounds with both melee and ranged, since several safespots are available. If the hellhounds become unaggressive, simply enter and then exit the resource dungeon to make them aggressive again. If you don't have the dungeoneering level needed to enter the resource dungeon, go up the ladder west of hellhounds and come back down. | ||
| Taverley hellhound resource dungeon | Dwarf multicannon, at least 55 Dungeoneering | Using a dwarf multicannon while using protection prayers is recommended for an increased experience output, since there are 12 hellhounds in the dungeon.
If the hellhounds become unaggressive, simply exit and engage combat with a hellhound, and then enter the resource dungeon to make them aggressive again. | ||
| Witchaven Dungeon | None | Despite the presence of several safespots, there are only two hellhounds in the dungeon and the respawn rate can be very slow, even on a highly-populated world. | ||
| God Wars Dungeon | Protection from various god-aligned creatures | God protection from Armadylean creatures is not needed as there are no aviansies near the hellhounds. There are very few hellhounds around the dungeon, and are extremely spread out.
These hellhounds have moderate spawn rates and are usually found fighting other followers, making it an ideal method for killing them without requiring a lot of food. However, they do not drop any charms and have a higher combat level than the ones found elsewhere. Even though they offer larger experience per kill, the constant movement required to search for a hellhound will most likely negate the effect. | ||
| Kuradal's Dungeon | Ferocious ring | If you are assigned a hellhound task by Kuradal, her dungeon is the best place to kill them. The ferocious ring provides a 4% damage bonus to every hit and thus can speed up tasks. If you have rebuilt the fairy ring, quick banking is also available. | ||
| Forinthry Dungeon | Brawling gloves | The dungeon is present in a PvP area, so you must watch out for PKers. If on a slayer task, you may also kill the revenant hellhounds in the area for it to count towards the task. | ||
| Level 50+ Wilderness | Brawling gloves | This is not a particularly popular hotspot for PKers and is close to both the Mage Arena lever and the Ardougne lever.
There is a safe spot next to the southern most dead tree, near the lava and the Deserted Keep; if you stand directly to the west of that tree, the hellhounds will back against the fence, unable to attack you. | ||
| Wilderness Volcano | Brawling gloves | Generally not recommended, except for F2P players who do not wish to enter the forinthry dungeon. However, be aware that the Wilderness volcano is a very popular hotspot for PKers. A safespot is available near the south-western entrance of the volcano.
Members can use a games necklace to teleport to the corporeal beast, and head to the volcano from there. |
Strategy

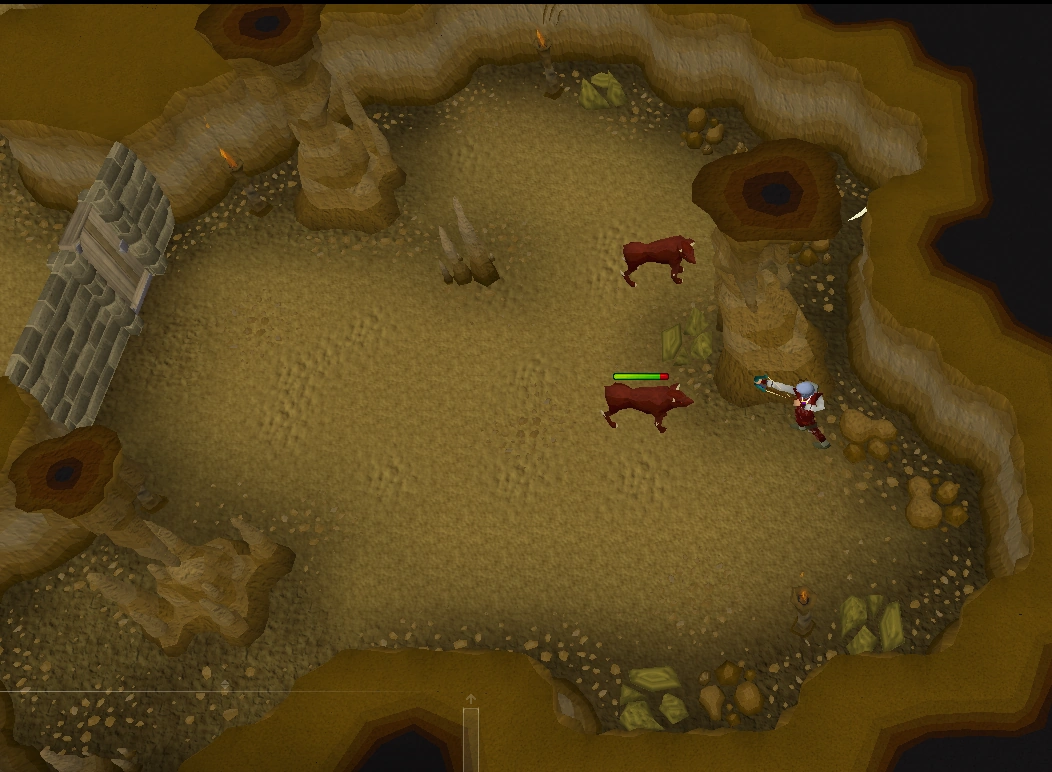
Witchaven safe spot
The two hellhounds in the Witchaven Dungeon can be easily safespotted once they become unaggressive; the gold rock near the east column, and the spot as shown in the image can be used as safespots to attack the hellhounds.
If you wish to fight the hellhounds in the Wilderness, remember to hop worlds to check for other occupants in the area. If you are attacked by another player, quickly run to a safe zone and teleport out using an emergency teleport; if you are stunned, you must first use Freedom (![]() ) to mobilise yourself.
) to mobilise yourself.
Soul split and deflect melee can be used alternately while fighting hellhounds - soul split when life points are low, and deflect melee when life points are high.
One popular method when fighting hellhounds is to equip Guthan's set, the vampyrism aura, a demon horn necklace, a healing familiar such as bunyips or unicorn stallions, and making use of a bonecrusher. This allows players to sustain their prayer points, with the added benefit of providing an efficient healing method; it is very easy to kill hellhounds using this method, without paying much attention at all. At high levels, it is possible to amass up to 180,000 experience/hour.
Free-to-play
For free players, the only available hellhounds reside in the Wilderness. Only bring items you are prepared to lose. As such, equipping a set of rune equipment and bringing a full inventory of food may be the safest course of action. Using a gravite 2h sword can make it easier to kill hellhounds, but makes you susceptible to damage because of the absence of a shield.
For higher levelled players (70+ Attack, Strength, and Defence), hellhounds can net up to 117,000 experience/hour (assumes 325 kills/hour). To maximise this experience, take a sip of any available potions - attack, strength or defence - and be sure to constantly monitor the boosted levels.
Action bar
Use of the Revolution combat mode is strongly recommended while fighting hellhounds. Members may utilise any one of the action bars as shown here.
Some considerations to make while fighting hellhounds include:
- If you have Sacrifice unlocked, you may choose to use this ability to heal yourself while in combat. It is suggested to use this ability to effect the killing blow on a hellhound and maximise the health restoration.
- Use the Slaughter ability when the hellhound has high health, making sure that you walk onto the square that the hellhound is occupying. This forces the hellhound to move and take triple the amount of damage that the ability would normally inflict.
Free-to-play
| Two-handed melee |
|---|
| Main hand (and shield) melee |
| Shieldbow ranging |
| Two-handed ranging |
Recommended equipment
Melee
| Slot | Item (most effective → least effective) | ||||
|---|---|---|---|---|---|
| Rune full helm | Warpriest helm | N/A | N/A | N/A | |
| Brawler's hook necklace | Amulet of strength | Holy symbol | Amulet of power | N/A | |
| Starfury cape/Starfire cape | Veteran cape | Team capes | Warpriest cape | N/A | |
| Gud raider chainbody | Rune platebody | Warpriest cuirass | Rune chainbody | Monk's robes | |
| Rune platelegs/Rune plateskirt | Warpriest greaves | Monk's robes | N/A | N/A | |
| Gud raider axe | Gravite longsword | Rune scimitar | Rune longsword | Rune battleaxe | |
| Gravite 2h sword | Rune 2h sword | N/A | N/A | N/A | |
| Off-hand gravite longsword | Off-hand rune longsword | N/A | N/A | N/A | |
| Gud raider shield | Rune berserker shield | Rune kiteshield | N/A | N/A | |
| Rune gauntlets | Warpriest gauntlets | N/A | N/A | N/A | |
| Batwing boots | Warpriest boots | Fighter boots | N/A | N/A | |
| Explorer's ring | Ring of potency | N/A | N/A | N/A | |
Ranged
| Slot | Item (most effective → least effective) | ||||
|---|---|---|---|---|---|
| Blue dragonhide coif | Green dragonhide coif | Warpriest helm | N/A | N/A | |
| Amulet of zealots (if praying)/Amulet of power | Amulet of defence | Holy symbol | N/A | N/A | |
| Veteran cape | Team capes | Warpriest cape | N/A | N/A | |
| Blue dragonhide body | Green dragonhide body | Warpriest cuirass | N/A | N/A | |
| Blue dragonhide chaps | Green dragonhide chaps | Warpriest greaves | N/A | N/A | |
| Gravite knife | Rune javelins | Adamant javelins | N/A | N/A | |
| Gravite shortbow | Magic shortbow | Magic shieldbow (sighted) | Yew shortbow | N/A | |
| Off-hand gravite knife | N/A | N/A | N/A | N/A | |
| Blue dragonhide shield | Green dragonhide shield | N/A | N/A | N/A | |
| Rune arrows | Adamant arrows | N/A | N/A | N/A | |
| Blue dragonhide vambraces | Green dragonhide vambraces | Warpriest gauntlets | N/A | N/A | |
| Starfury ranged boots/Starfire ranged boots | Warpriest boots | Mystic Boots | Carapace boots | N/A | |
| Explorer's ring | Ring of potency | N/A | N/A | N/A | |