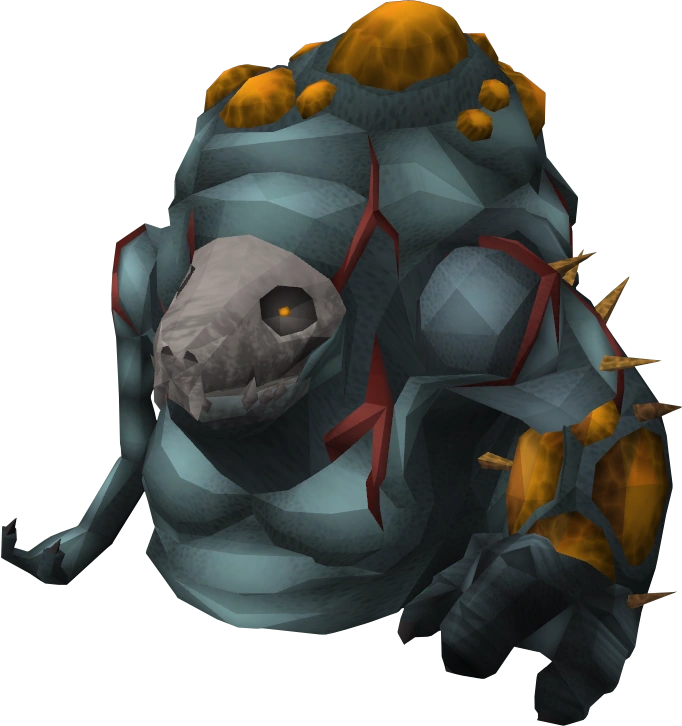
Ganodermic beast, found at the bottom of the Polypore Dungeon, are commonly killed for their valuable drops and for Magic experience. This article summarises tips and important information that players should know when killing them.
Requirements
The following are required to kill ganodermic beasts.
- 95
 . Boosts such as wild pies can be used to boost Slayer to 95; however, relying on boosting items will result in shorter trips and possibly longer kills.
 - Magic equipment, optimally fire spells. Ganodermic beasts have very high damage reduction against any non-magical attack, with all melee and ranged based attacks having a damage cap of 40 on them.
Recommendations
Skill levels
The following skill levels are recommended for killing ganodermic beasts. While they are not necessary, they will unlock valuable, helpful perks.
- 75
 for Fire wave and Polypore staff
 - 70
- 73 to use the agility section of the dungeon
- 60 and 67 to obtain enough Dungeoneering tokens for a bonecrusher and split dragontooth necklace. Players with 90 Prayer and Dungeoneering may also wear a demon horn necklace.
- 91 for extreme magic potions
Suggested equipment
Generally, higher-tier Magic equipment is best against ganodermic beasts. However, expensive, top-tier armour such as seasinger's equipment and ganodermic armour may not be cost-effective at ganodermic beasts due to their high repair costs. For this reason, offensive armour is recommended above tank armour.
Abilities
Although having a large amount of life points, they are weak to fire-based spells and one can kill them very quickly with the correct group of skills.
- Impact, Wrack, Asphyxiate, Wild Magic, Combust, Sonic Wave or Concentrated Blast (this depends on your preferred magic weapon), Metamorphosis, Chain*
Only use Chain if you are confident in your fighting skills, as this will get the attention of nearby monsters if it hits.
Recommended ability bar set up when using chaotic staff, or any other two-handed magic weapon.
Killing the beasts
When killing the beasts, remember that they have highly accurate magic attacks if you use gear below the Virtus set. Although it does not hit very high for their level, the accuracy is good enough to get you killed if you don't pay attention. Like the other two creatures below them, the Grifolaroos and Grifolapines, these monsters will also attempt to close the distance between you so they can infect you. If they get within melee distance of you, they start to infect you, dealing 100-200 damage every 0.6 seconds (1 tick), and multiple infections will quickly result in massive damage. To counter this, stun them as they get to you or be far from them so it takes them a while to get to you.
Remember that you also have Ganodermic runts that wander around the same room as them. Try to avoid hitting them if you use the Chain ability, as the chains will hit them, and they can go through your safespot and infect you. The runts are basically the same as the beasts but much smaller and can get into your safespots, infecting you. Their shared drops are far more inferior and do not share most drops with them and can hamper kill rates.
As one Ganodermic beast has 12,500 life points, and are weak to fire spells, use those spells to kill them quickly, as other spells don't tend to hit as often. When killing them, it is highly suggested that you use a Split dragontooth necklace or Demon horn necklace as these restore prayer. With the correct use of prayers, you can easily kill them and not suffer a prayer loss. A Bonecrusher is highly suggested with these items so you do not have to pick up and bury the bones, as you could be fighting them and probably kill in the same time it took you to bury the bones. Big bones, their 100% drop, upon being buried, restores your Prayer points by 100. You can quickly kill one within 80-90 points. This does, however, require the Soul Split prayer to use efficiently, otherwise you will need to constantly heal yourself with the Regenerate ability. If you lack the prayer level for Soul Split, you can use other methods of healing, such as the Unicorn Stallion's scroll to heal you. You can also use the more expensive Blood barrage.
Beast of Burdens are usually not used, mainly because almost every drop they have is stackable/noted. You can however bring them if needed, since their unstackable/noted drops are the ganodermic gloves/boots, the polypore stick and some rare drop table items. Players wishing to train Invention though may instead disassemble the items for needed materials. If players do not use them for Invention training, it is better off bringing magic notepaper than alch runes since there will be a net loss when alching the gloves and boots.