Template:RSC page Template:2007 page
Template:Floor
| |||||||||||||||||||||||||
| Release date | 23 September 2001 (Update) | ||||||||||||||||||||||||
|---|---|---|---|---|---|---|---|---|---|---|---|---|---|---|---|---|---|---|---|---|---|---|---|---|---|
| Members | No | ||||||||||||||||||||||||
| Voice Over | No | ||||||||||||||||||||||||
| Official difficulty | Experienced | ||||||||||||||||||||||||
| Quest series | Guild | ||||||||||||||||||||||||
| Age | Fifth Age | ||||||||||||||||||||||||
| |||||||||||||||||||||||||
Dragon Slayer is a free-player quest. This quest is regarded as the most difficult for free-play players. Upon successful completion, players gain the ability to equip the rune platebody (and its variants), the blue d'hide body (and its variants), and the batwing torso. It was also the last quest in RuneScape to be released before the addition of membership.
Official description
| “ | Prove yourself a true hero. Kill the mighty dragon Elvarg of Crandor Island and earn the right to buy and wear the powerful rune platebody. | ” |
Development team
- Developer: Paul Gower
- Conversion: James B
- Audio: Ian T
- QuestHelp: Nishal K
Rework
- Developer: John A
- Graphics: Paul B, Kavi M
- Quality Assurance: Kevin D, Christopher E
- QuestHelp: Gillan M
Walkthrough
| Start point | |||
|---|---|---|---|
| Member requirement | |||
| Official difficulty | |||
| Official length | Long (30 - 90 mins) | ||
| Requirements | Skill requirements are not boostable unless marked with a [B] for boostable.
Recommended:
| ||
| Items required | Items from the tool belt are not listed unless they do not work or are not automatically added.
Recommended:
| ||
| Enemies to defeat |
|
Oziach's armour

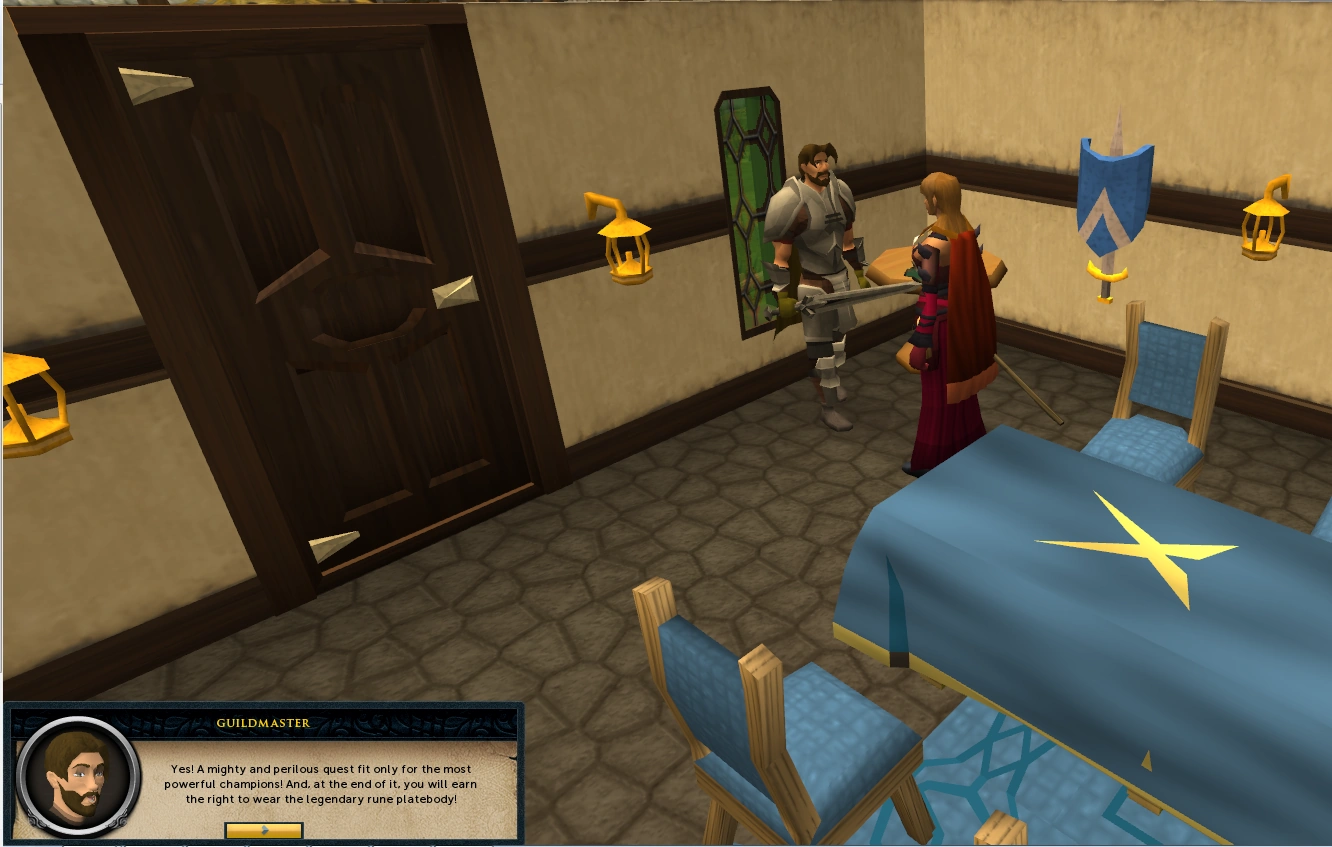
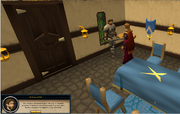
The Guildmaster offers you the quest.
To start the quest, speak to the Guildmaster in the Champions' Guild, located just below the southern entrance of Varrock. After talking to him, you will be directed to Oziach, located in a tiny house situated north of the Edgeville lodestone.
Oziach says that, to be able to purchase a rune platebody from him, you will have to slay Elvarg, the mighty female dragon, residing within Crandor Isle. He will tell you to re-visit the Guildmaster for information on how to kill Elvarg.
Go back to the Guildmaster. Talk to him about the map pieces, about protection against dragon breath, and about buying a boat. After speaking to him about the map pieces, he will provide you with a maze key.
The anti-dragon shield

This whole section can be skipped by obtaining an anti-dragon shield from elsewhere, such as the Grand Exchange
Travel to Lumbridge and speak to Duke Horacio on the 1st floor[UK] of the Lumbridge Castle. Ask him about "a shield that will protect you from a dragon's breath", and when he asks you which dragon you're going to use it to fight against, tell him that you will be slaying the fearsome Elvarg of Crandor.
He will then give you an anti-dragon shield and tell you a bit more about the story of Elvarg and the fall of Crandor.
Torn and Frayed

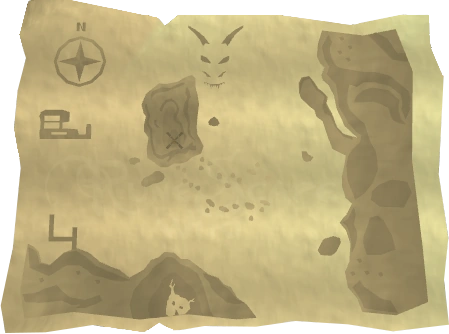
A complete view of the Crandor map
To reach the island of Crandor, you need to obtain a Crandor map, but, for the safety of the people of Asgarnia, the map has been torn up into three pieces by 3 surviving wizards. The wizards, Melzar, Thalzar and Lozar each took a section of the map and stored it, to prevent anyone from travelling to the perilous island.
You can obtain the map pieces in any order.
Melzar's Map Piece

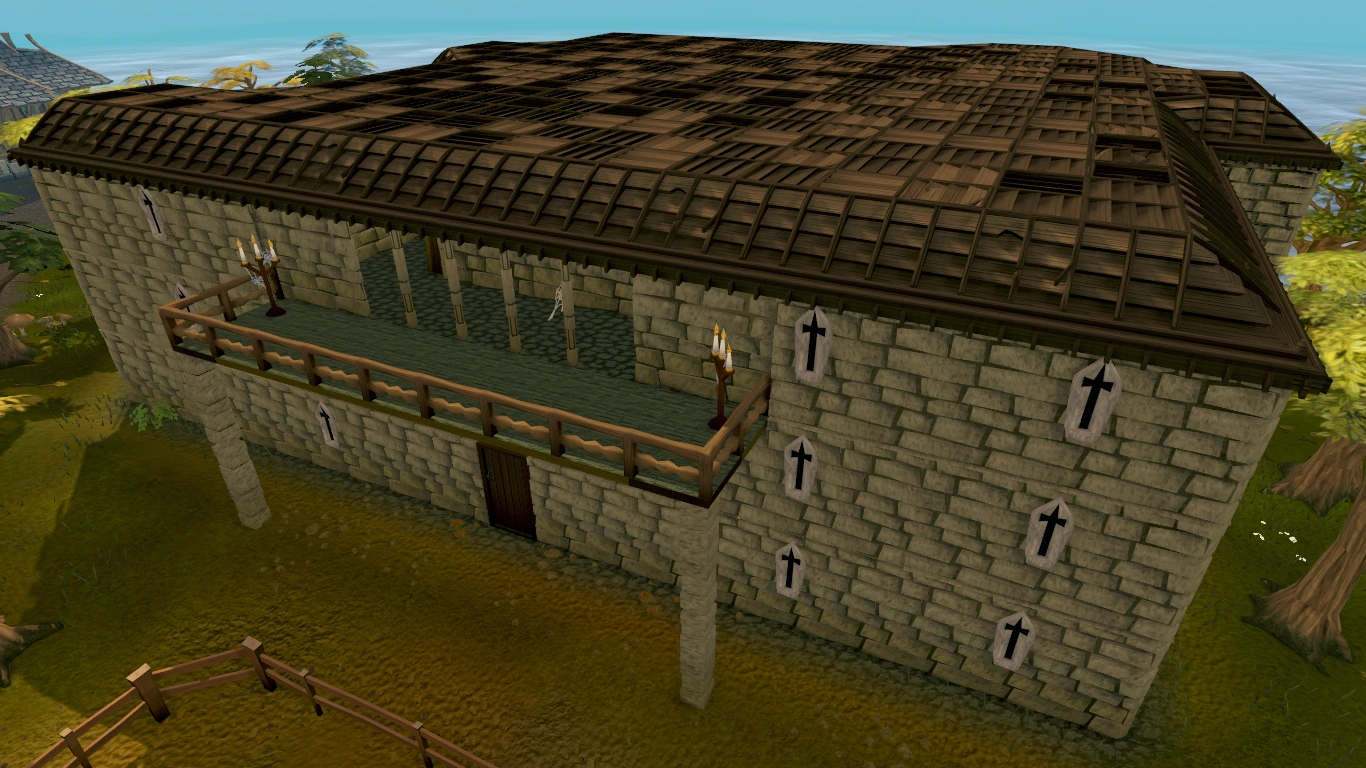
Melzar's Maze
Melzar's map piece is found within Melzar's Maze, found south of the crafting guild. To progress through the maze, you will have to get past several locked doors, using keys that the monsters within hold. With each group of monsters, there is one specific one that has a specific trait which differentiates it from the others, and can be used to find the respective key quickly.
The doors you must use the keys on.
Once you enter the maze, you'll find yourself in a large room containing zombie rats. To get the red key, you must kill the small zombie rat with the long tail. Once you have obtained the key, open the north-western door, and proceed up the ladder.
The second room is home to the ghosts. The orange key is dropped by a ghost with a cape, but not a hood. After obtaining the key, head through the middle door, second from the north on the eastern wall, and then climb the ladder.
The third room has skeletons in it. To obtain the yellow key, the skeleton with a round shield must be killed. After killing it, use the key on the south-western door and keep climbing down the ladders until you reach the basement.
The basement contains two zombies. Unlike the other rooms, there is no way to tell which zombie will drop the key, but one of them will drop it. Then proceed through the blue door.

Fighting Melzar the Mad
You must now fight Melzar the Mad. When killed, he drops the magenta key. Use this key on the magenta coloured door to progress to the final room.

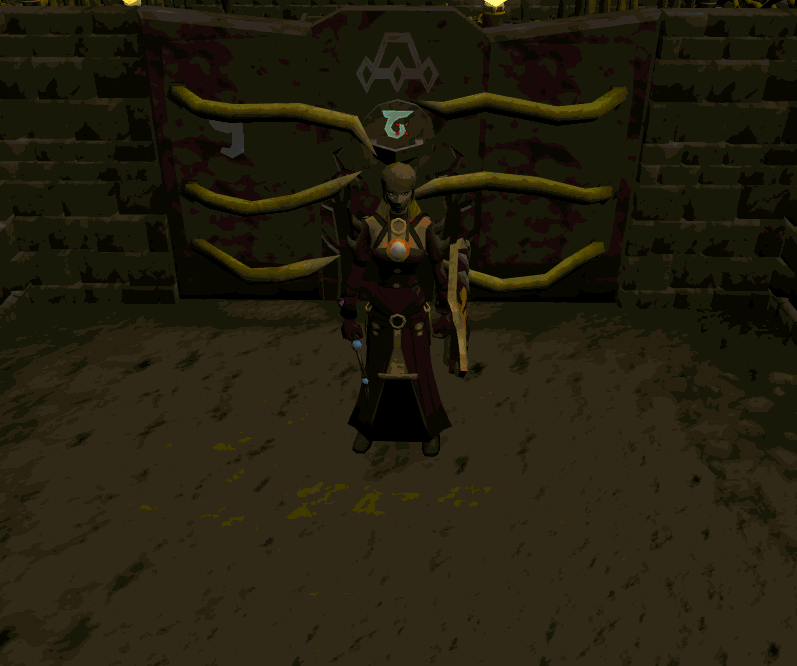
Fighting the abnormally small lesser demon.
In the final room, you'll be confronted with a lesser demon, who drops the final green key. It is weaker than other lesser demons, although it still uses magic attacks.
Once the demon is defeated and you take its key, open the final green door and take the map piece from the chest. You may now climb up the ladder and exit the building through the entrance, or can you can teleport out.
Thalzar's Map Piece

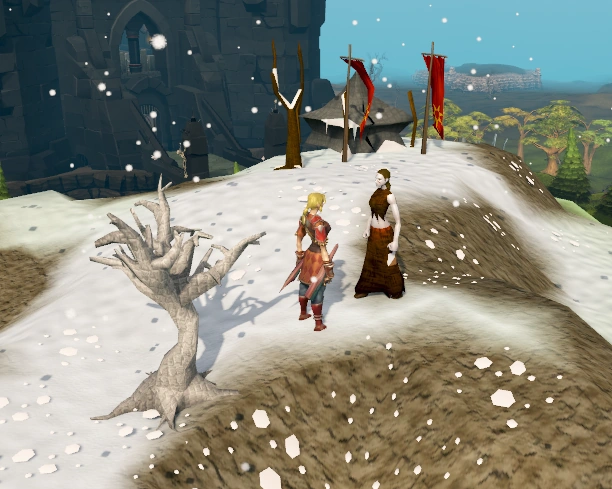
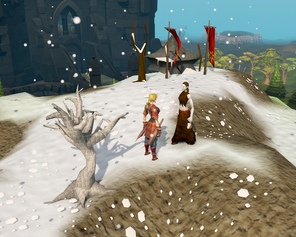
A player talking to the Oracle atop Ice Mountain.
Travel to the Ice Mountain, west of Edgeville and north of Falador, and climb to the northern-most part of the mountain and speak to the Oracle, who is standing beside a tent. She speaks to you in a riddle, which holds the answer to the location to one of the map pieces:
| “ | "The map's behind a door below, but entering is rather tough This is what you need to know, You must use the following stuff: First, a drink used by a mage, Next, some worm string changed to a sheet, Then, a small crustacean cage, Last, a bowl that's not seen heat." |
” |
To obtain this piece of the map, you'll need:
- An unfired bowl
- A Wizard's Mind Bomb which can be bought in Falador for 3 coins
- A lobster pot or a crayfish cage, which can be purchased in the Port Sarim or Lumbridge fishing shop
- A piece of silk, which can be obtained from the silk trader in Al Kharid at the cost of 3 coins (or 2 if you bargain).

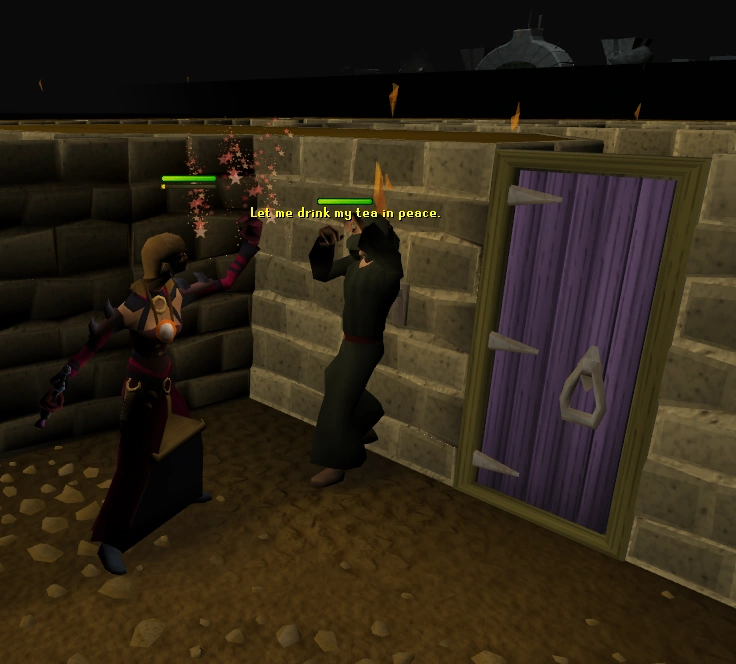
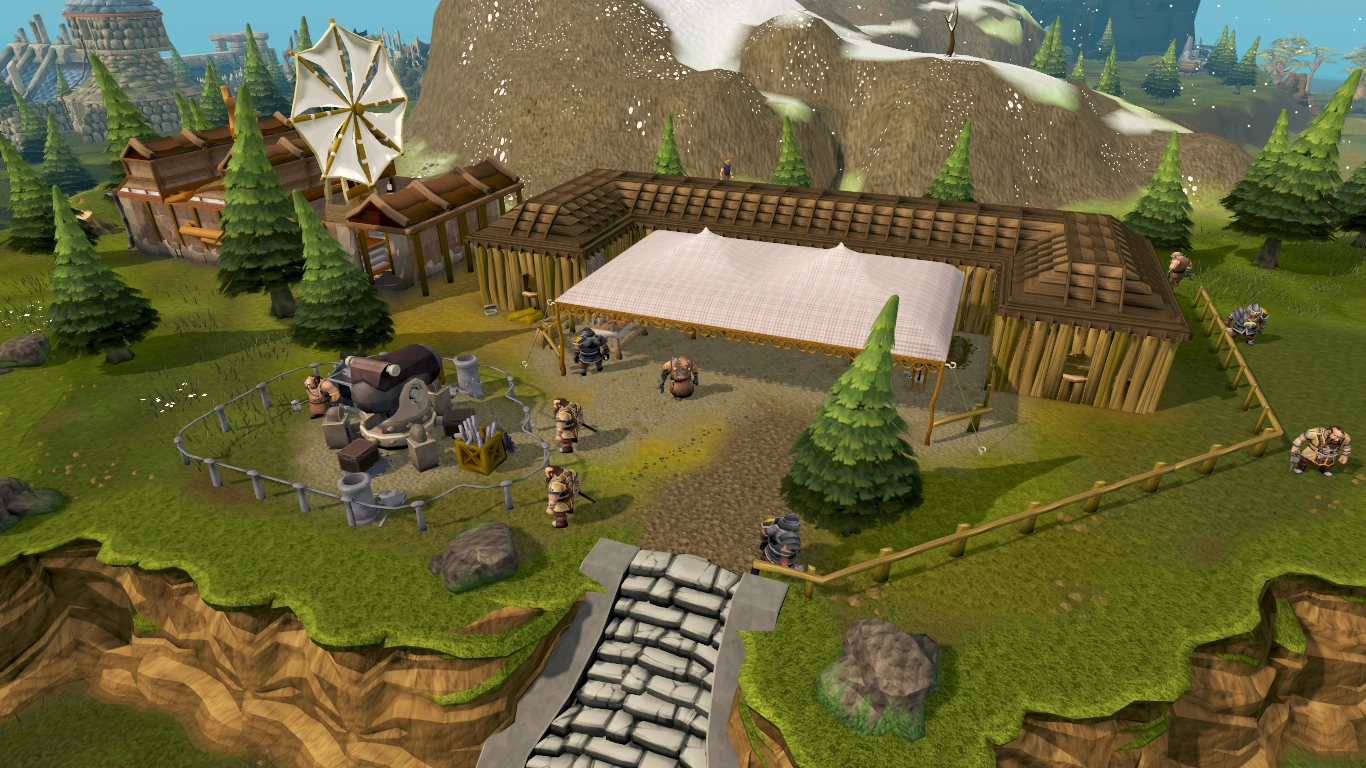
The entrance to the Dwarven Mines
Once you have obtained all these items, venture down into the Dwarven Mines, just north-east of the Falador lodestone. The mine contains a room with a sealed entrance door in the north-east part of the mines, just north of the scorpions. When you've found it, use all the items on the Magical Door. Be sure to use the Wizard's Mind Bomb with the door, as the left-click action for it is to drink it.
When you open the chest inside the room you get the following message, written by Thalzar:
| “ | "Here I rest the map to my beloved home. To whoever finds it, I beg of you, let it be. I was honour-bound not to destroy the map piece, but I have used all of my magical skill to keep it from being recovered. This map leads to the lair of the beast that destroyed my home, devoured my family, and burned to a cinder all that I love. But revenge would not benefit me now, and to disturb this beast is to risk bringing its wrath down upon another land. I cannot stop you from taking this map piece now, but think on this: if you can slay the Dragon of Crandor, you are a greater hero than my land ever produced. There is no shame in backing out now." |
” |
Be sure to search the chest after reading the message in order to obtain the map piece.
Lozar's Map Piece
You can directly head to confront the perpetrator, eliminating the need to visit the Guildmaster and Goblin Village.
Asking the Guildmaster about Lozar's map piece, reveals that she had hid the map section in a safebox in her house in Lumbridge. Unfortunately, she was killed during a goblin raid, and the creatures looted everything from the homes. The Guildmaster recommends you speak to someone in the Goblin Village.
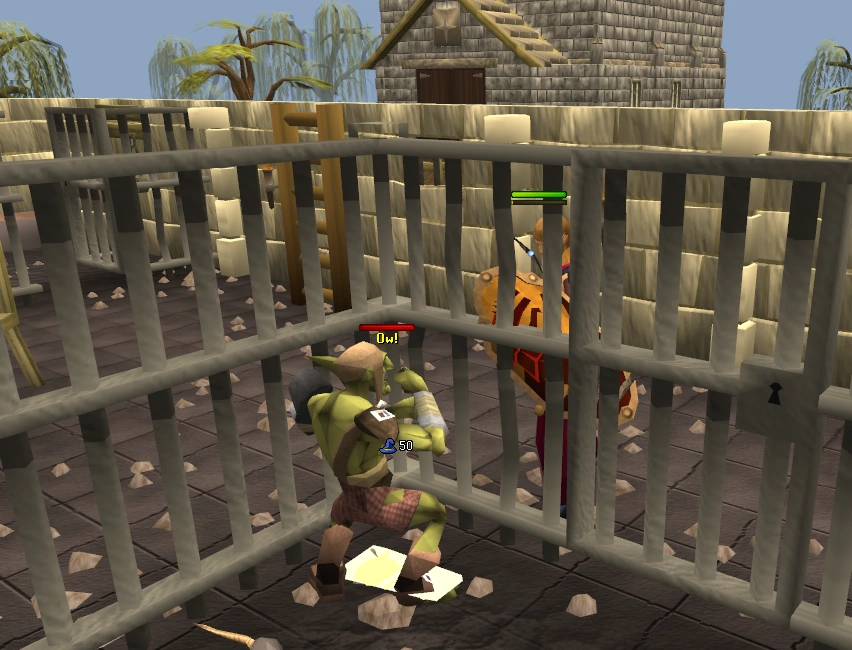
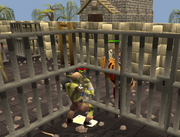
A player obtaining the final map piece.
The third map piece is in the possession of a goblin named Wormbrain, who is being held at the Port Sarim Jail. Head there and speak to Wormbrain, who admits to stealing the map from a frail old woman and getting caught while trying to escape.
There are two ways to obtain this map piece:
- Beat up Wormbrain using mage or ranged attacks and cast Telekinetic Grab on the map piece he drops (requires 33 Magic which can be boosted).
- Speak to him and pay him 10,000 coins for the map piece.
After obtaining all the map pieces, simply use one of them on another to complete your Crandor map.
Lady Lumbridge
When you spoke to the Guildmaster, he told you that there is a ship for sale in Port Sarim; at the port docks, talk to Klarense to be informed that the ship is damaged. Nevertheless, buy his boat, the Lady Lumbridge, for 2,000 coins. Board the ship and descend the ladder. You must now fix the holes by using regular planks on them, which also consumes 30 steel nails on each hole.
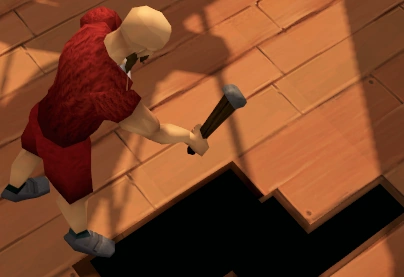

Fixing the hole within the Lady Lumbridge.
Go to Draynor Village and talk to Ned, located in the house just north of Miss Schism. He sells and crafts ropes. Make sure to bring your map and ask him to captain the ship and assist you in sailing to Crandor. He agrees and asks you to meet him on your ship in Port Sarim.
Elvarg
There are no safespots in the cavern and Elvarg can hit up to 1200 life points worth of damage with her firebreath attack if an anti-dragon shield isn't equipped. On death, a grave will appear inside Elvarg's cave.
Before setting off for Crandor, stop at any bank. Withdraw your anti-dragon shield and your best combat equipment.
If you leave the battle midway, you can come back using the shortcut through Karamja, but you must first unlock it. Enter the Karamjan Volcano (not the TzHaar City) and go north through a passage. If this passage is not opened, you will need another three planks of wood and 90 nails to repair the vessel. Ned will already be on board ready to sail again.
When you are ready, board your ship and talk to Ned. Tell him you're ready to sail to Crandor Isle. A short cutscene will play, during which Elvarg flies over your ship in circles and sets it on fire. Cabin Boy Jenkins will start to panic. He will catch on fire, receive damage of 100 life points and die.
")
")
")
After crashing on the island shore, make your way across the island to the peak, avoiding the progressively stronger monsters. Run past the lesser demons and enter the hole at the heart of the island.
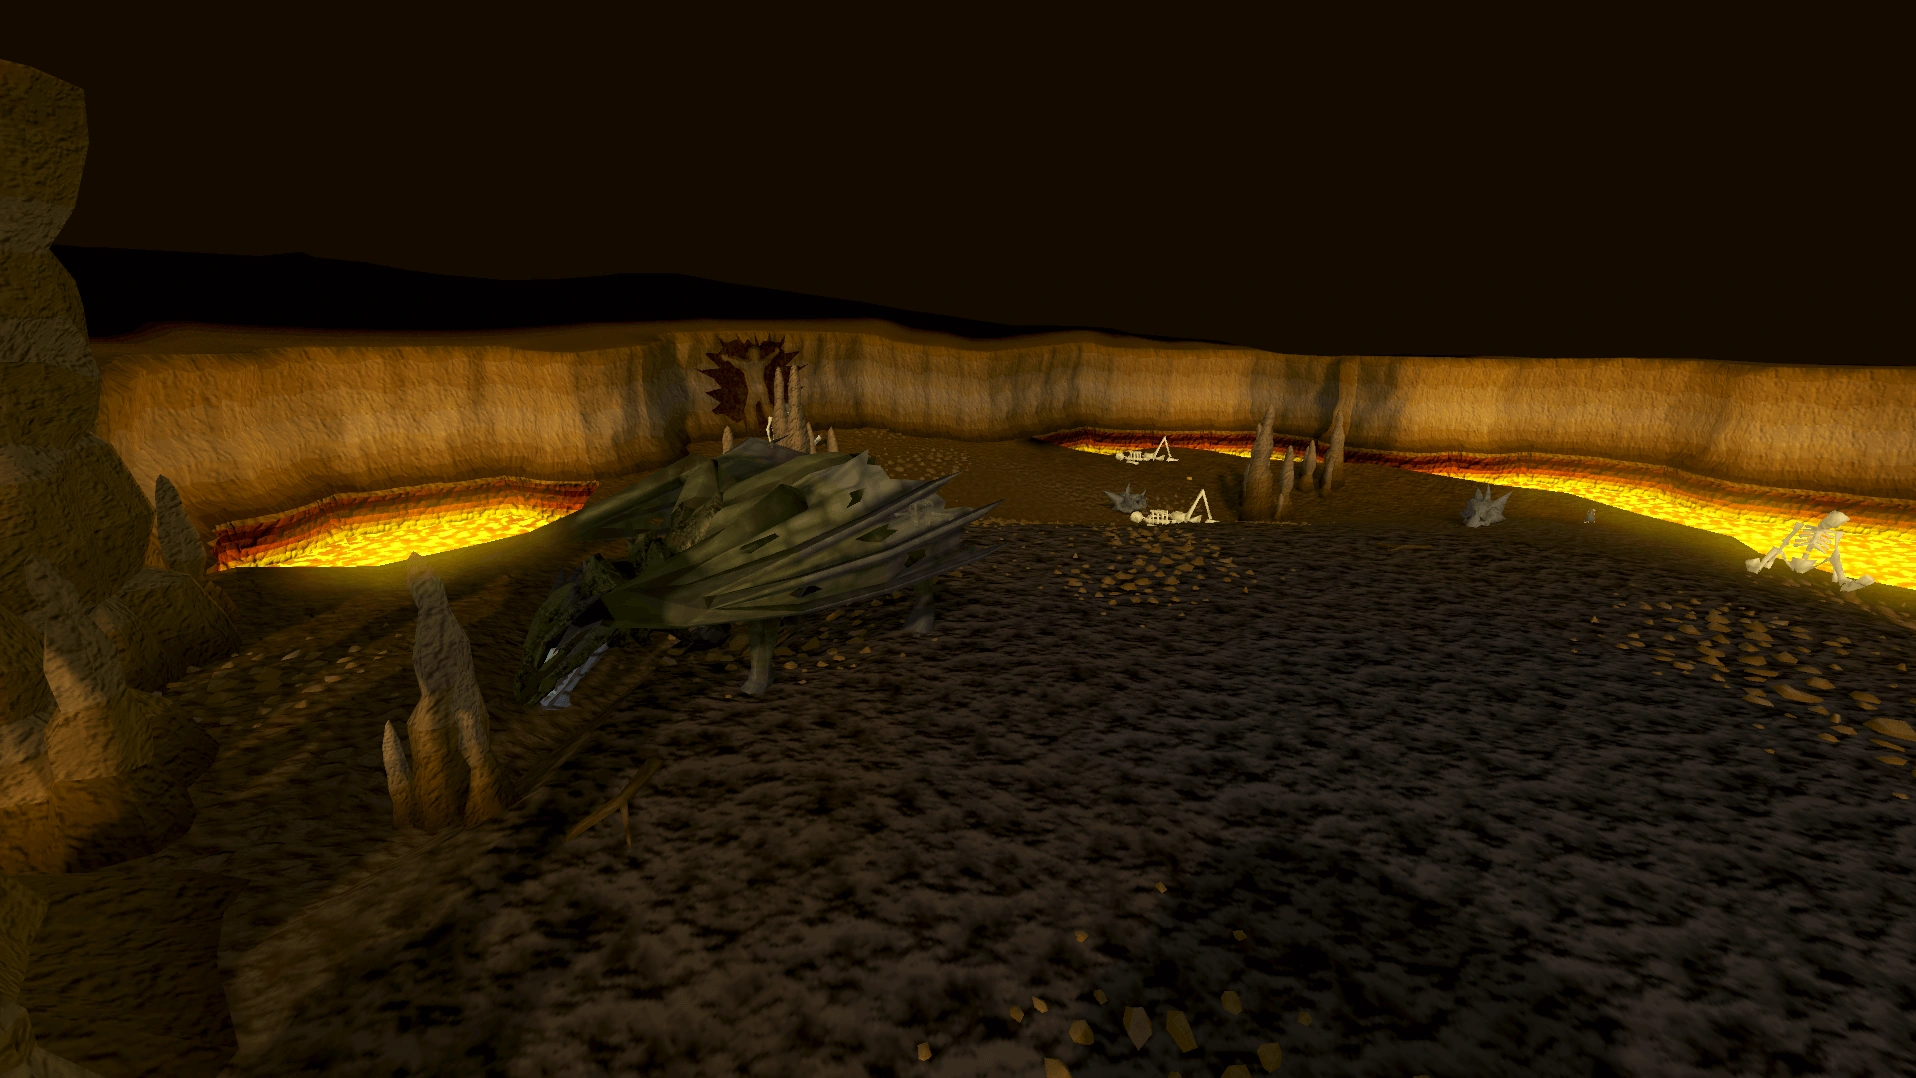
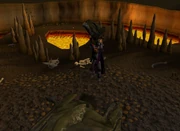
Another cutscene plays, showing Elvarg's lair - full of charred bones, skeletons, and a wall outline of a former warrior that was burnt-down - before moving the camera angle to Elvarg, showing her as if she was slowly moving towards you.
Move past the skeletons until you see Elvarg behind a short wall of spikes protruding from the ground on the east. Equip your anti-dragon shield and climb over the wall.
Strategies
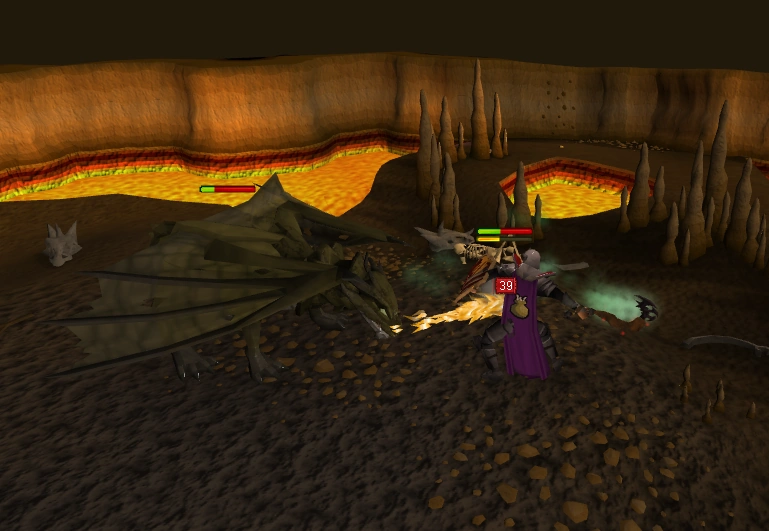

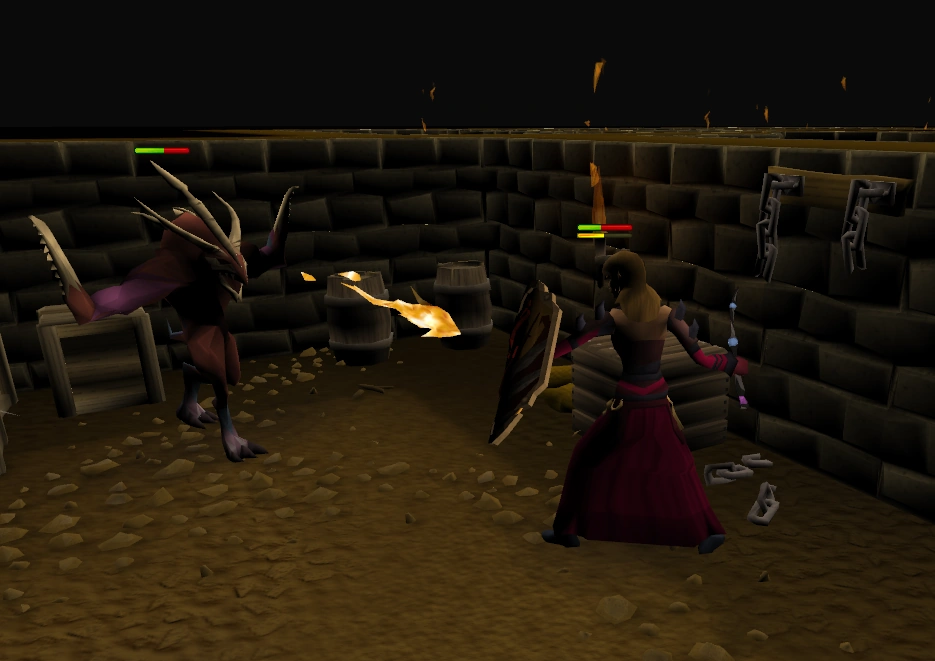
The player fighting against the fearsome Elvarg
If your Prayer level is high enough and you are using melee, Protect from Melee will reduce Elvarg's melee attacks. A combination of Protect from Melee and an anti-dragon shield will also reduce fire breath damage to a maximum of 200 life point damage. Note that her dragonfire will drain your prayer points if you plan to use prayer during the fight, and not equipping an anti-dragon shield will drain your melee stats and prayer very swiftly until they are 1 and 0, respectively.
If using magic, you should use a one-handed weapon such as a bat wand instead of a staff. This will enable you to wield an anti-dragon shield as well as a magic weapon.
For members, using an antifire potion completely negates the damage from Elvarg's dragonbreath attacks, when used in combination with an anti-dragon shield. Prayer potions can also be brought.
A dwarf multicannon can also be used here.
Delivery to Oziach
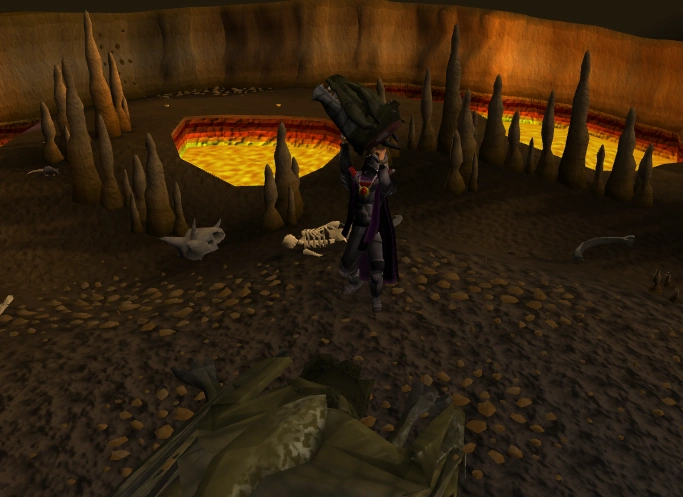
A player who has killed Elvarg.
Once you kill Elvarg, a cutscene will play during which you cut off Elvarg's head and stash it into your inventory. Leave Crandor and offer the head to Oziach, who will declare you a worthy member of the Champion's Guild and give you your reward.
If you lose the head, you are not required to go back and kill Elvarg for another. Simply return to Oziach and the quest will end as normal.
Congratulations, quest complete!
Reward
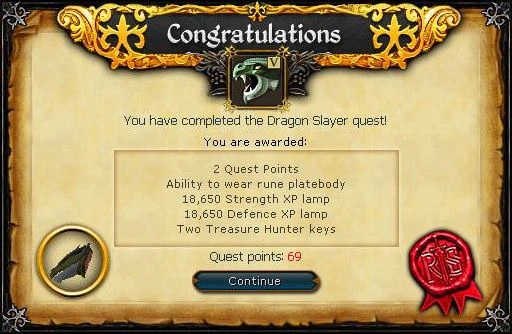
- 2 quest points
- The ability to equip a rune platebody, a blue dragonhide body, and a batwing torso.
- 18,650
 experience
 - 18,650 experience
- Access to all of Crandor
- An anti-dragon shield
- Maze key, giving access to Melzar's Maze
- Access to the dragon crest on herald capes
- 2 Treasure Hunter keys and 2 Hearts of Ice
Music unlocked
- Attack II - under Crandor
- Melzar's Maze (music track) - Melzar's Maze
- Dangerous Road - under Karamja Volcano
- The Shadow - Crandor
Required for completing
Completion of Dragon Slayer is required for the following:
- Heroes' Quest
- Karamja Tasks:
- Medium: "Back Cran-Door" and "Dungeons and Dragons"
- Varrock Tasks:
- Medium: "The Body Shop"
- Lumbridge and Draynor Tasks: (You only need to complete the section The anti-dragon shield)
- Medium: "Always Be Prepared"
- Desert Tasks:
- Elite: "Sun Shade" (Elvarg and Melzar the Mad need to be killed in a special match in the dominion tower)
Transcript
Trivia
- When talking to the ghosts on the second floor of Melzar's maze with a ghostspeak amulet equipped, the darkly coloured ghosts with hoods will occasionally say "Oh my gods, the dragon is coming back!" or "Get the women and children to the boats!". This shows that these ghosts were the survivors who escaped Crandor but later died, when the dragon Elvarg followed them to their camp in Port Sarim. It is possible that Melzar, being a necromancer, summoned them to his maze.
- Earlier, when Elvarg died, the player would be teleported outside with the 'Quest Complete' banner, without the need to cut off Elvarg's head. There was also no need to return to Oziach afterwards.
- In RuneScape Classic, Telekinetic Grab was the only way to complete the quest after some quest items were made untradeable, as there was no option to buy the map piece from Wormbrain.
- Along with Demon Slayer, Vampyre Slayer, The Death of Chivalry, and A Shadow over Ashdale this quest is one of only 5 free-to-play quests that involve a boss.
- In the original version of this quest, Elvarg's boss room was a metal fence with a gate that could only be opened during the quest. Later this was changed into a wall of stalagmites that the player would vault over.
- Talking to Linza after completing the quest reveals Oziach initially gave the quest in order to get rid of the player.
Dragon Slayer | |||||||
|---|---|---|---|---|---|---|---|
| NPCs |
| ||||||
| Enemies |
| ||||||
| Items |
| ||||||
| Rewards |
| ||||||
| Locations |
| ||||||
| Music |
| ||||||
| Miscellaneous |
| ||||||