This is a page for possible strategies to kill the Barrows brothers. It outlines the equipment and tactics necessary for each method to be successful.
Requirements
Barrows map
Suggested skill levels
- 70+ Magic (if maging) or
- 70+ Attack (and Strength if meleeing) or
- 70+ Ranged (if ranging)
- 70+ Defence
- 43+ Prayer (Strongly recommended to block 50% of the damage)
Suggested quests
- Started A Fairy Tale Part II for access to Fairy ring transportation, using either ring BKR in the Mort Myre Swamp or ring DLS in the Myreque Hideout tunnels.
- Started Nature Spirit for faster travel to the Barrows area.
- Completion of In Search of the Myreque to access a shortcut from Canifis to The Hollows and then the Swamp Boaty from there to Mort'ton.
- Completion of In Aid of the Myreque for access to a bank in Burgh de Rott, which is close to the Barrows.
- Completion of the Darkness of Hallowvale allows players to do the Burgh de Rott Ramble minigame, which can be used for fast access from the Paterdomus area to Burgh de Rott and then Mort'ton.
- Having 500 total NPC level on Temple Trekking to teleport to Burgh de Rott using a games necklace.
- Started The Branches of Darkmeyer up to the point where Vanescula identifies drakan's medallion. This item offers a teleport to the entrance of Barrows. It can also provide a teleport to Burgh de Rott for banking. It is also a great item, because teleports within Morytania will not count as a charge, giving you unlimited teleports to Barrows and the nearby bank.
- Completion of Ritual of the Mahjarrat will add a new seventh Barrows brother, whose grave is connected directly to Verac's tomb. Only those who have completed the quest can hope to find items of Akrisae's set when looting the Barrows' chest.
How to get here

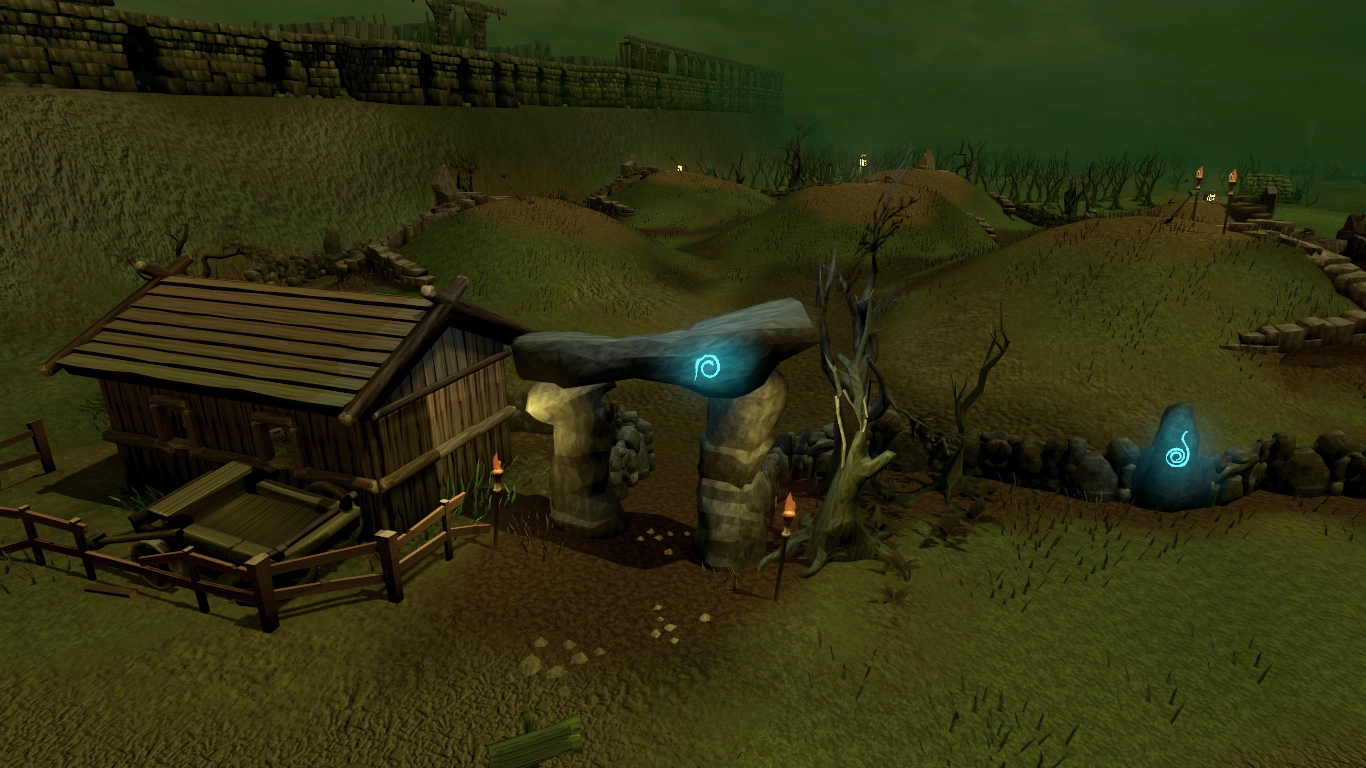
The entrance to the Barrows.
- Run from Canifis, without the completion of In Search of the Myreque, enter the ghast-infested Mort Myre Swamp through the gate near the Canifis farming patch. Go south and cross the bridge to the winding path that leads to Mort'ton. Follow this path, cross the bridge into the town and continue east to the other side of town where the bridge to the Barrows is located. This route is long and time consuming to travel. Bring energy potions to replenish your running, and explorer rings are somewhat useful (ring 3 recommended). Ghasts may also rot food you are carrying.
- If you keep to the East side of the swamp, about halfway through you will find a swamp boat. (Transportation icon on world map) The boat will take you to the bridge just south of Barrows, shaving a few minutes off of a long run.
- If you want to avoid the ghasts, stick near the walls of Darkmeyer. Ghasts will rarely come to you and the Barrows mound is still accessible via this route. This should only be done if the player is unable to bank at Burgh de Rott and is taking expensive foods.
- Using Fairy rings,
- DLS transports players to a cave in the Myreque hideout complex. Exit the cave through the south opening and then exit the next cave to the north. The player appears in the main cave near the secret door; just follow the directions above from this cave.
- BKR transports players directly to the Mort Myre Swamp. Follow the direction above through the swamp. This ring, however, does not significantly reduce the amount of distance to be traveled.
- Using Drakan's medallion, available after starting The Branches of Darkmeyer, will teleport players directly to Barrows or to the bank in Burgh de Rott, but uses one of ten charges when teleporting from anywhere outside of Morytania. This is useful when you've looted the chest and need to leave fast, and also saves run energy and food.
- If possible, use the medallion in conjunction with the Kharyrll Portal to teleport to Canifis. This way, your medallion does not use up a charge, you have access to a bank (which also quickly restores your life points). If your house also has a chapel this can also provide a place to restore your Prayer Points.
- Alternatively, use the Lodestone teleport to Canifis or the Ectophial to teleport to Port Phasmatys before using the medallion - the medallion won't use a charge and you are free to use whichever magic book suits you the most.
- If the player has done In Search of the Myreque, go south of the Hair of the Dog pub in Canifis and go through the trapdoor there, entering a small basement. There is a secret door in the south wall of the basement (it is not visible in the main window but can be seen on the mini-map). Click on the door to pass through into a cave, which is part of the Myreque Hideout area. Go south through the cave to enter. Two - five charged druid pouches would be recommended as ghasts might attack you from the tree climb to the boat.
- If players have gotten enough points from the Burgh de Rott minigame, they can unlock a path which lets them go all the way to Mort'ton without any Ghast interference. However, this requires the quest Darkness of Hallowvale to unlock the adventurers that will provide the extra points.
- A longer but easier path requires just In Aid of the Myreque. The shortcut takes you from the entrance to Mort Myre to the Nature spirit's grotto.
A map of the Barrows, highlighting each of the brothers' weaknesses
Recommended inventory
- Melee, ranged and magic armour (you can equip one of them, leaving a few spaces intact, but note that this will cause a slight decrease in accuracy, although this is usually unrecognizable with high level gears)
- Runes for magic spells (the spell should be the highest you can use, and preferably standard for damage).
- Emergency teleport
- Drakan's medallion (only if you have done Branches of Darkmeyer, up to the point where Vanscuela restores it)
- Food (at least monkfish or better)
- Potions (a lot of prayer pots, maybe some skill boosters. Sparing one restore pot may come in handy)
Recommended abilities
- Constitution: Regenerate and Guthix's Blessing to heal
- Melee: Backhand/Kick (to stun), Destroy (to stun and wound)
- Magic: Impact (to bind and stun), Asphyxiate (to stun and wound)
- Ranged: Binding Shot (to bind and stun)
- Defence: Anticipation and Freedom to adrenaline stall, Rejuvenate to heal
Barrows Brothers
The monsters you must fight. See the table below for weaknesses, and click on the name to see the main article about them. To reach them, click on the spades on the mound to get in. Then, open the tomb. The brother will then appear and you will fight them.
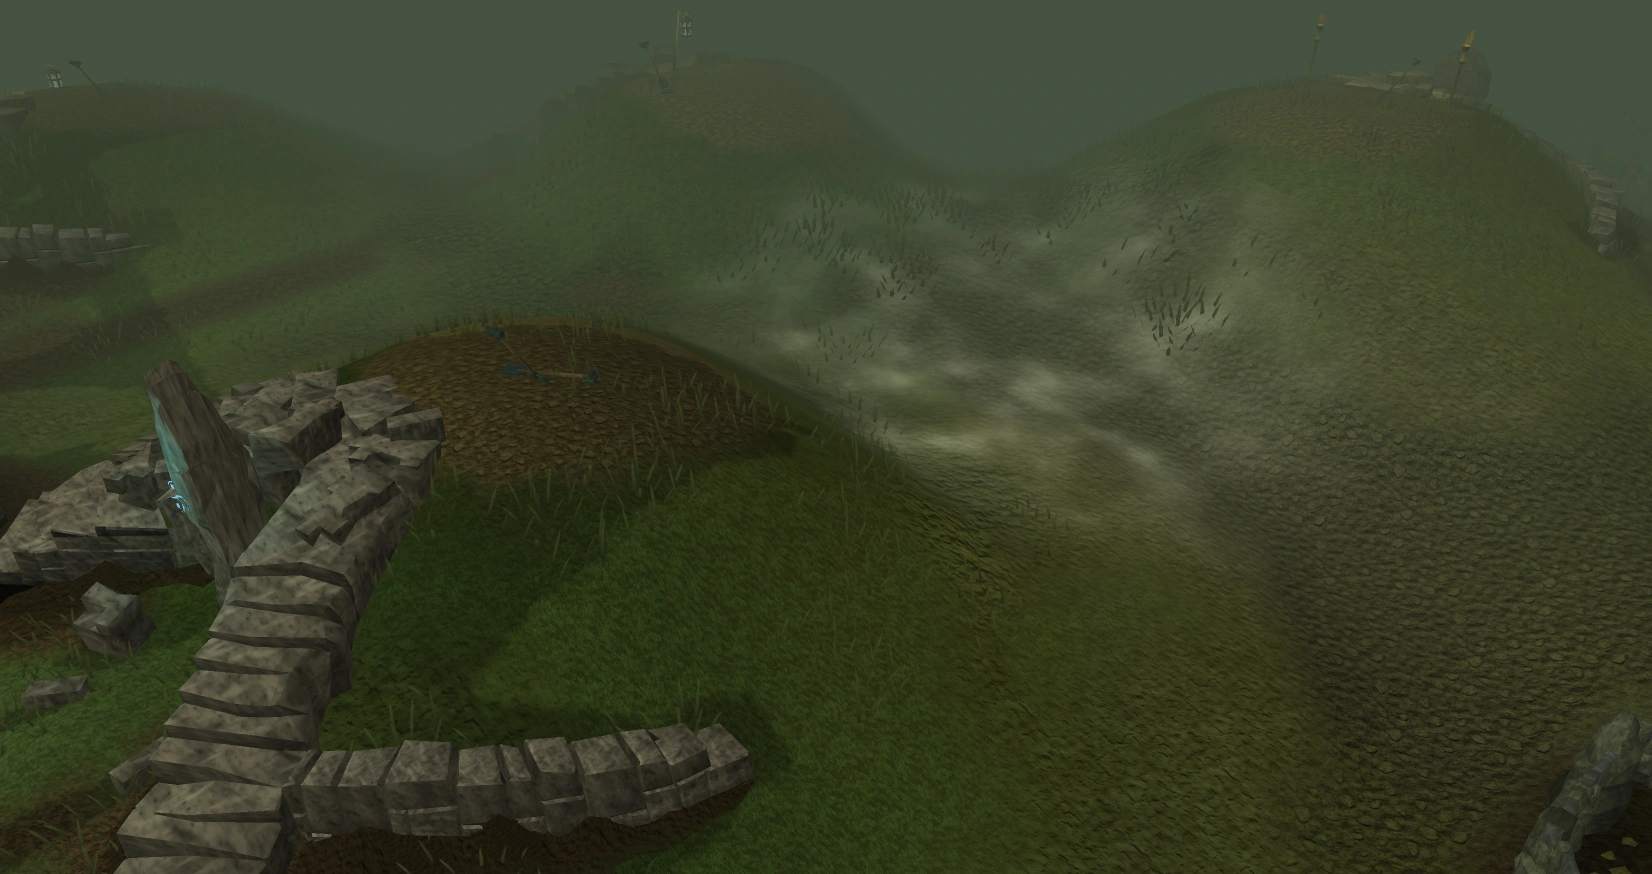

The Barrows mounds.


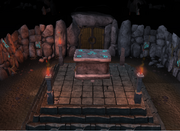
The tomb of Ahrim the Blighted.
For the melee-based brothers, you may want to bind or stun them and move diagonally from them. This will save time and health, as they will be unable to attack you until the stun or bind wears off, and you should have already killed them before they do. For the more dangerous brothers, you will want to quickly reduce their offensive capabilities, potentially with Debilitate, and launch stunning and threshold abilities to quickly kill them.
When calling the Brother, they will spawn a short distance from you, and begin to attack you. The brother may be diagonally across from you, or within melee distance of you. Brothers that spawn diagonally across from you give you an advantage as you can stun them before they manage to attack you.


Verac and Akrisae's tomb.
Inside the Barrows
Once you enter a Barrow Brother's tomb, your prayer will drain at sporadic intervals. Open the tomb and there will be two messages, completely random. One is "You don't find anything." in the game box, resulting in the respective Barrows Brother attacking you. Kill the Brother quickly and leave his tomb. You can leave anytime you want, however, if you leave and the brother is still alive, you will have to restart. Wait for them to do their death animation, then leave; this will still count as a kill. Prayer drains at 80; it increases by 10 for every Barrows brother slain, or 40 at first, increasing at 5 if the Hard Morytania tasks have been completed.
Each Barrow brother keeps to their respective tombs. The exception is Akrisae, but only if you have done The Ritual of the Mahjarrat quest. When this quest is completed, Verac's tomb will become a shard instance (not like the major bosses shards), and Akrisae's tomb will be next to his. Players who have completed the quest will not be able to see those who have not completed it yet.
Another message will result in "You've found a tunnel, do you want to enter?". The tomb that leads to the tunnels is completely random, though it is possible for the same tunnel multiple times in a row. The player has two choices to make; option 1 leads them inside, while option 2 makes them stay outside until the player wishes to go in again. Go in the tunnel and now you are in the Barrows catacombs.


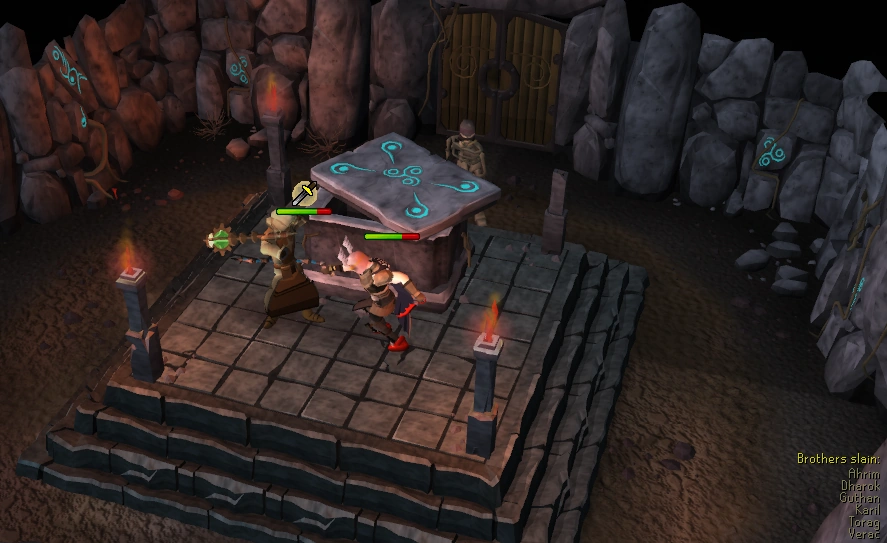
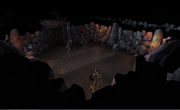
Players fighting a brother.
Example of the Barrows maze. Doors are not always the same as shown.

Fighting a brother in the tunnels.
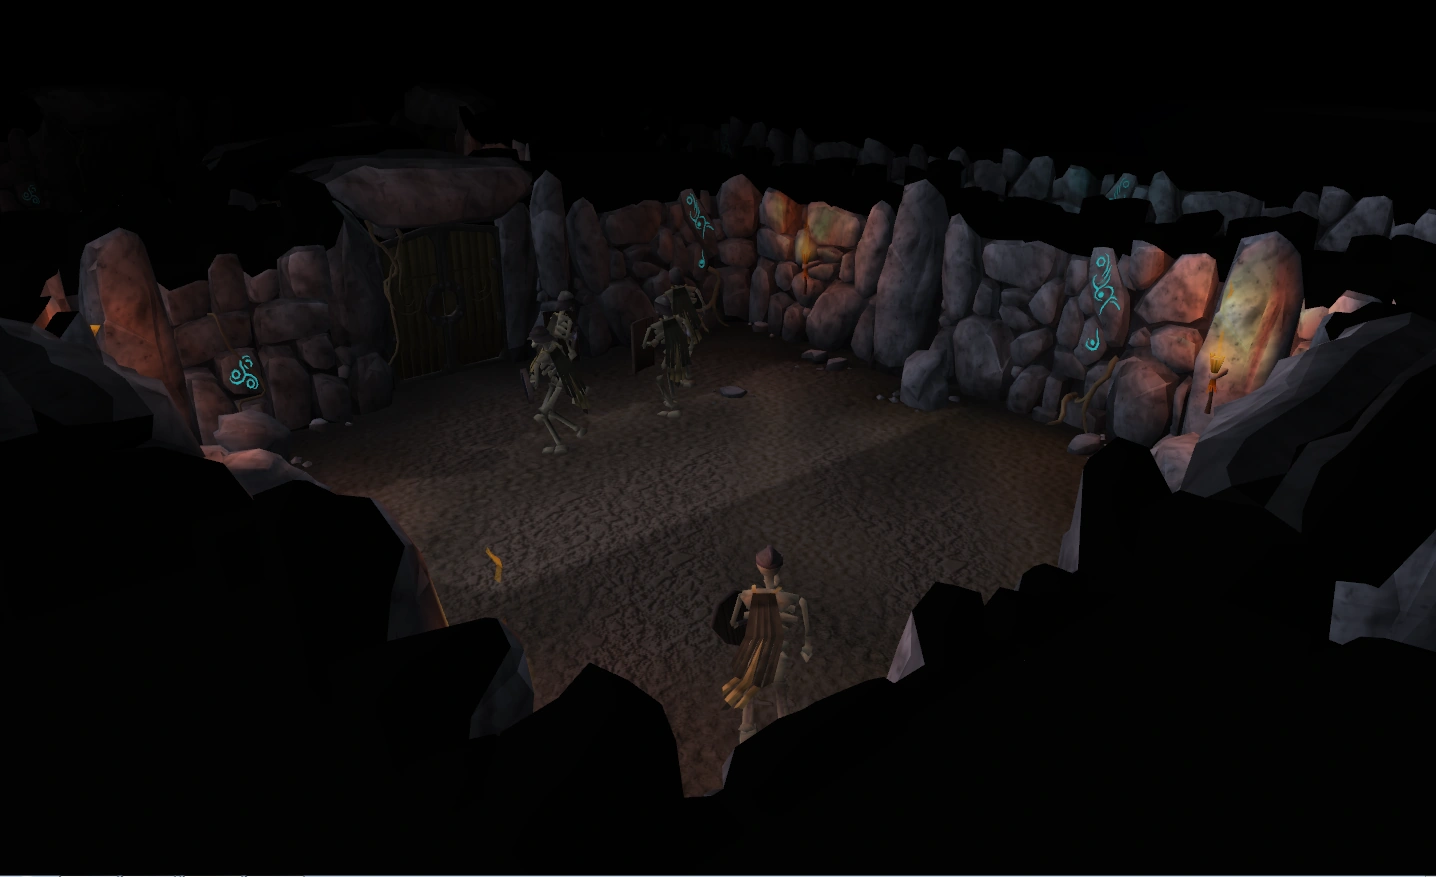
Dare you traverse the maze?
The player ends up in a 3x3 catacomb area, ending at one of the large rooms at the corners. Three doors are always shut; one is always open. For example, if the player is in the north-western corner room, it is possible for one of the long passageway and the two short ones to be closed, thus the other long passageways will be open.
The "middle" room of the corners leads to the chest room; however it is completely random which room it is. It can be very close yet a fair distance, or very close and at a close distance, however moderate distances are usually common, with the very long ones being slightly uncommon and very close ones quite rare. The top middle room contains Skeletons, the middle right contains Crypt spiders and giant variants. The bottom middle contains Bloodworms and the middle left contains Giant crypt rats and Crypt rats.
While opening the doors, a random monster will appear and immediately attack you. Monsters that will attack you after you open a door can be anything in the catacombs. The chances of a Barrows Brother spawning is slim; this will only happen if you have not killed them in their coffins yet.
Entering The Chest Room
Once the player locates the operational door that leads to the chest, they will have to solve a simple puzzle in order to open the door. Due to the monster that spawns when you go into the room it can and will interrupt you, so players prefer to shake it off, kill it or bind it so it cannot harass players solving the puzzle. It is also a feasible option to solve the puzzle in the interval between the attacks of the monster, or if the player is very fast, open the door before the monster attacks the player again. Pick the correct answer to the puzzle. Then, open the doors. After that, click on the chest. The final Barrows brother (the one that led you into the tunnels), will then spawn and attack you, unless you have killed him when he attacked you in the catacombs. Open and then loot the chest, and leave the catacombs. Any items you received will end up in your inventory, or on the floor if you have no space. Barrows equipment will be put in pristine condition, even if they are dropped on the floor due to no inventory space.
If you get the puzzle wrong, the catacombs will move around, meaning that the rope will be in a different room, and so will be the door to the chest room.
")
")
")
")
Equipment overview
This suggests some types of equipment that can be used. Note that these general suggestions can be overridden with items for a particular strategy. It is entirely possible to use the minimum suggested equipment, but personal combat efficiency will dictate your effectiveness.

The chest that has your rewards in it.
No Prayer Method
With the use of bind and a polypore staff/staff of armadyl for high level players, there is no need for prayer, as you can move away from the brother you are attacking and hit without any risk of retaliation and the brother is usually disposed of before he frees himself.
Using Ganodermic armour or better reduces any damage done to a bare minimum. Karil will still do considerable damage, but this is offset if using a ring of wealth and taking advantage of the occasional shark chest loot and the Guthix blessing ability.
Asphyxiate is another great ability to use and can be used instantly on Karil if his barrow is reached fast enough after disposing of Torag or Guthan. It can also be used as a fail safe if you are having particular trouble with a brother and will usually kill him if he escapes the initial bind.
Adrenaline can be prolonged but not increased by using the freedom ability whilst running between the two barrows.
Use of Drakans Medallion is highly recommended for fast looting.
Guthan's/Legacy Method
With the release of Legacy mode, Guthan's is now a viable way to do barrows at higher levels, allowing for multiple runs between banking. This is extremely practical because most of the drops you will receive at Barrows will be stackable. The Guthan's set effect tends to trigger often enough that you will not need food. However, because the set healing effect is random and unreliable, you should carry food in case of emergency.
Damage output differences between Guthan's set and higher tier setups (such as Bandos armour/chaotic maul, for example) at Barrows are small enough that you should not notice a sizable decrease in damage or increase in time to kill each brother, but you will notice a substantial decrease in the amount of food you need because of the set healing effect. You do not need to an extra weapon for special attacks, because it may cost you the chance to trigger the healing ability.
This method is most practical if you wish to make multiple trips per load, and therefore does not require the use of prayer or prayer potions. If you loot a prayer potion from the chest, you can use it with damage boosting prayers/curses against one of the brothers, though this is not necessary.
The hardest brother using this method will be Akrisae (if you have completed Ritual of the Mahjarrat), because of his prayer and magic-hits. You should carry an alternate-style weapon such as a Polypore Staff if you will be fighting Akrisae. If you have the Barrows Amulets from Missing, Presume Death, you should use them on Akrisae's tomb.
While in the tunnels, you should kill creatures until your set effect heals you to full health before looting the chest. After looting, exit the tunnels for another trip through. Use of Drakan's Medallion is recommended, as you can teleport directly from the chest to the entrance, increasing the speed of your trips.
Extra Helpful Tips and Advice
- A one-click teleport to escape if things go wrong. An Ectophial (requires the Ghosts Ahoy quest) is useful for escaping and for banking at Port Phasmatys.
- Safespots are impossible to take complete advantage of. Most will simply move you out of position, while the ones that you can use usually result in the brother bypassing the obstacle and attacking you.
- An Ardougne cloak is useful for its teleport to the Kandarin Monastery, which has altars for recharging prayer, and is moderately close to a fairy ring by the Tower of Life and to the bank in East Ardougne. The cloak also has a prayer bonus, which also helps conserve prayer points.
- If you have done the god statues D&D, or at least the one in Canifis, you can simply teleport to the lodestone in Canifis and pray at the god statue slightly south-east of the lodestone.
- If not using fairy rings, the Kharyrll Teleport portal in a Player-owned house is useful for getting to Canifis. 50 Construction is needed to build the portal room, or use of someone else's portal room on a house party world. If using this method then building an altar in a room close to the portal room is recommended.
- Do not bring Summoning familiars as they cannot be used in the Barrows. Pets may be brought, however.
- World 31 is the unofficial Barrows world, as it is the house party world which allows players to use each other's houses to restore prayer and teleport to Canifis. World 31 is also widely used because of Barrows clans; a clan will bless your grave if you die and sometimes give away supplies.
- The Salve amulet and Salve amulet (e) will not work on the barrows brothers, since they are not "dead" yet.
- Completion of the Hard tasks in the Morytania task set allows for your prayer drain to be halved in the barrows, and double the loot for runes from the chest.
- The best chances of getting a barrows item is to kill 7 brothers and 8 monsters in the dungeon. (Originally, this was not the case, and was changed only after Mod Dean brought this to the developers' attention. Confirmation that Akrisae now helps can be found here.)
- Using Drakan's medallion can be very useful for teleporting to the bank in Burgh de Rott. Players can restore supplies when needed there, and being in the bank also rapidly restores health, reducing the need for food.
- If players want to rush each run, they may bring Barrows amulets, worth 3,317 coins each. These items can be used on the coffins to kill the brother instantly without having to fight them, which is useful against Akrisae (only if players have completed Ritual of the Mahjarrat quest), Dharok and Karil.
- If you have 90+ Magic and have Ancient spellbook and prayers, you can survive only with simple Prayer potions without the need of food, even when you are using only Subjugation robes and Staff of Light. This can also be very fast method on killing all 7 brothers.